How to create physics shapes for Phaser 3 and Matter JS

What you are going to create
Here's the demo you'll create during this tutorial: Click on the scene to add more bananas!
This tutorial uses Phaser 3.10.0. This is important because older versions don't yet contain the PhysicsEditor loader code required to read the shapes.
Game Physics
The scene above consists of 2 parts, which are combined with an easy to use API in Phaser:
- The display of the scene
- The physics simulation
For the visuals it's best to create a sprite sheet that contains all the graphical objects. Using a sprite sheet reduces loading time for your game and increases the performance. If you don't know how to create sprite sheets I'd recommend reading our tutorial: How to create sprite sheets for Phaser 3 with TexturePacker.
You also have to define collision shapes for the physics simulation.
Create your physics shapes
It's an easy job for the crate: It's a simple square. The orange is also easy: It's a circle. You can do this directly in your source code if you want.
But it's more complicated when it comes to creating the shapes for the cherries and the banana, not to speak of the floor. You have to determine the coordinates of each vertex of the polygon outline.
This is not fun for a single sprite,
but for many it is...
impossible!
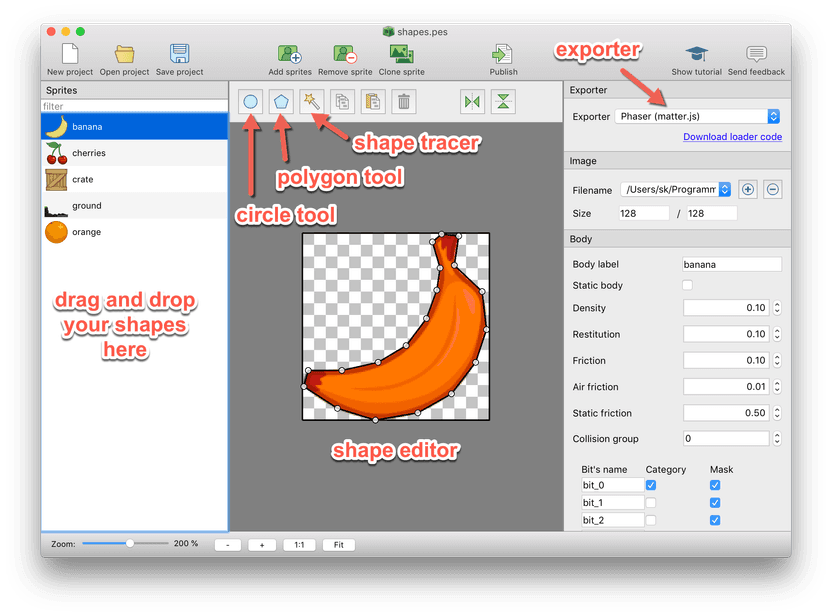
We've tried it — believe me. This is why we've created a visual editor: PhysicsEditor. With this creating shapes is a piece of cake:

- set exporter to Phaser (matter.js)
- drop your sprites into the left pane
- use the shape tracer in the toolbar
- adjust the body parameters like density, friction,..
- press publish
PhysicsEditor now asks you for the name of a json file
to write. Save it as assets/fruit-shapes.json.
Please download PhysicsEditor from here:
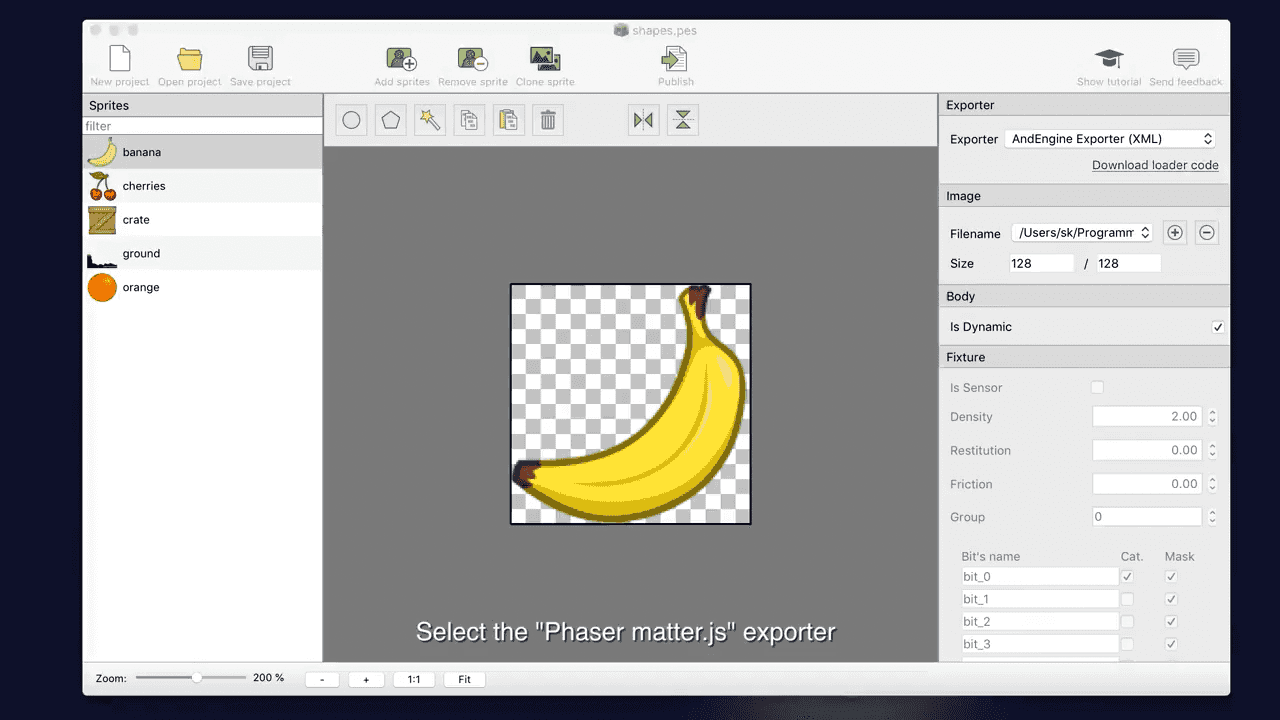
See the creation process for the shapes in this video:

The game scene
Configure Phaser for MatterJS physics
Start with creating your Phaser game object:
var config = {
    type: Phaser.AUTO,
    width: 1200,
    height: 960,
    parent: 'game',
    scene: {
        preload: preload,
        create: create
    },
    physics: {
        default: "matter",
        matter: {
            // debug: true
        }
    }
};

var game = new Phaser.Game(config);
The important part is the physics section where you set the engine to matter.
You can also enable debug output by uncommenting the debug: true line. This
draws outlines of the shapes. Quite useful if you get some strange behaviour
in your scene.
Load the physics shapes and sprites
function preload() {
    // Load sprite sheet generated with TexturePacker
    this.load.atlas('sheet', 'assets/fruit-sprites.png', 'assets/fruit-sprites.json');

    // Load body shapes from JSON file generated using PhysicsEditor
    this.load.json('shapes', 'assets/fruit-shapes.json');
}
The first line loads the sprite sheet created with TexturePacker. The second one loads the shapes file you've created with PhysicsEditor.
Create the phaser game scene with physics
In the create() function start by retrieving the shapes data from the loader cache:
function create() {
    var shapes = this.cache.json.get('shapes');
Set the world bounds in the physics engine. We restrict the area to the screen — no scrolling, no items leaving the screen:
this.matter.world.setBounds(0, 0, game.config.width, game.config.height);Add some background image... just for the looks:
this.add.image(0, 0, 'sheet', 'background').setOrigin(0, 0);Place the floor shape:
    var ground = this.matter.add.sprite(0, 0, 'sheet', 'ground', {shape: shapes.ground});
    ground.setPosition(0 + ground.centerOfMass.x, 280 + ground.centerOfMass.y);  // position (0,280)
The first line creates the physics sprite. The in this order are
- position x
- position y
- the sprite sheet on which the ground sprite is located
- the name of the sprite
- the physics shape data to use
The second line updates the shape position. Why? The previous call's first two parameters are already the position!
Right... but matter uses the center of mass f~or placing the sprite. This makes it hard to place the sprite in exact positions on the screen.
The second call adjusts desired position (0,280) by adding the calculated center of mass.
Now add some more objects: For these it's fine to just put them in the scene:
    // add some objects
    this.matter.add.sprite(200, 50, 'sheet', 'crate', {shape: shapes.crate});
    this.matter.add.sprite(250, 250, 'sheet', 'banana', {shape: shapes.banana});
    this.matter.add.sprite(360, 50, 'sheet', 'orange', {shape: shapes.orange});
    this.matter.add.sprite(400, 250, 'sheet', 'cherries', {shape: shapes.cherries});
Finally add a click handler to add some bananas when somebody clicks in the scene:
    this.input.on('pointerdown', function (pointer) {
        this.matter.add.sprite(pointer.x, pointer.y, 'sheet', 'banana', {shape: shapes.banana});
    }, this);
}