How to use sprite sheets and animations with SpriteKit
In this tutorial you are going to learn how you can improve the development of SpriteKit games using sprite sheets generated with TexturePacker. The main advantages over the pure Xcode solution are:
- Organizing your sprites in folders.
- Importing multiple formats such as PNG, PSD, SVG.
- Enabling compile-time checks for sprite names.
- Simplified animation creation with just a single line of code.
- Achieving better performance through the use of sprite sheets.
TexturePacker is available for macOS, Windows and Linux. You can test it within a 7-day trial period before purchasing a license:
You can access the complete source code for this tutorial on GitHub.
Create a texture atlas
Add sprites
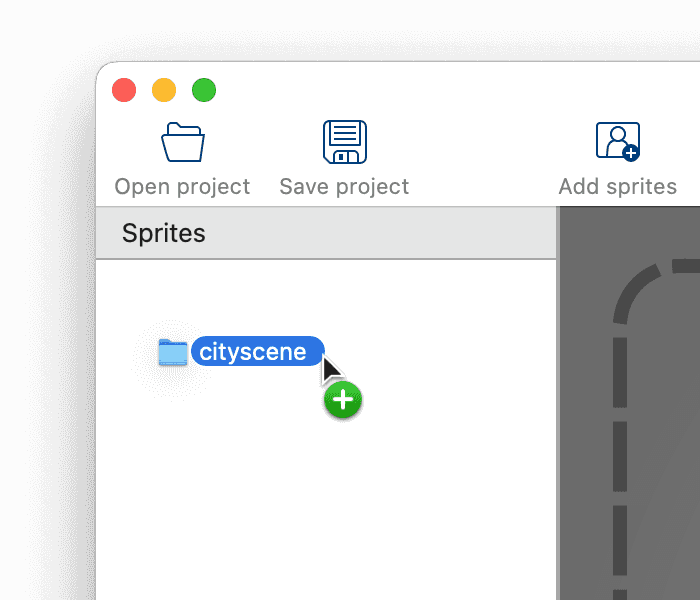
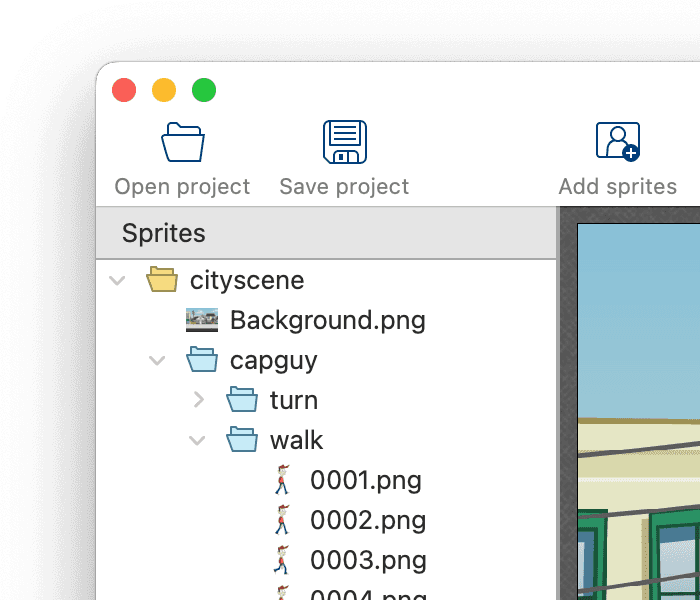
Start TexturePacker and drop the sprites that should be packed in a sprite sheet on TexturePacker's main window. You can also drop folders, TexturePacker will automatically scan them for image files and add them to the sheet.
Select framework and output path
Click on the Framework button at the top of the right sidebar and select SpriteKit (Swift) as data format:
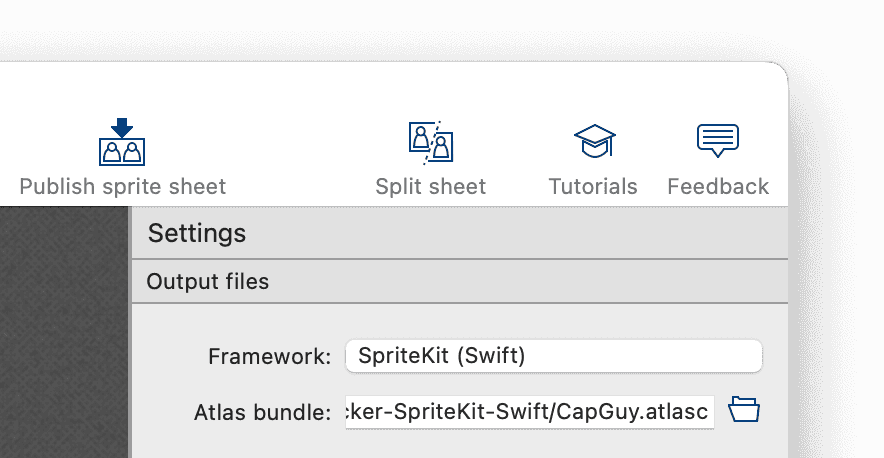
Use the Atlas bundle field (below the framework button) to select the location of the atlas bundle. The extension .atlasc is added automatically. The "atlas bundle" is a directory that will contain the sprite sheet textures as well as .plist data files containing the sprite coordinates within the sheet.
Configure scaling variants
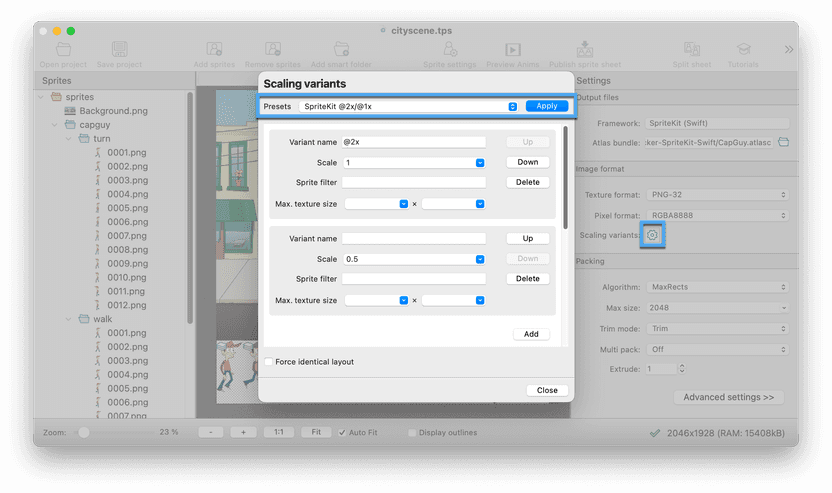
To add scaled sprites for non-retina displays automatically, open the Scaling variants dialog by clicking on the cog icon. There you can apply the SpriteKit @2x/@1x preset, which defines two scaling variants: @2x with the original sprites, and a variant without suffix containing the sprites scaled by 0.5.
Generate Swift helper class
Additionally, TexturePacker can generate a .swift file which contains a class providing useful methods for easy SKTexture creation. The name of this file can be specified on the Advanced settings panel (click the button at the bottom of the right sidebar).
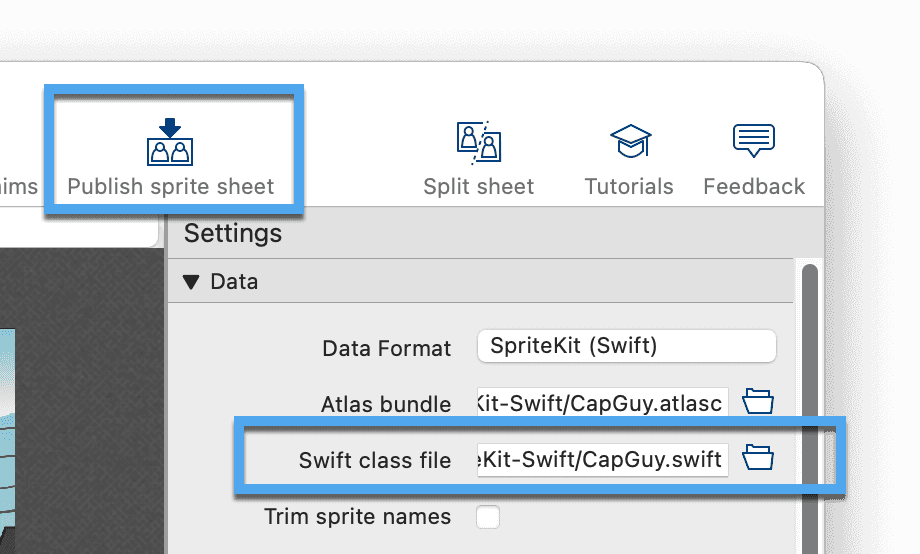
With the Publish sprite sheet button in the toolbar the atlas bundle and the swift file are written to disk.
Use the texture atlas with SpriteKit
Add the atlas bundle to your Xcode project
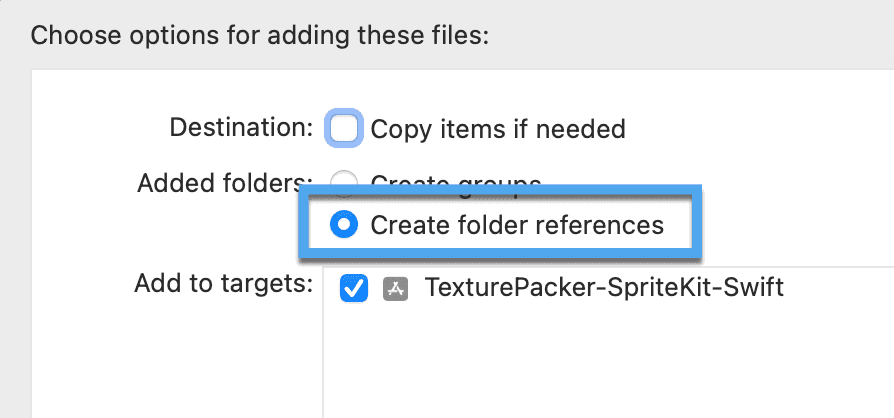
To use the published sprite sheet in Xcode, drag and drop the .atlasc bundle and the generated .swift file to your Xcode project:
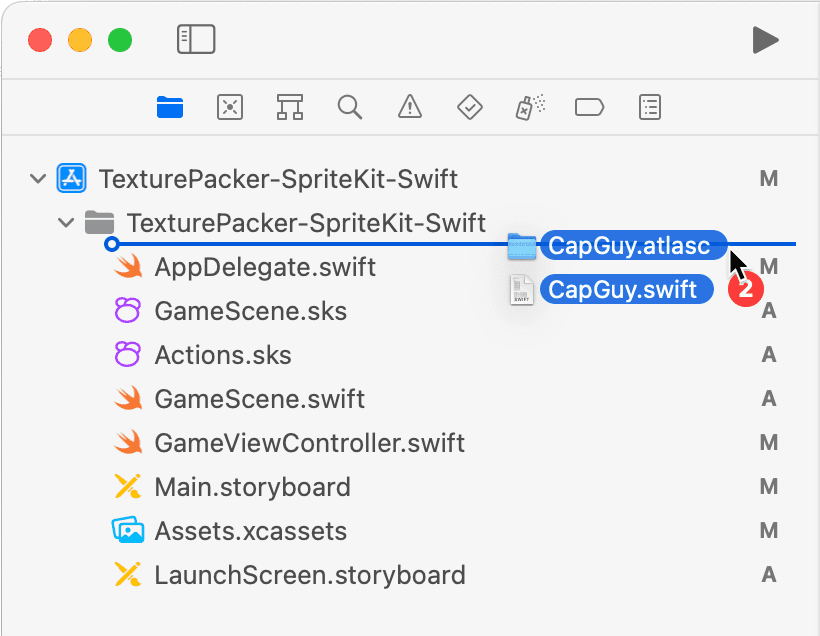
Xcode asks how the folder should be added. If you create a folder reference, the Xcode project is automatically updated in the future if the atlasc bundle changes (e.g. additional sprite sheets are added).
Create a SKSpriteNode from the texture atlas
Creating a textured sprite is quite easy: just load the texture and
use the SKTexture object when creating the sprite node:
let texture = SKTexture(imageNamed: "Background")
let sprite = SKSpriteNode(texture: texture)
The first line loads the sprite—looking for a single sprite in the file system— and if not found, searching all sprite sheets available to the application.
The second line creates a sprite object using the specified texture.
If you know on which sprite sheet the texture is stored, it is more efficient to fetch the texture directly from the sheet:
let atlas = SKTextureAtlas(named: "CapGuy")
let texture = atlas.textureNamed("Background")
let sprite = SKSpriteNode(texture: texture)
Add compile-time checks
As the texture image is referenced by its file name, typos in its name or a mismatch due to a reorganized texture atlas cannot be detected at compile-time.
SpriteKit replaces missing images with a dummy graphic which might look strange. Imagine what this would mean for you if it accidentally reaches the AppStore...
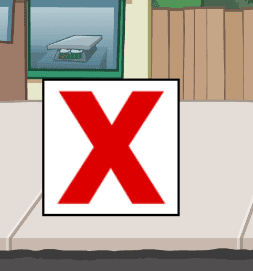
TexturePacker helps you avoid this: with compile-time checks!
TexturePacker creates a Swift class file together with your atlas. You can simply add it to your Xcode project and create an object of this class:
let sheet = CapGuy()The class contains all sprite names used in the atlas as properties.
It also defines a method for each texture image to create the corresponding SKTexture object.
let BACKGROUND       = "Background"
let CAPGUY_WALK_0001 = "capguy/walk/0001"
let CAPGUY_WALK_0002 = "capguy/walk/0002"
...
func Background() -> SKTexture       { return textureAtlas.textureNamed(BACKGROUND) }
func capguy_walk_0001() -> SKTexture { return textureAtlas.textureNamed(CAPGUY_WALK_0001) }
func capguy_walk_0002() -> SKTexture { return textureAtlas.textureNamed(CAPGUY_WALK_0002) }
Using these methods, creating a sprite is a 1-liner:
let sprite = SKSpriteNode(texture: sheet.Background());If you now rename the sprite and publish the sprite atlas from TexturePacker, the method definition also changes its name. When compiling in Xcode you get a compiler error about a missing sprite.
Animations
Simplifying SpriteKit's animation handling
Sprites are considered as animation if they end with a number—e.g. img_01 , img_02 , etc. For these sprites a method returning an array with all textures of the animation is defined in the generated helper class.

func capguy_walk() -> [SKTexture] {
    return [
        capguy_walk_0001(),
        capguy_walk_0002(),
        capguy_walk_0003(),
        ...
This makes it extremely simple to animate sprites:
let walk = SKAction.animate(with: sheet.capguy_walk(), timePerFrame: 0.033)
sprite.run(walk)
No more adding single frames, no more worrying about missing animation phases!
Enhancing the animation with additional frames — or removing frames — doesn't require you to change the code at all: TexturePacker always fills in the right frames.
Using SKActions to move the sprite
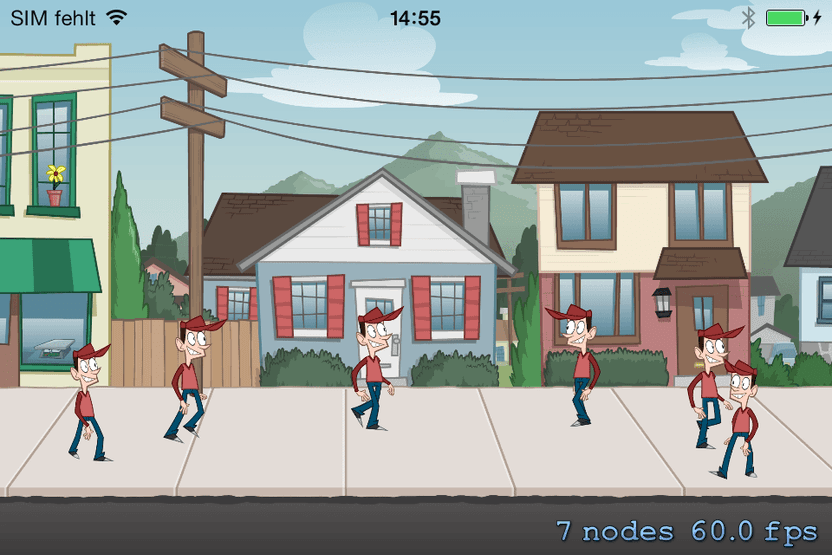
For our sample application we use two animations:
- walk (left to right)
- turn (right to left)
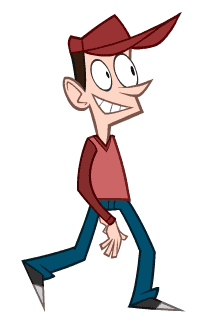
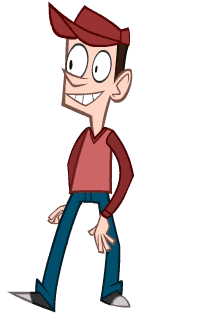
These animations can be created as mentioned above:
let walk = SKAction.animate(with: sheet.capguy_walk(), timePerFrame: 0.033)
let turn = SKAction.animate(with: sheet.capguy_turn(), timePerFrame: 0.033)
To walk over the complete iPad display, we have to repeat the animation
let walkAnim = SKAction.repeat(walk, count: 6)In the animation, CapGuy walks without moving forward. We need a move action to move the sprite from left to right, and back. The action gets the same duration as the animation itself:
let moveRight = SKAction.moveTo(x: 900, duration: walkAnim.duration)
let moveLeft  = SKAction.moveTo(x: 100, duration: walkAnim.duration)
We have only an animation with CapGuy walking from left to right, but not in the other direction. So we use a scale action with scaling factor -1 to get a mirrored animation. Another action is needed to set the scaling back to 1:
let mirrorDirection = SKAction.scaleX(to: -1, y:1, duration:0.0)
let resetDirection  = SKAction.scaleX(to: 1,  y:1, duration:0.0)
All actions which are put into a group are executed in parallel. We are not only adding the walk and move actions to a group, but also the mirror / reset actions. They have a duration of 0 and are executed at the beginning of the group, so their scaling factor has direct impact on the walk / move actions:
let walkAndMoveRight = SKAction.group([resetDirection,  walkAnim, moveRight]);
let walkAndMoveLeft  = SKAction.group([mirrorDirection, walkAnim, moveLeft]);
Now we combine walk & turn actions into a sequence, and repeat this sequence forever:
sequence = SKAction.repeatForever(
               SKAction.sequence([walkAndMoveRight, turn, walkAndMoveLeft, turn])
           );
Applying SKAction to multiple SKSpriteNodes
SKAction objects can be used for many sprites in parallel. In our example we want to create a new CapGuy sprite each time the user touches the screen. We have to create a new SKSpriteNode only, and run the action on it which we created in the section above:
override func touchesBegan(_ touches: Set<UITouch>, with event: UIEvent?)
{
    let sprite = SKSpriteNode(texture: sheet.capguy_walk_0001())
    sprite.position = CGPoint(x: 100.0, y: CGFloat(arc4random() % 100) + 200.0)

    sprite.run(sequence!)
    addChild(sprite)
}
The complete SpriteKit sample
The complete Xcode project of the tutorial sample app is available on GitHub The source code snippets explained above can be found in MyScene.swift
