Laravel translation tutorial: How to translate your web app
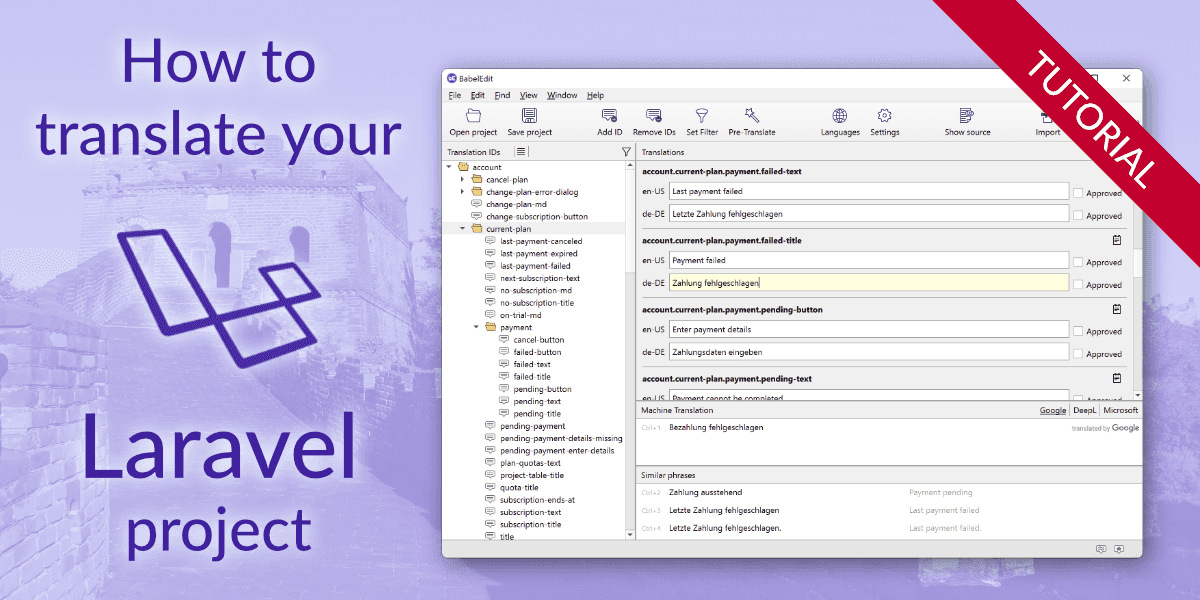
This tutorial is here to get you started with Laravel translations. It covers all information you need for a quick start:
- Preparing your web app for translations
- Creating & managing translation files
- Displaying translations in code and Blade templates
- Pluralization and parameters in translated texts
- Creating localized routes
- Best practices for translation files
Prepare your Laravel project
The tutorial starts with a new, clean project to show the different topics. But you can of course use your existing project instead.
Set up a simple demo project
I assume that you already have basic knowledge about Laravel. Please take a look at the Laravel documentation if you need help to get started.
Use these commands to start a new empty demo project for this tutorial:
composer create-project laravel/laravel laravel-translation-demo
cd laravel-translation-demo
php artisan serve
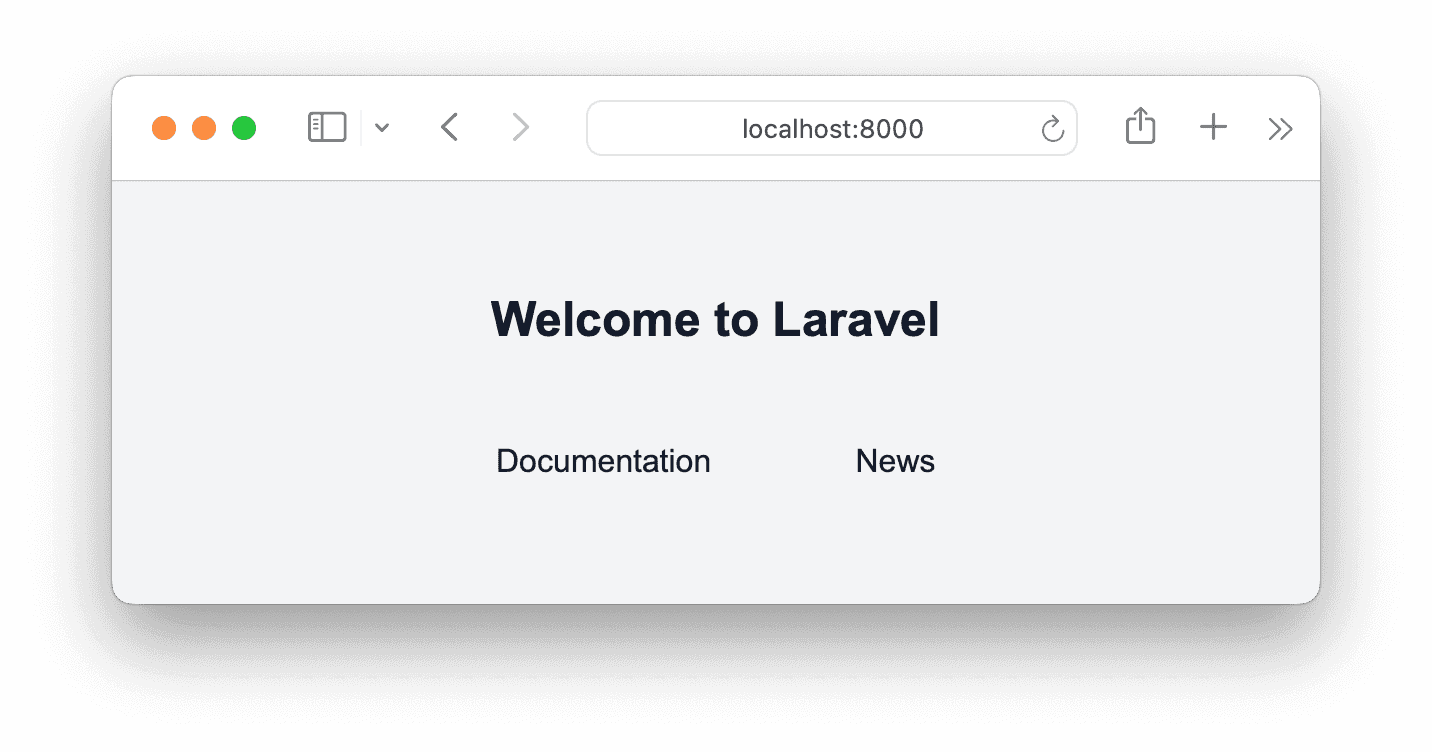
Now visit http://127.0.0.1:8000 and see the default application screen.
It is implemented in resources/views/welcome.blade.php, open this file and replace it with a slightly simpler
version:
<!DOCTYPE html>
<html lang="{{ str_replace('_', '-', app()->getLocale()) }}">
    <head>
        <meta charset="utf-8">
        <meta name="viewport" content="width=device-width, initial-scale=1">
        <title>Laravel</title>
    <style>
        body { background-color: #f3f4f6; font-family: Arial, sans-serif; }
        .container { max-width: 640px; margin: 0 auto; padding-top: 32px; }
        h1 {font-size: 24px; text-align: center; margin-bottom: 16px; color: #111827; }
        .flex { display: flex; justify-content: center; }
        a { margin: 24px; padding: 8px 12px; color: #1f2937; text-decoration: none;  }
        a:hover { background-color: #e5e7eb; border-radius: 4px; }
    </style>
    </head>
    <body>
        <div class="container">
            <h1>Welcome to Laravel</h1>
            <div class="flex">
                <a href="https://laravel.com/docs">Documentation</a>
                <a href="https://laravel-news.com">News</a>
            </div>
        </div>
    </body>
</html>
This page we are going to translate in the next step.
Translating Blade Template files with __()
Open resources/views/welcome.blade.php and scroll to the bottom of the file.
Replace the <h1> element and the next <div> block with the following lines:
    <h1>{{ __('welcome.title') }}</h1>
    <div class="flex">
        <a href="https://laravel.com/docs"> {{ __('welcome.menu.documentation') }}</a>
        <a href="https://laravel-news.com"> {{ __('welcome.menu.news') }}</a>
    </div>
__() is the translation function. It takes a translation ID and optional parameters
and replaces them with translated strings.
Translating strings within your code
You can also access the function within your php code — for example:
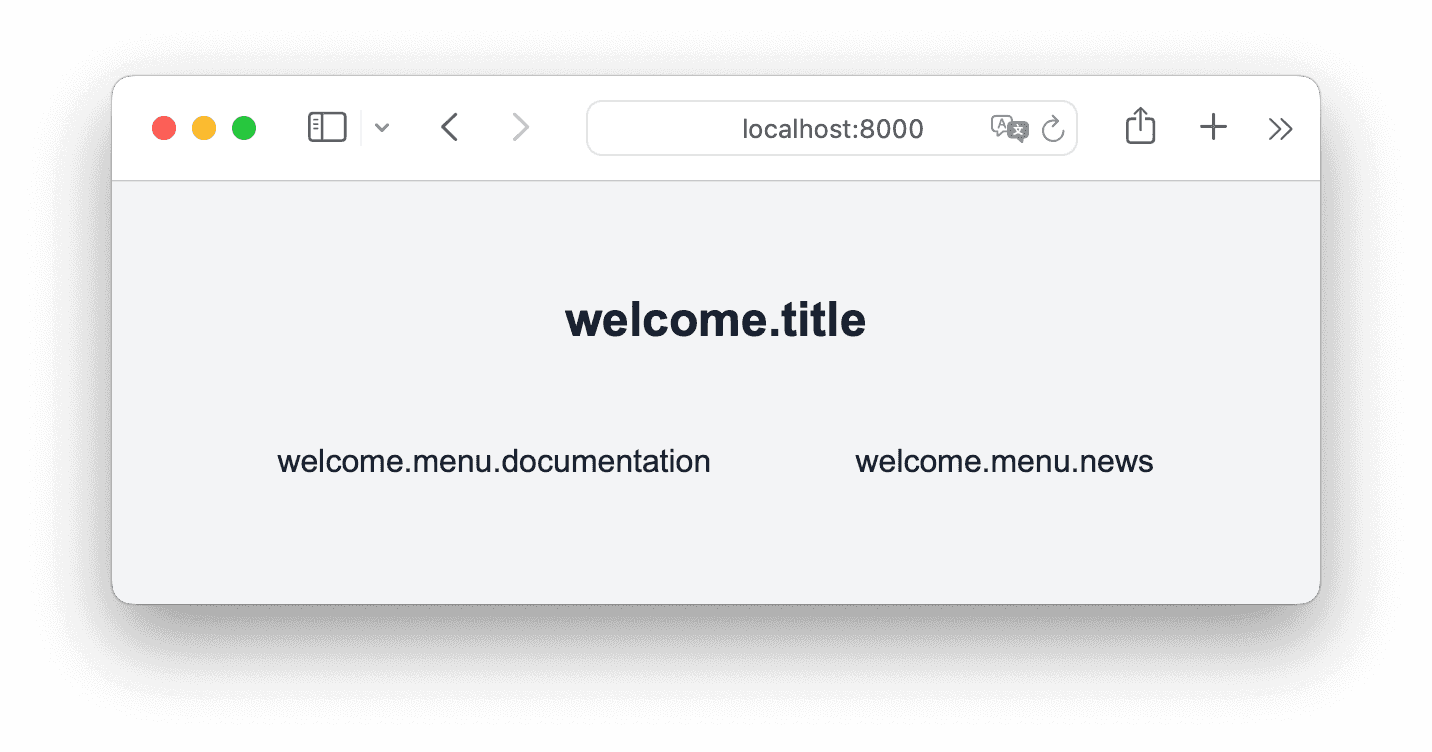
echo __('messages.welcome');If no translation is found, the translation IDs are used instead:
Laravel translation files and translation IDs
The translation ID is a string that can be freely defined in your project. Dots separate different parts of the ID — allowing you to structure the translations.
The substring before the first dot is the filename in which the translation is located.
Laravel looks for translations in the resources/lang/<languagecode>/<filename>.phpfile.
E.g. the english translation for welcome.menu.documentation is retrieved from the file resources/lang/en/welcome.php.
Using multiple dots allows you to structure the translations within a file.
Create the resources/lang/en/welcome.php file and paste the following content in it:
<?php
return [
    'title' => 'Translation demo',
    'menu' => [
        'documentation' => 'Documentation',
        'news' => 'News'
    ]
];
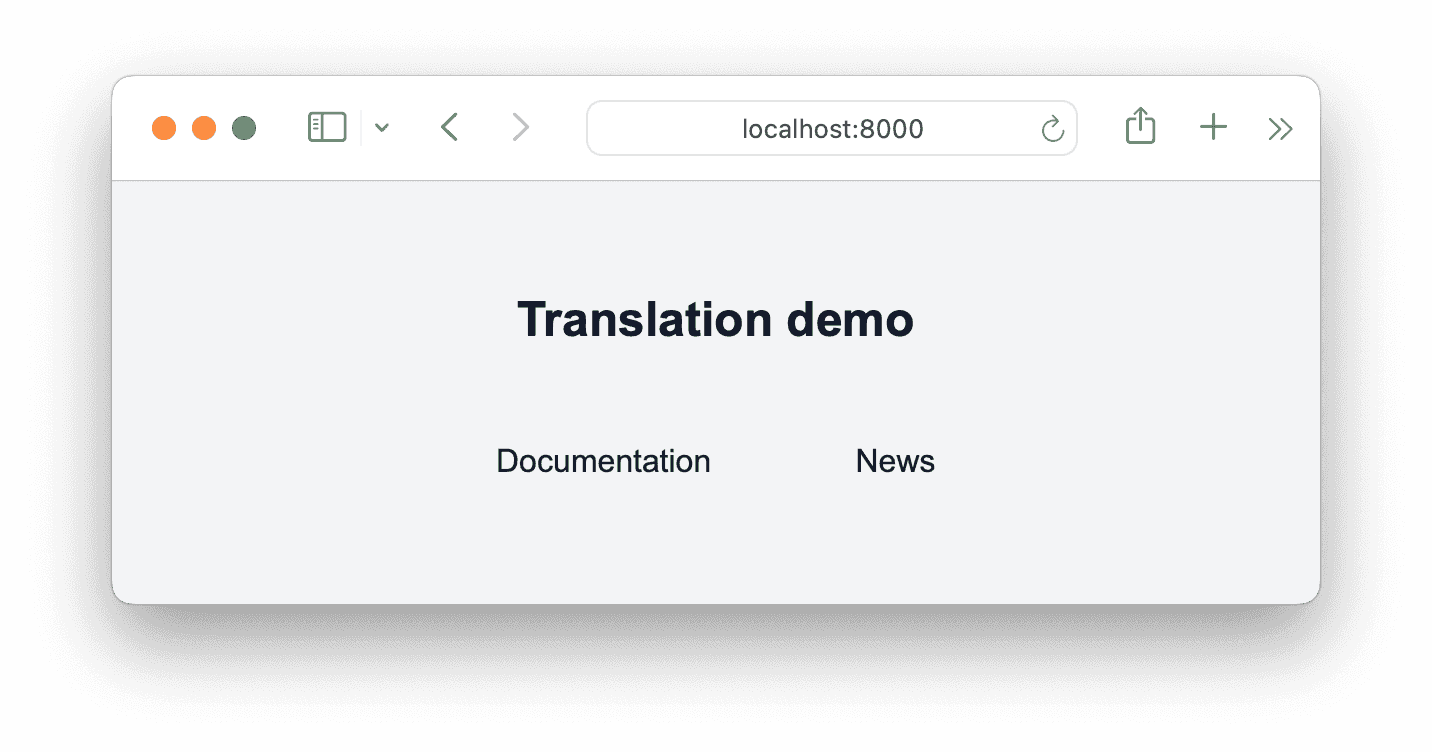
Refresh the app to see the english translations.
Maintaining translation files with BabelEdit
Maintaining these files for you as a developer is easy — but it's hard to exchange data with a translator. Most translation agencies are quite unhappy if you give them .php files for editing... several of them won't even accept the files at all.
This is why we've created a specialized editor to help you with this: BabelEdit.
- Work with multiple translation files and languages at once
- Simple UI with good usability
- Easy exchange with translators: Export and import translations for Excel, Google Spread Sheets and other formats translators accept
- Add comments and directions for the translators
- Approval process for translations
To get started with BabelEdit download it from here:
Create a translation project
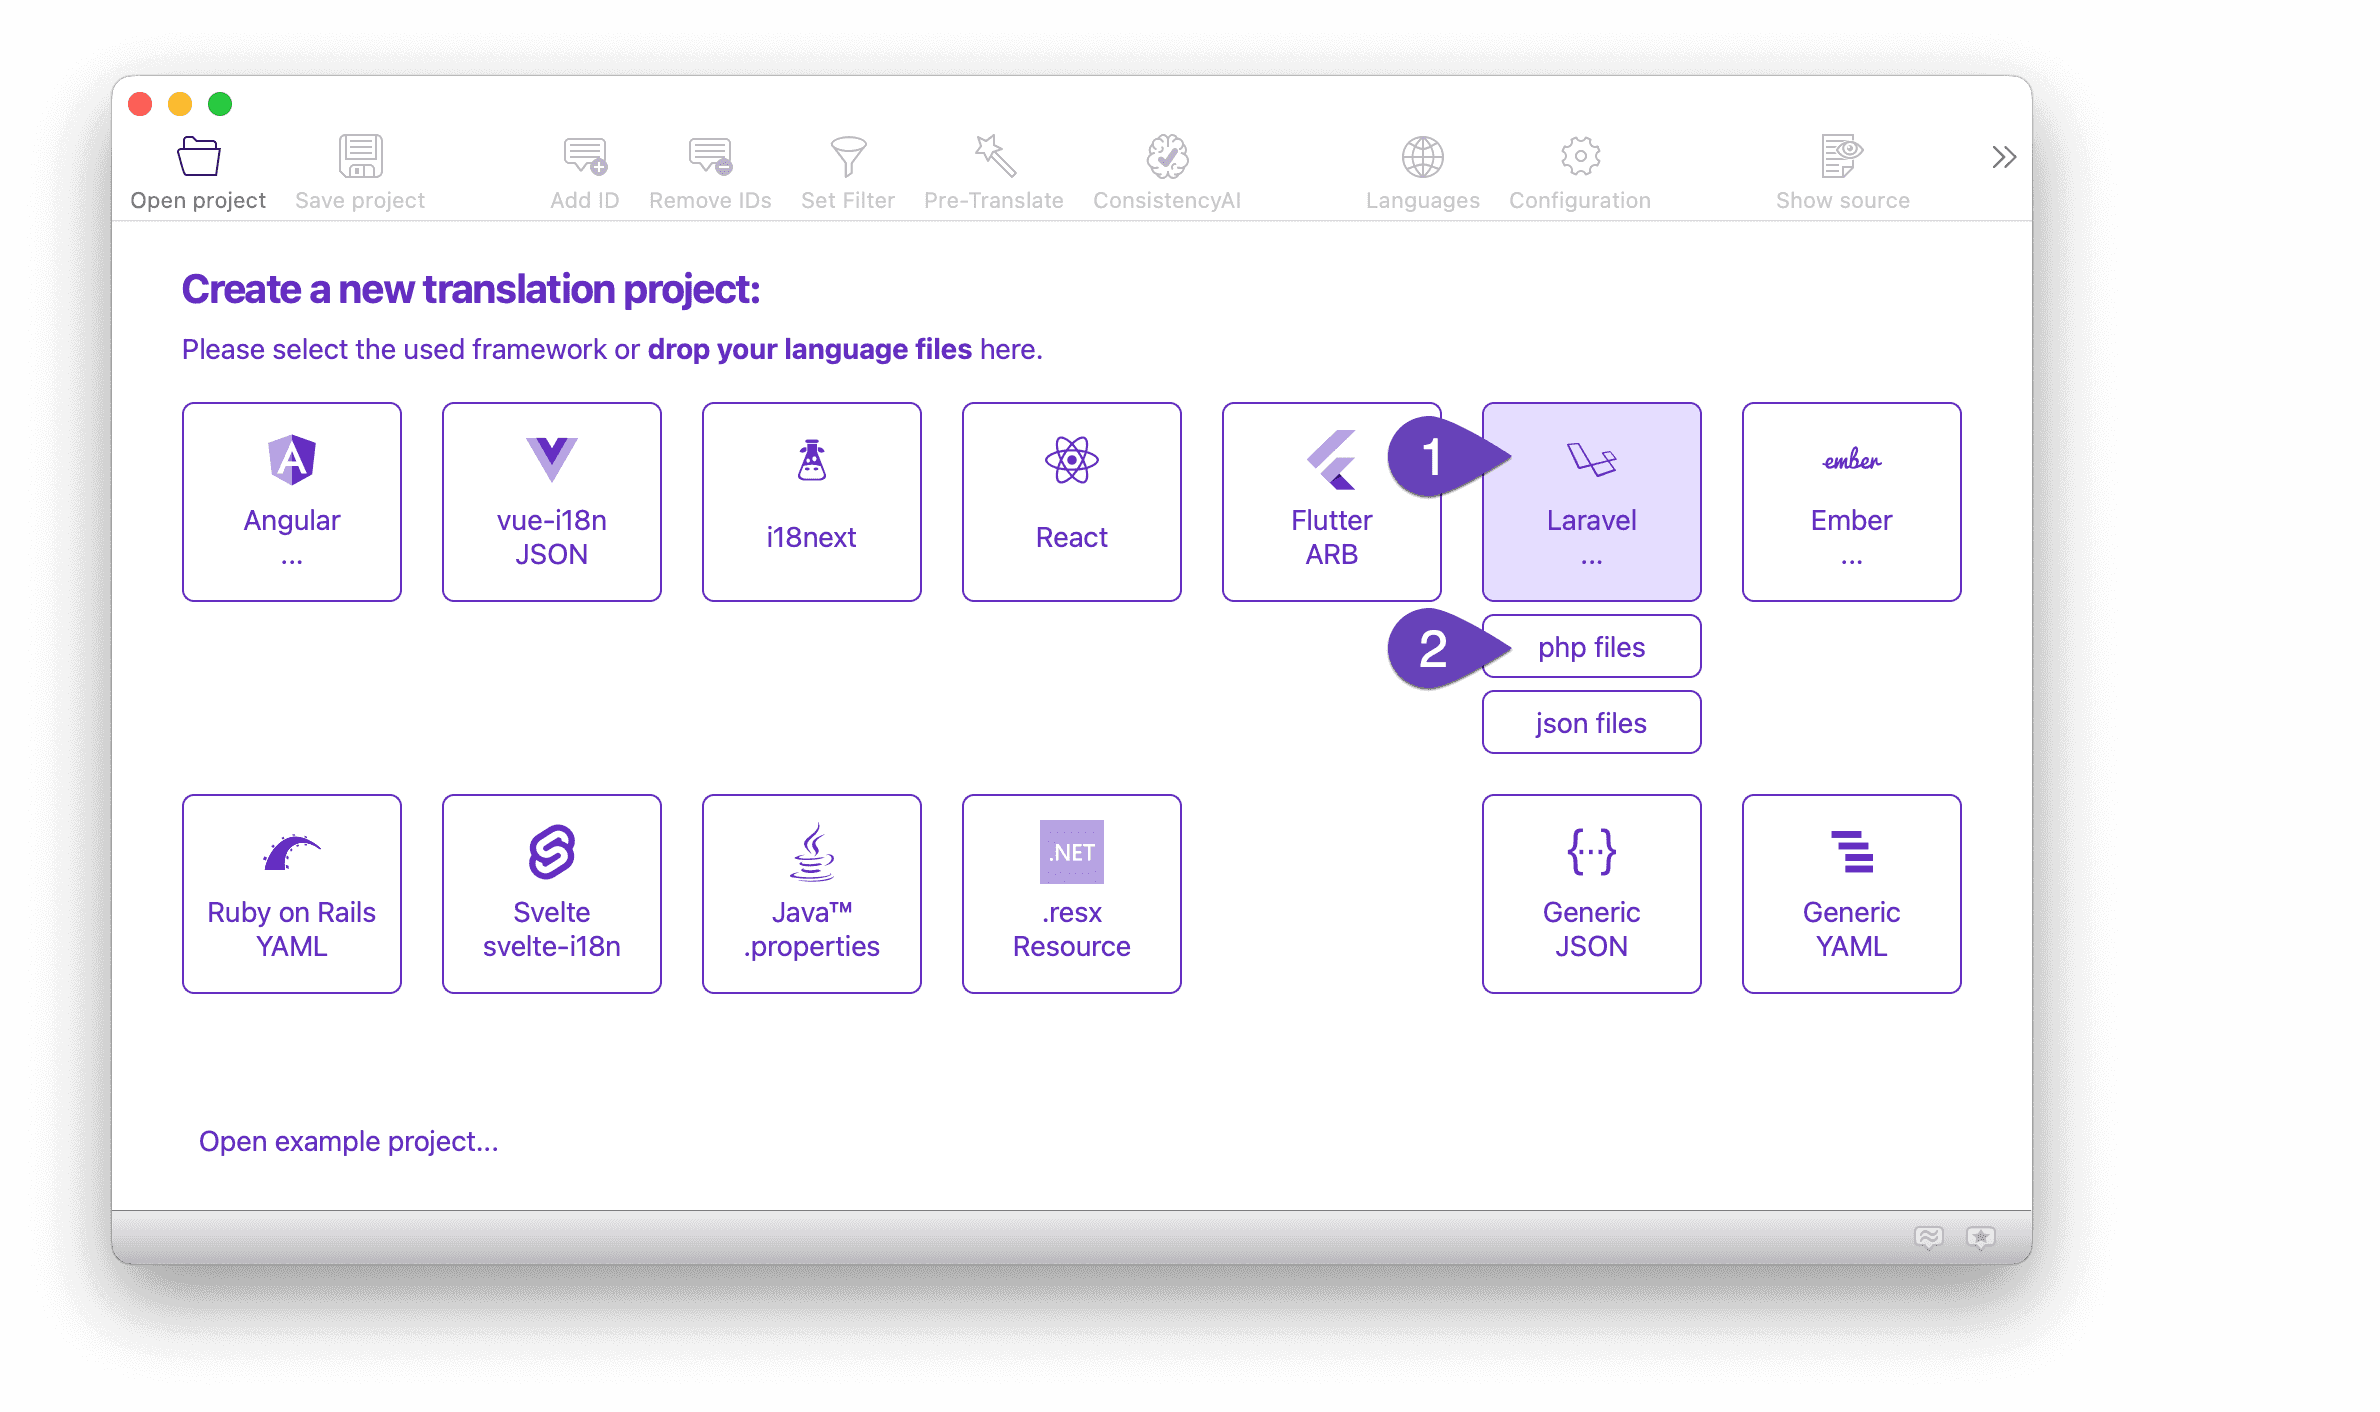
Click the Laravel button to create a Laravel/PHP translation project:
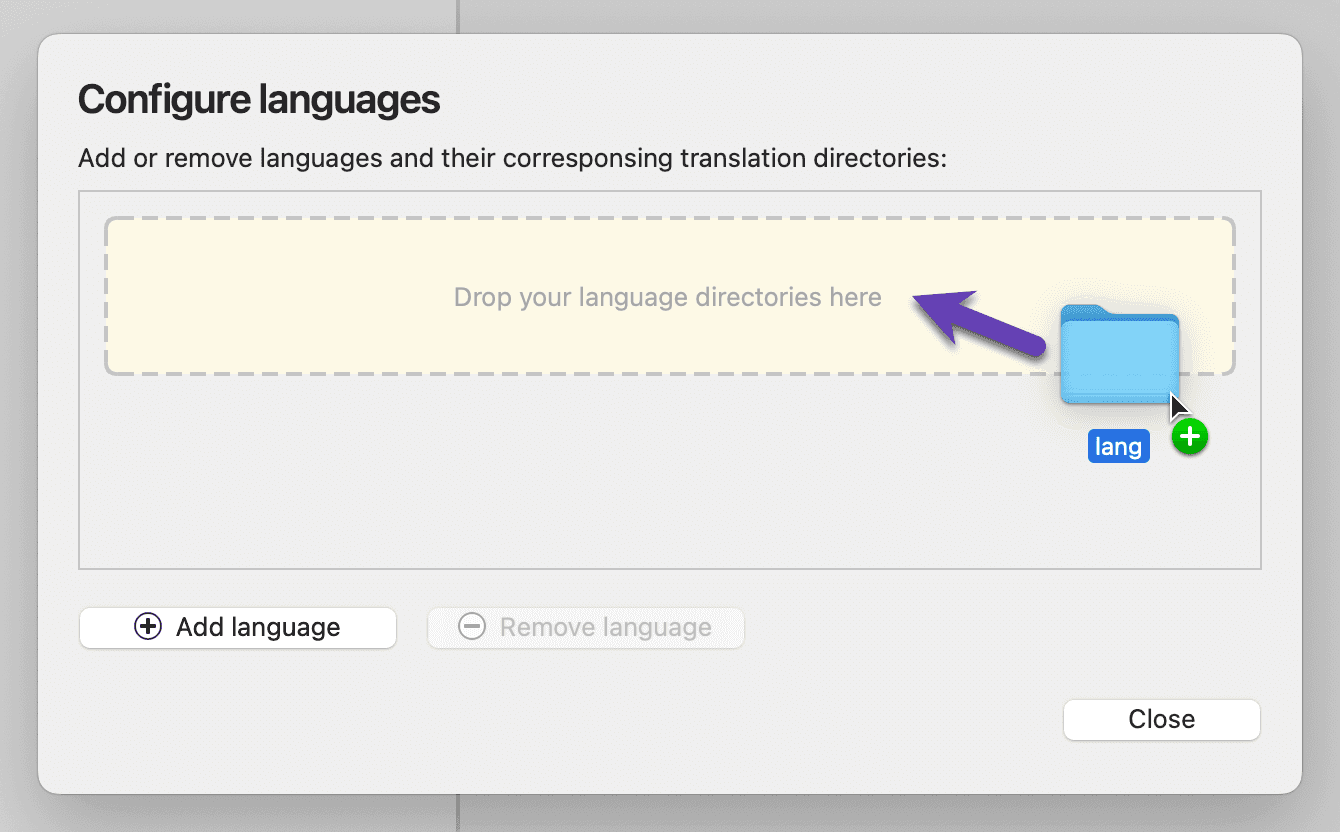
BabelEdit opens a language configuration dialog, there you can simply drop the
resources/lang directory of your Laravel project:
BabelEdit searches the directory for translations and asks you to confirm the languages. Click Ok if you are happy with the selection.
The loader for Laravel php files is quite restrictive. It only allows one single return statement with an array of translations. No variable definition or other code is permitted. Comments in the file are ignored but not written back on save.
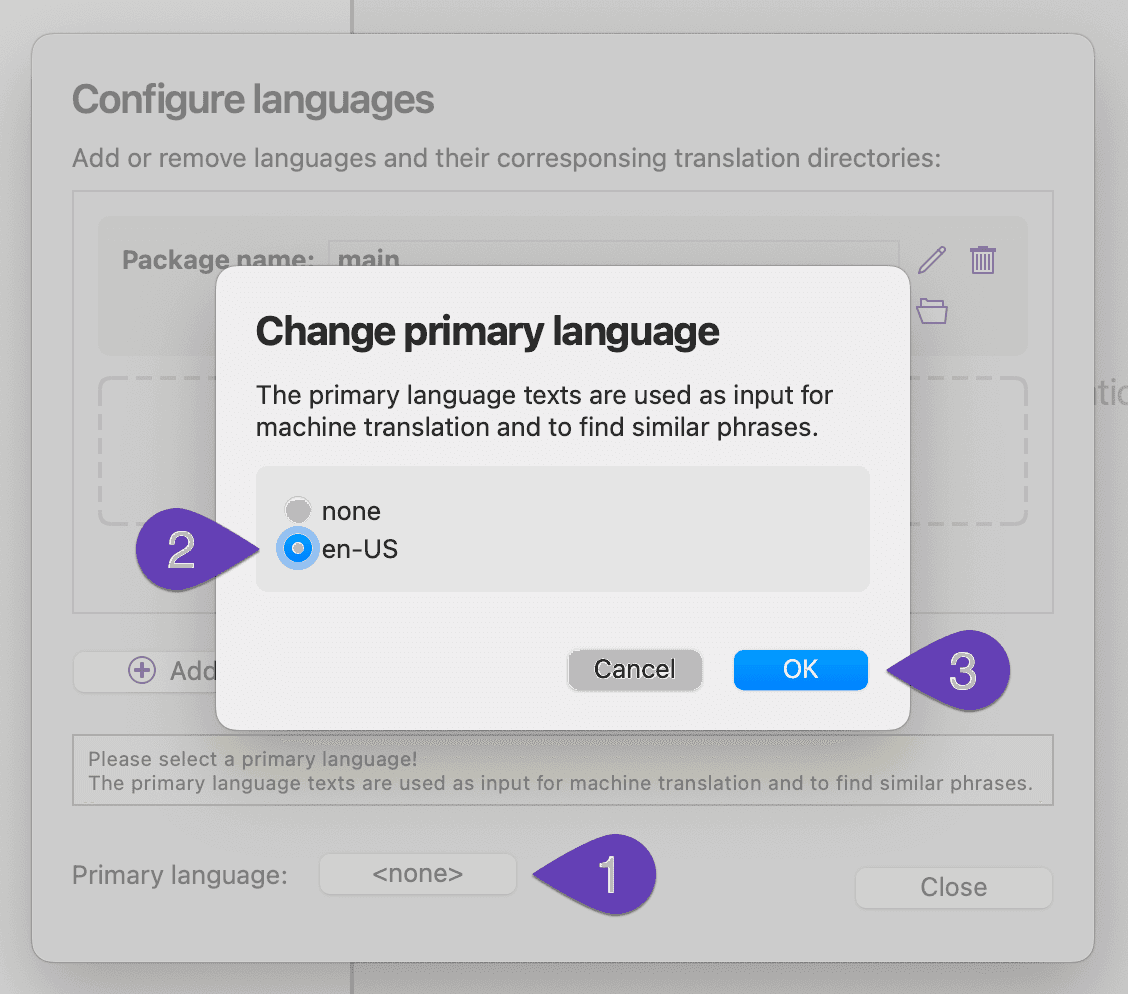
In the next step, select en-US as primary language. The primary language is the
language you use in your web app during development. BabelEdit uses it as source for features
like machine translations and suggestions.
Add a new language
Adding a new language is easy:
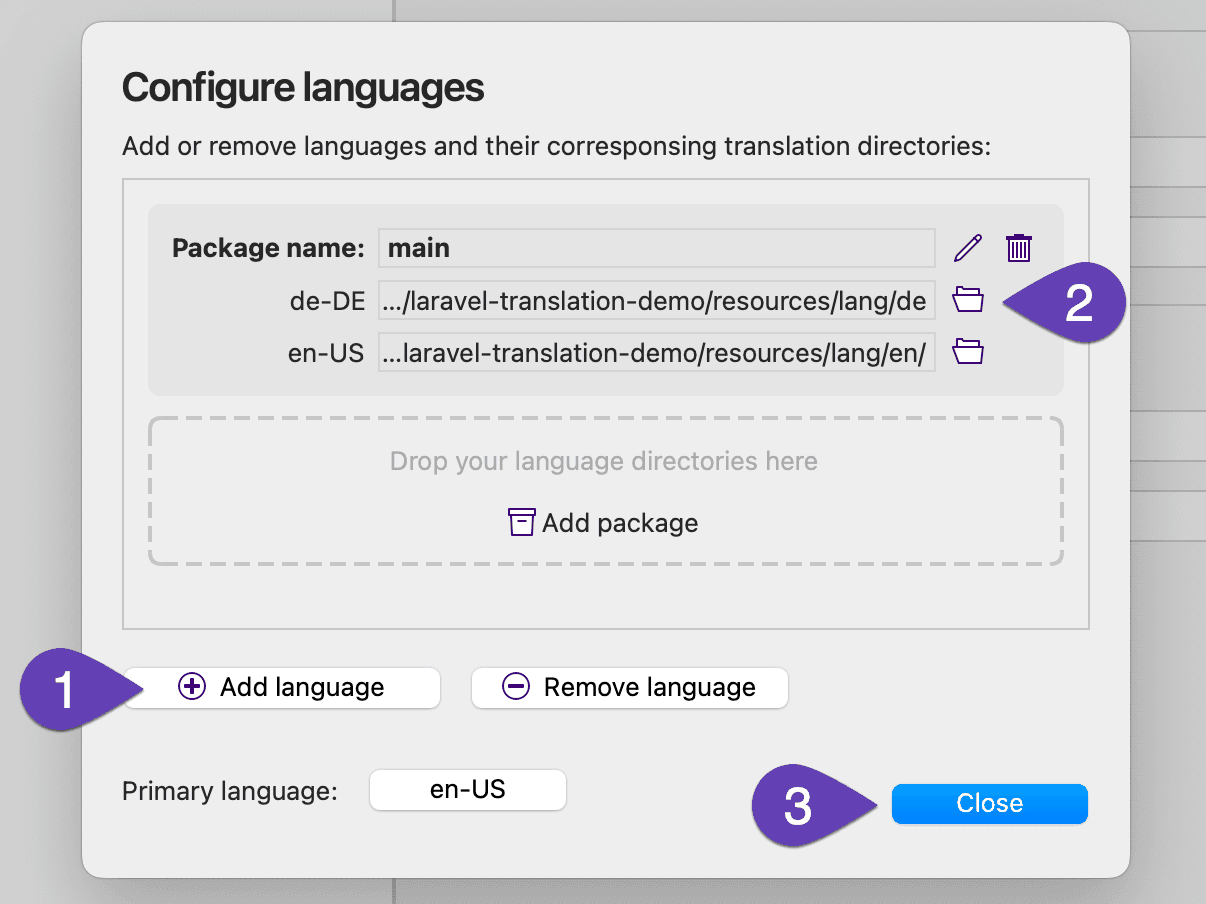
- Click the Add language button and select the language you want to add.
This adds a new file path field (2) for the language to the package
main. - Use the file selector icon on the right side of the file path field to set the directory in which you want to store the PHP translation files for this language. Create the directory if it does not yet exist.
- Close the Configure languages dialog.
Translate your messages
Back on the main screen you will now see your translation IDs and texts:
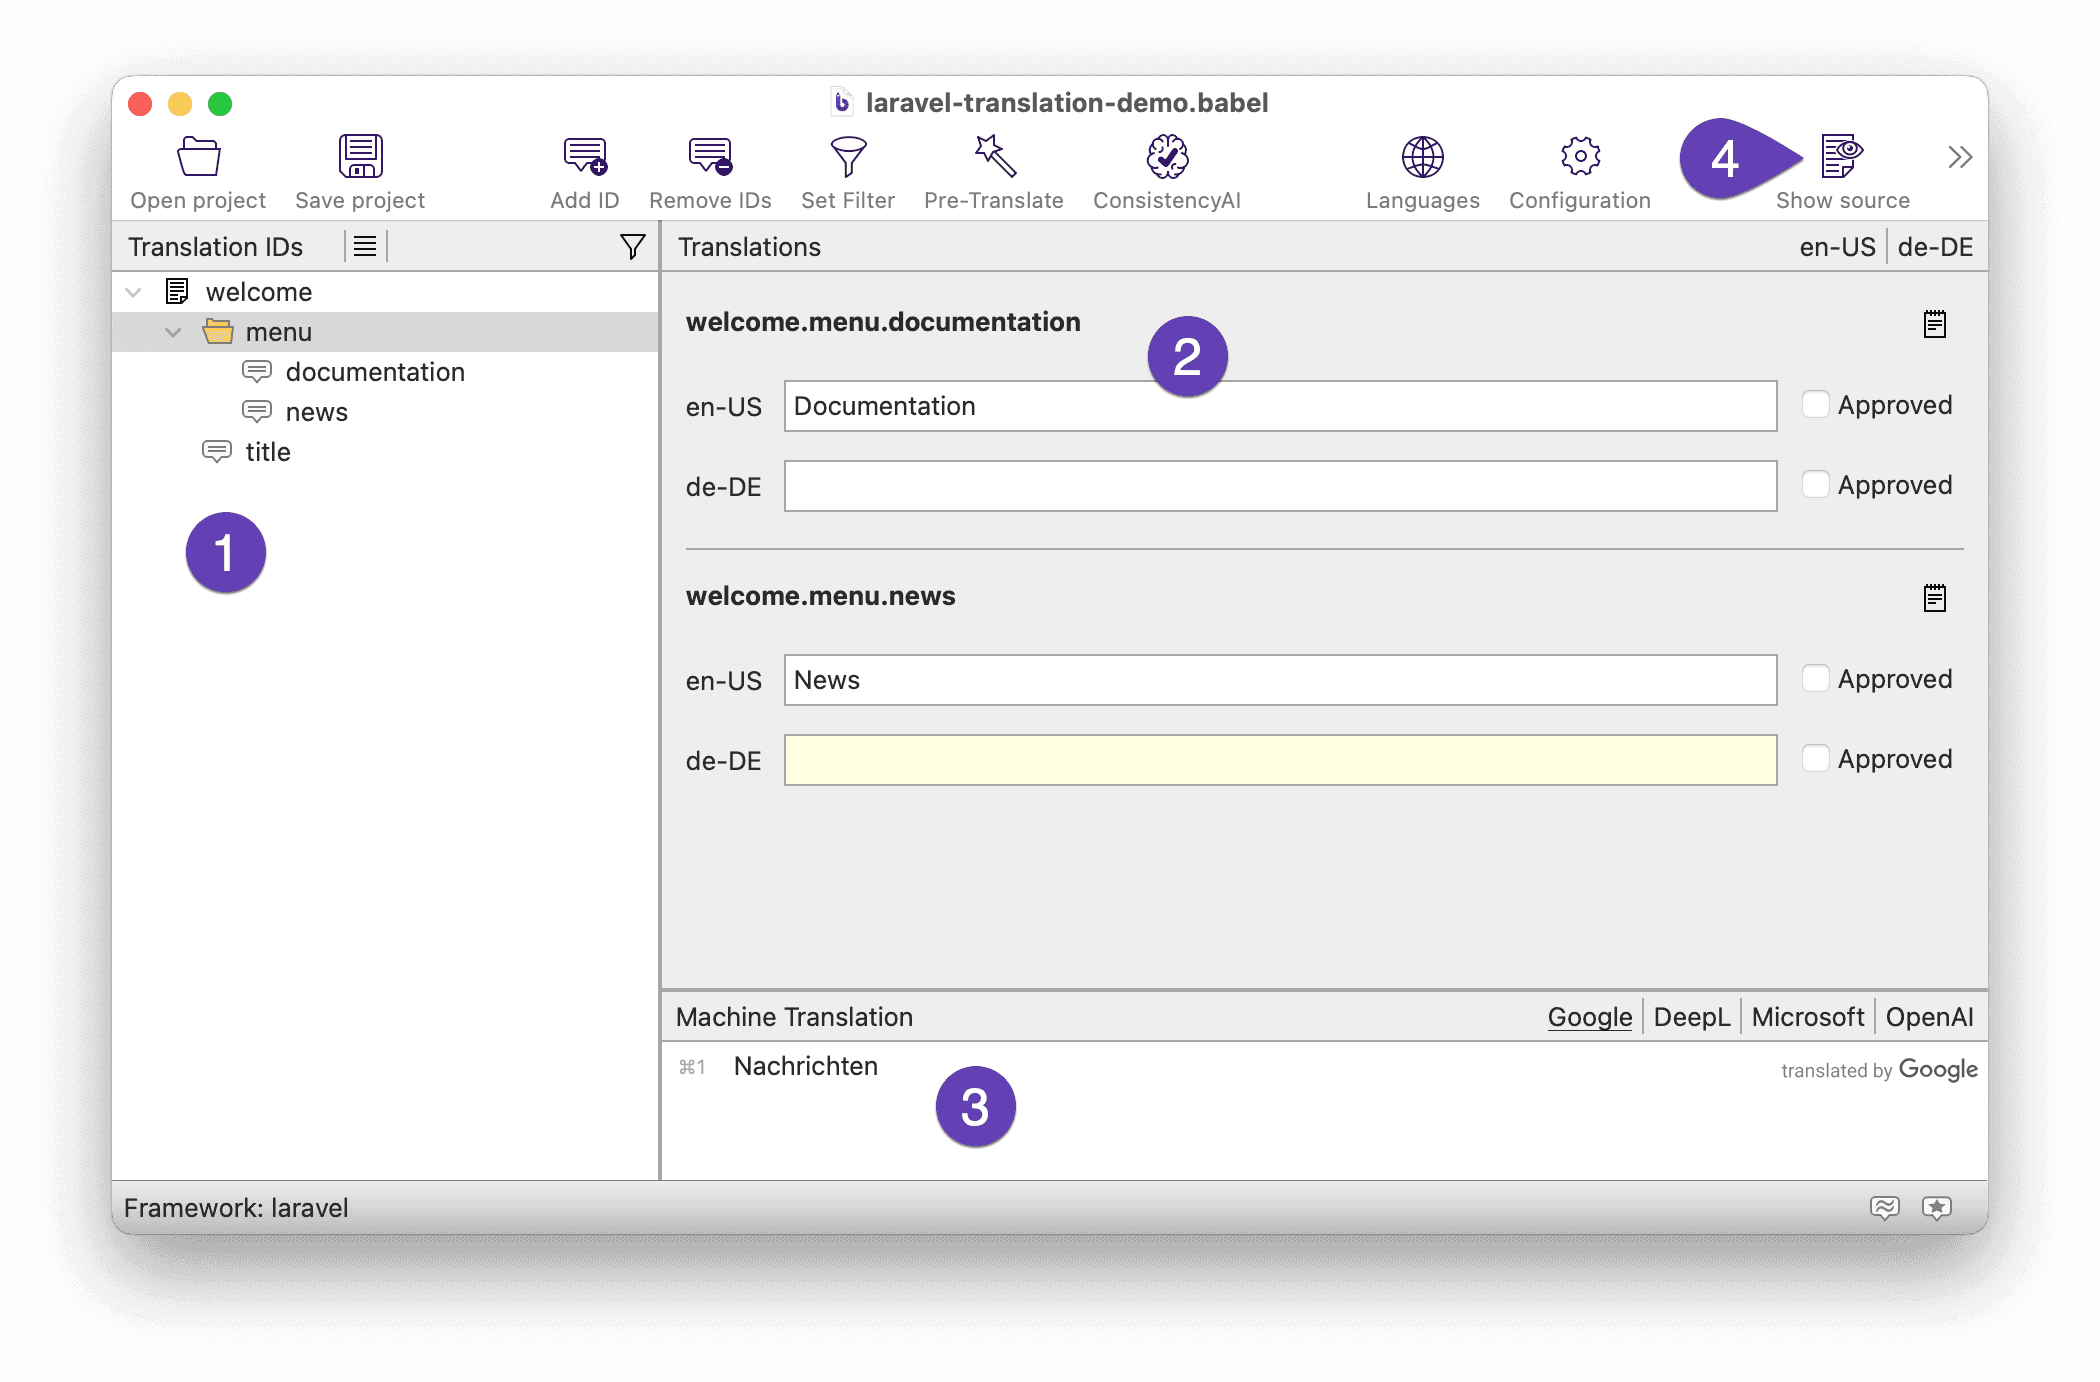
- The left tree contains all your translation IDs
- The right part displays the translation texts for the IDs you've selected in the tree
- If you place the cursor in an input field of a target language text, the Machine Translation panel displays a translation suggestion provided by translation services like Google. Click on it to copy the text to the input field. The Machine Translation panel can be enabled in the View menu.
- With the Show source button you can enable a source code view, in which you can see the positions where the currently selected translation ID is used.
Enter your translations and click Save Project. BabelEdit asks you for the file name of its project file. Name it laravel-demo.babel and store it in your project folder.
The babel file stores the project configuration, but not the translation texts itself. They will be written to the PHP files. For the newly added German translations, these files will be created automatically.
Localize your Laravel app
Adding a route to switch between languages
The current locale has to be set before the view is rendered. This can be done using
App::setLocale($locale). A good location for this is in the routes/web.php:
Route::get('/{locale}', function ($locale) {
    App::setLocale($locale);
    return view('welcome');
});
This creates separate routes for each language:
- http://127.0.0.1:8000/en for the English version
- http://127.0.0.1:8000/de for the German version
The localized routes are good for public pages that can be indexed from search engines. E.g. Google will find an English version and a German version of the page.
You can also store the current language in a cookie, user preferences or use the browser's language settings if you don't want to create separate routes. I'd not recommend doing this for public pages because it might now work well for SEO. It should be fine for pages that can only be accessed by logged-in users.
Default and fallback language
The default language of the app is set in config/app.php as locale. The default is en.
You can also set the fallback_locale — it's the language that is used if the
requested translation is not found. Default is en.
If you enable "Save empty translations" in the BabelEdit configuration, missing translations will be saved as empty strings in the PHP file. In this case, Laravel will no longer use the fallback language, but displays empty strings.
Parameters
You can add parameters to the translation strings with the following code:
echo __('messages.hello', ['name' => 'Andreas']);or
<h1>{{ __('messages.hello', ['name' => 'Andreas']); }}</h1>Set the translation string for messages.hello to
| Language | String |
|---|---|
| de | Hallo :name |
| en | Hello :name |
You can also make the first character of the placeholder uppercase or the whole string uppercase. For the value 'andreas' you'll get the following messages:
| Translation string | Result |
|---|---|
| Hello :name | Hallo andreas |
| Hello :Name | Hello Andreas |
| Hello :NAME | Hello ANDREAS |
Pluralization
Pluralization allows you to select different strings depending on
parameters. Use the trans_choice() instead of __t() when selecting the translation.
The method takes 3 parameters:
- translation id
- a number that's used for the selection
- the parameters
{{ trans_choice('welcome.likes', 1, ['user_count' => 1]) }}Add a |-character to separate the singular and plural form in your translation:
:user_count user likes this.|:user_count users like this.You can even create more fine-grained translations by providing ranges at the start of the string:
{0} Nobody likes this|[1,19] Some users like this|[20,*] Many users like thisAlternative: use JSON files to store translations
Laravel also offers the option to use JSON files (which can be edited with BabelEdit, too) for localization.
Instead of one directory per language for the PHP translation files, all translations of a language are stored in
one JSON file: resources/lang/<languagecode>.json
There are two possible ways to use JSON files:
Translation IDs as keys
This JSON format is similar to the PHP solution, but the first part of the key ("welcome" in our example) is part of the JSON key (in PHP it was used as file name).
{
	"welcome.title": "Translation demo",
	"welcome.menu.documentation": "Documentation",
	"welcome.menu.news": "News"
}
One small drawback compared to PHP is that you can't use nested arrays for a better structure of the file content.
In BabelEdit's Configuration dialog please select the JSON with namespaces in keys, tree view format. Then BabelEdit will automatically split the IDs at the '.' and visualize them as tree, in the same way as for PHP.
Plain text as keys
With plain text keys you don't need a translation file for the primary language. __("Translation demo") will be
replaced automatically by "Translation demo". For the other languages you need a JSON file which looks like this:
{
	"Translation Demo": "Übersetzungs-Demo",
	"Documentation": "Dokumentation",
	"News": "Nachrichten"
}
This format has some big disadvantages:
- These files cannot be structured using namespaces / arrays and become a mess when your project grows.
- If you change a text in your main language, the JSON keys in all other language files must be updated. Otherwise, the connection between source and target text is lost.
- The JSON files also lack context. You may need to translate the same string differently for a label and a title because of the amount of space that is available. You can't do that with this type of JSON file.
- BabelEdit does not support reading primary language text from JSON keys, so you cannot use machine translation and other features.
If you want to use this format anyway, select JSON with plaintext keys, flat view format in BabelEdit's Configuration dialog.