Quickstart: Your texture atlas in 5 seconds
I assume that installing TexturePacker should not put you in big trouble — if you still have issues, check the section Installation and Licensing.

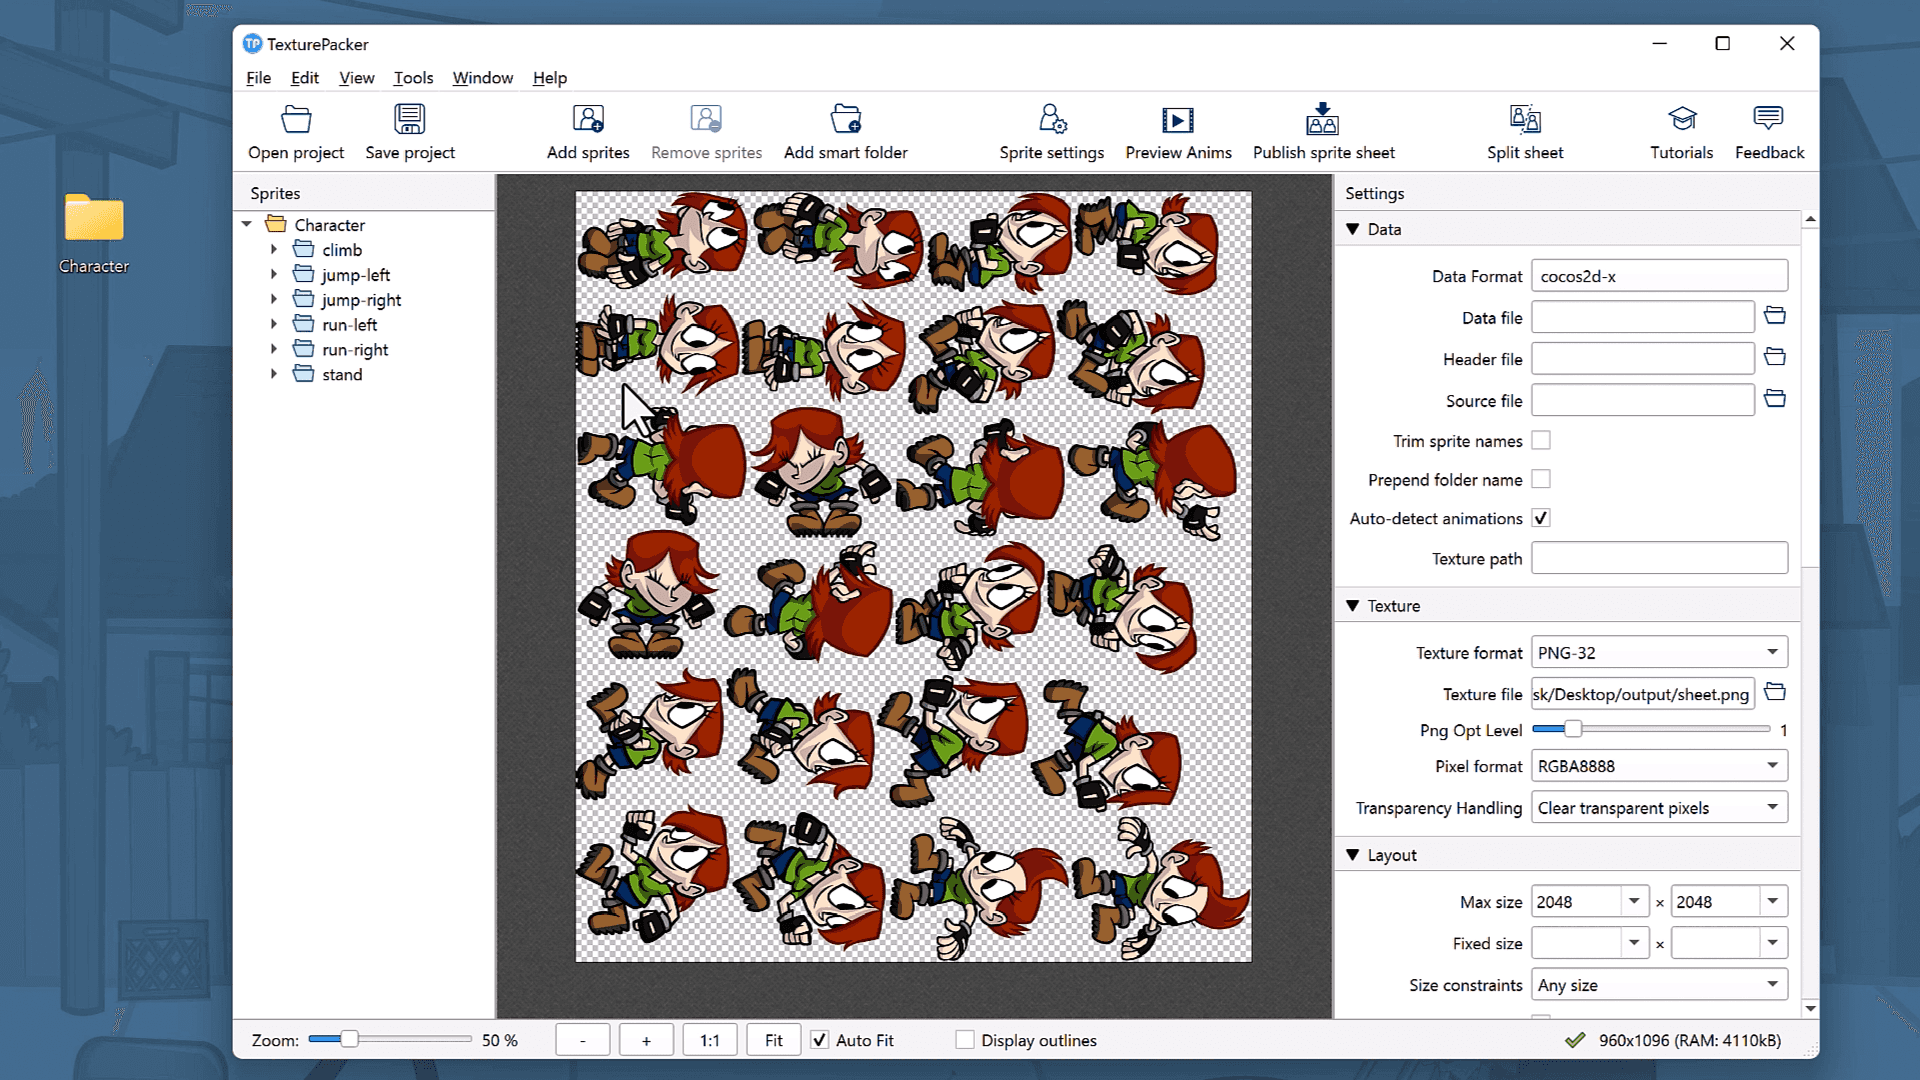
The small video above shows you how you can create your first sprite sheet in seconds:
Select the exporter / data format
This step is not required but is highly recommended if you plan to use your sprite sheet with a game engine. The data file contains information about the sprite positions, names, trimming, pivot points, 9-patch and other stuff.
Drop your sprites
Drag & drop a folder containing your sprites on the left pane. TexturePacker scans it for known image formats such as PNG, JPG, PSD, SVG, BMP, TIFF and others.
The sprite view updates each time you add new sprites to the folder, rename or change sprites.
You can adjust the layout of the sprite sheet in the right panel — see Texture Settings
Click publish
A click on the Publish button writes your sprite sheets.
Importing the sprite sheet
Many game development frameworks have built-in TexturePacker support, some require additional steps like Unity (installing our free TexturePacker importer plugin).
Please check out the Tutorials page for more information.