SpriteIlluminator user interface documentation
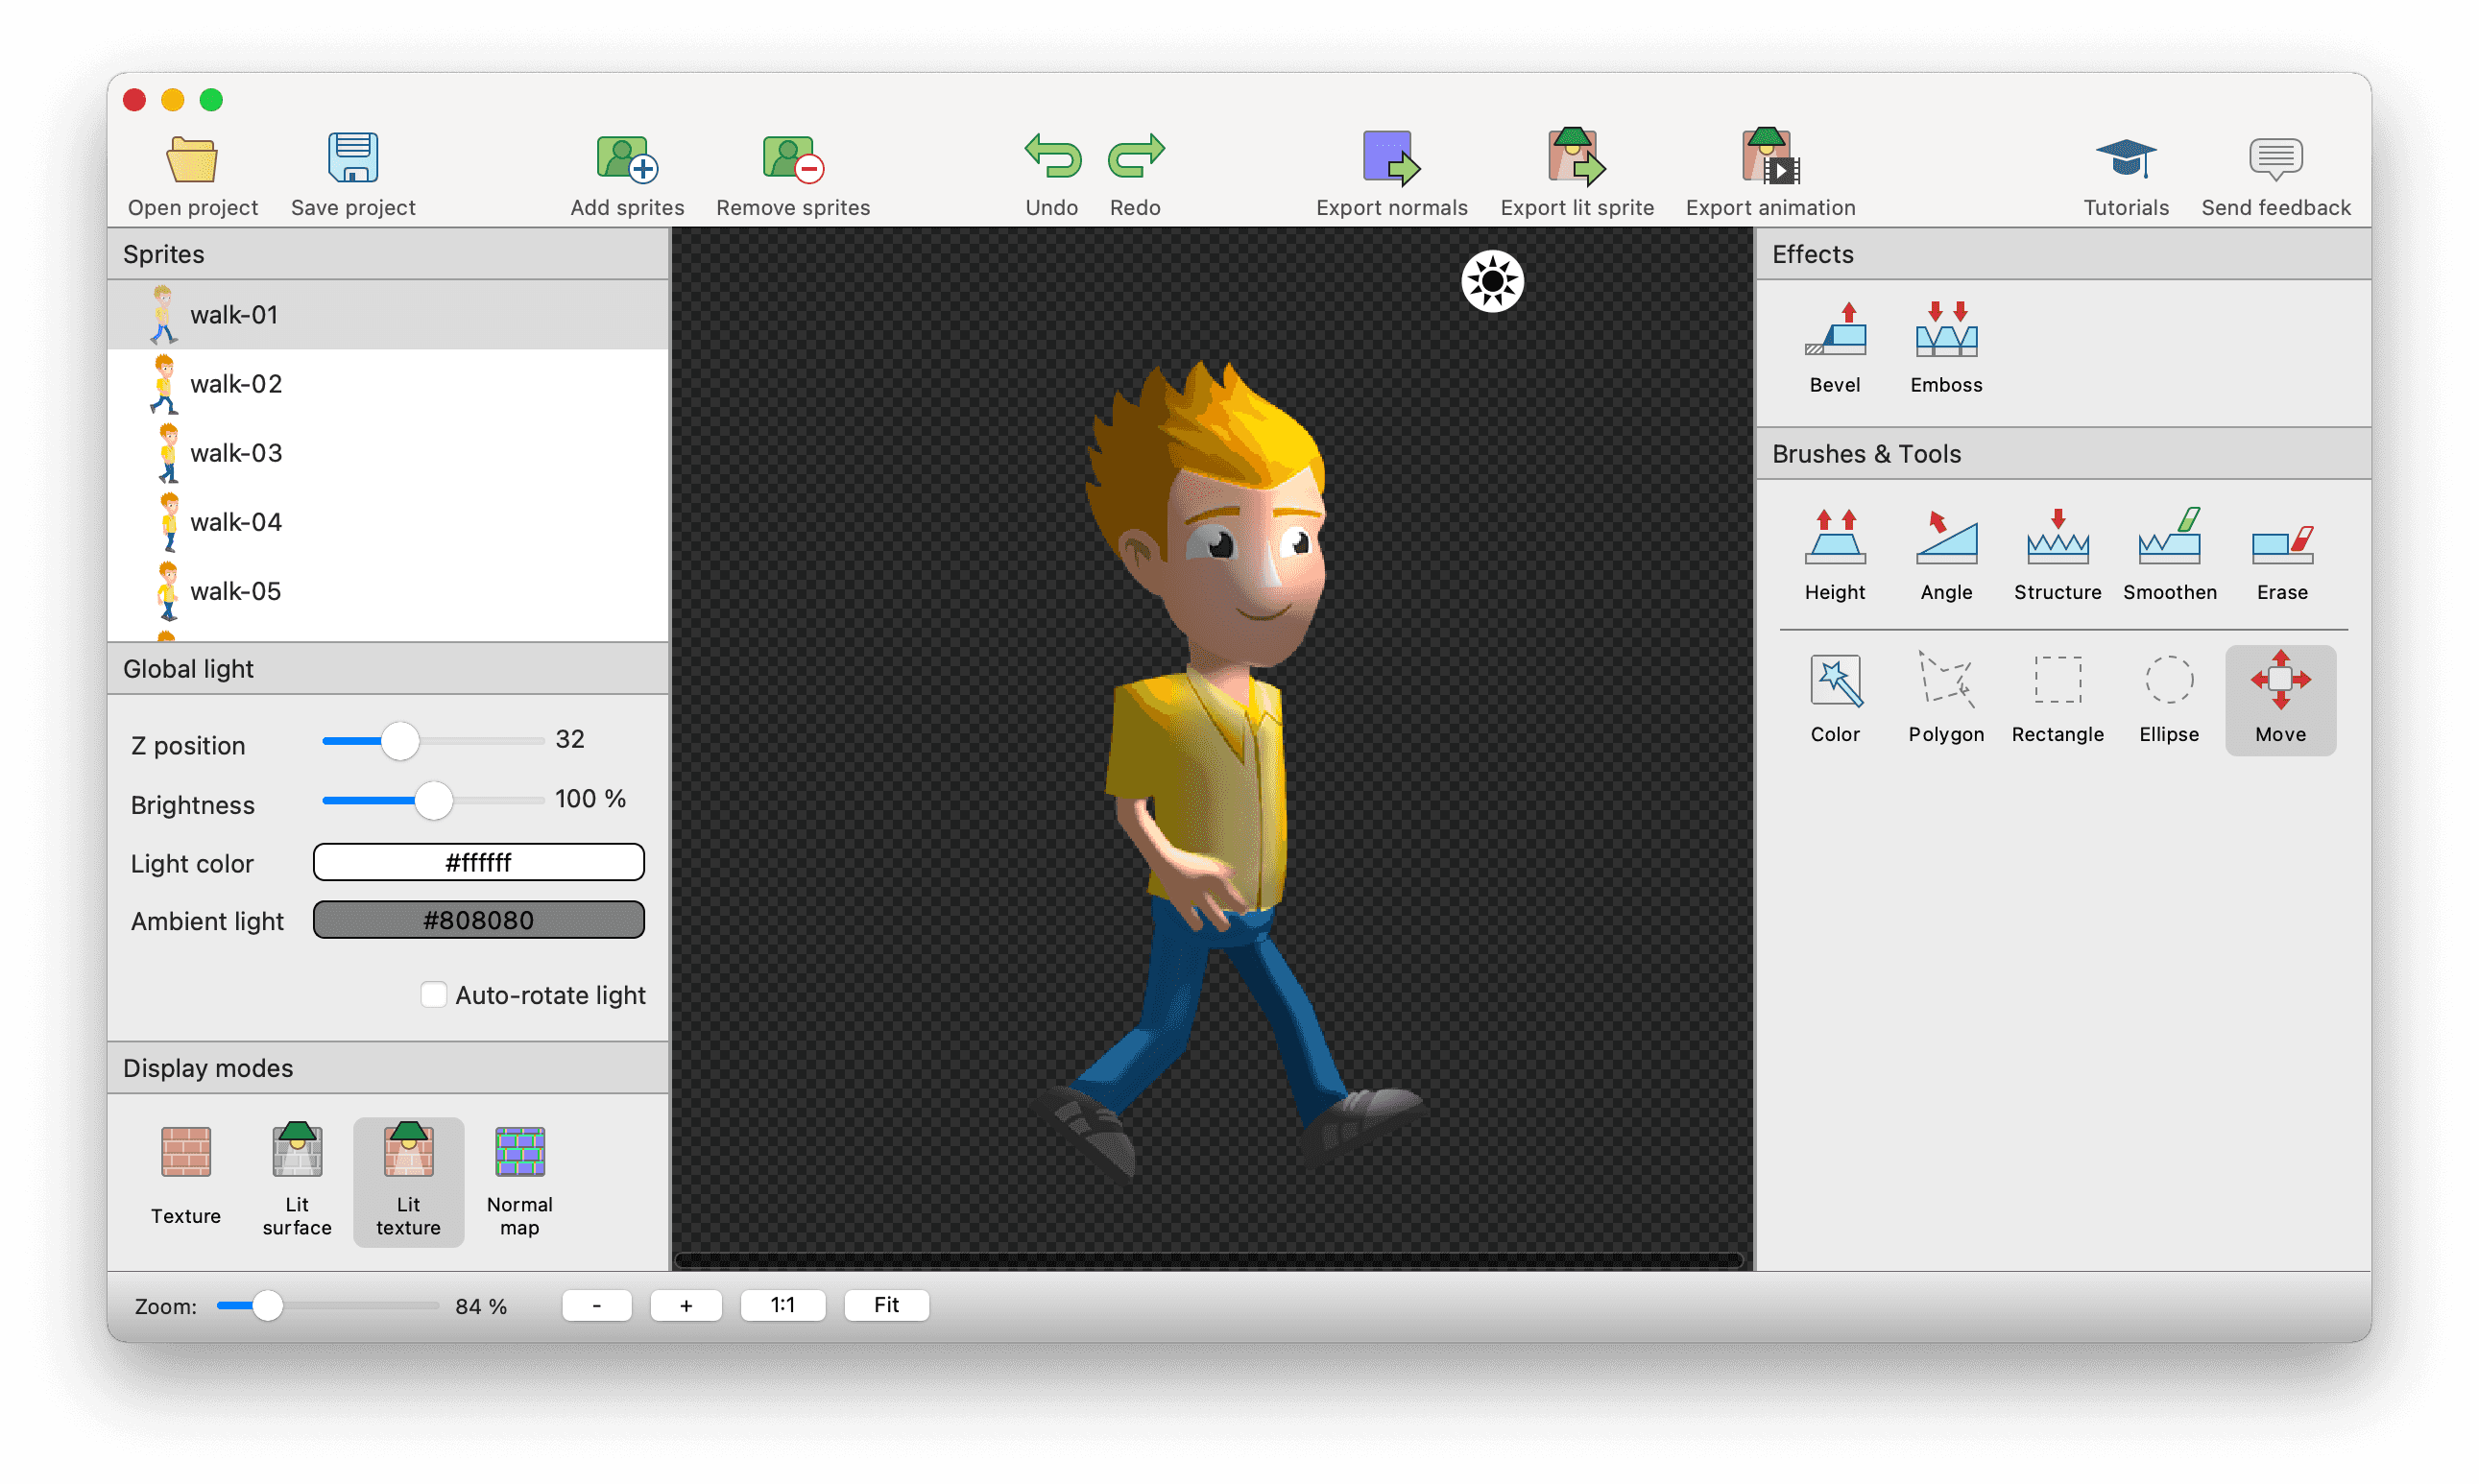
Sprites panel
Sprites
The list contains all sprites in your SpriteIlluminator project.
Add sprites by dragging and dropping image files from Finder/Explorer onto that panel. You can also add sprites using the toolbar button Add sprites.
To remove sprites press Delete or use the Remove sprites button in the toolbar.
Select a single sprite to edit / paint it.
Select multiple sprites to preview them all together. You can move them in the previewer to see how they fit together.
You can also apply effects to multiple sprites at the same time.
Global Light
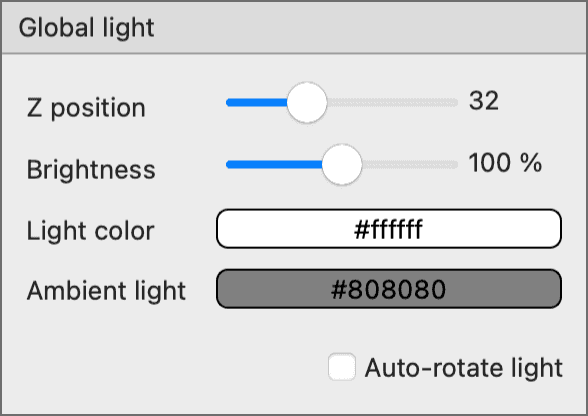
The global light panel is below the sprites panel. Use it to control the light sources in the preview area.
SpriteIlluminator supports 2 light sources in the preview panel:
- Ambient light which is a non-directional light source
- Directional light which you can move
Settings for the light sources:
- Z position
Change the Z value of the light source. 0 is next to the sprite. Bigger values move the light source away from the sprite - towards the beholder. - Brightness
Make your light darker or brighter - Light color
Change the color of the light source - Ambient light color
Change the color of the ambient light - Auto-rotate light
Animate the light source
Changing the light has no influence on your normal map. It's just for preview purposes. You might even use a different shader setup so that your sprites look different in your game.
Keyboard shortcuts for the light source in the center view:
| Windows | macOS | Action |
|---|---|---|
| P | P | Place light source under mouse pointer |
| R | R | Rotate light source |
Display modes
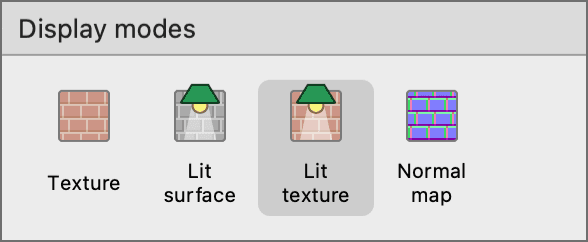
Options to change the global lighting in your scene:
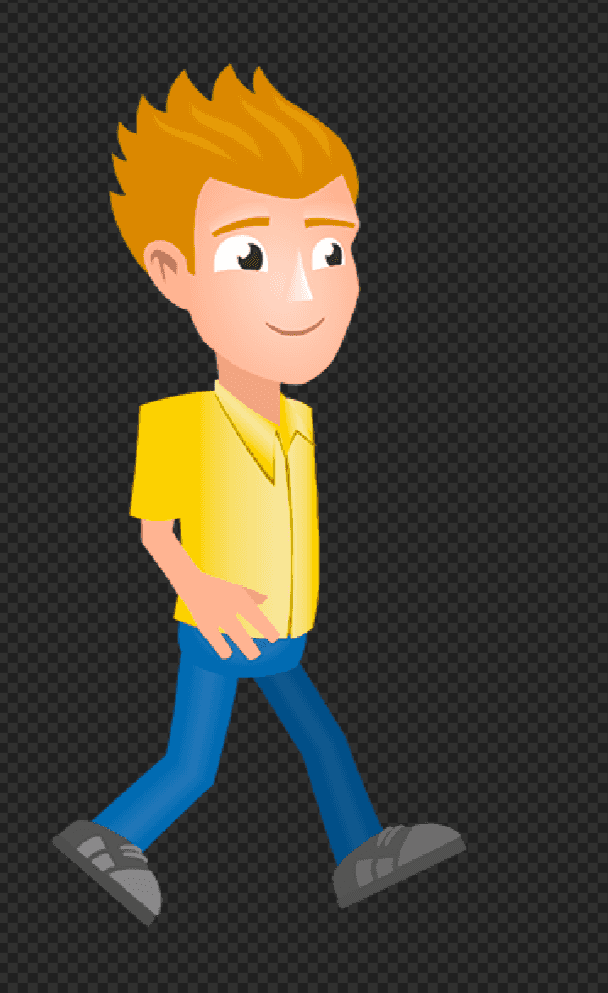
- Texture
The original unlit texture. - Lit surface
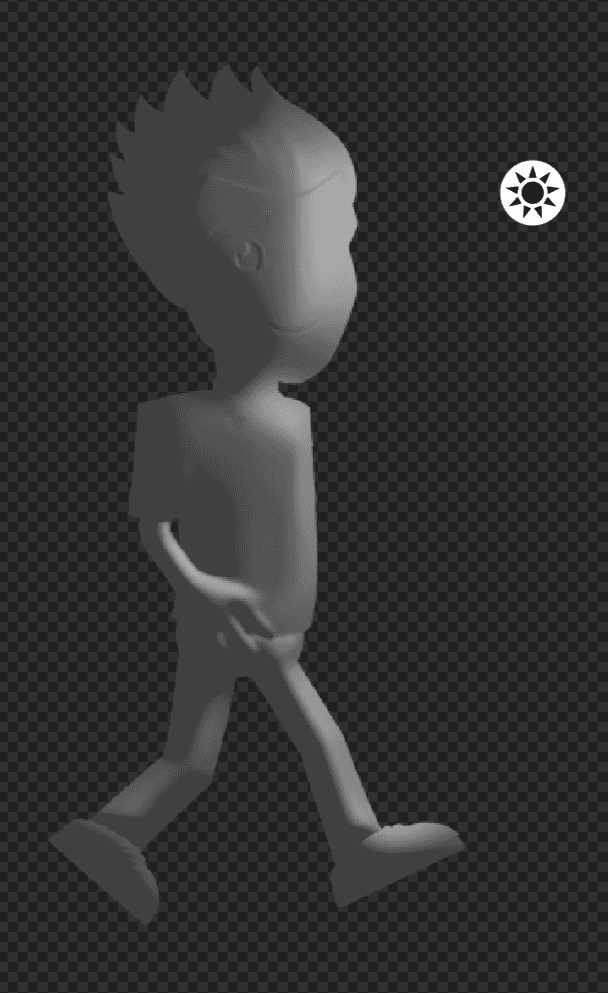
Surface, no texture colors. - Lit texture
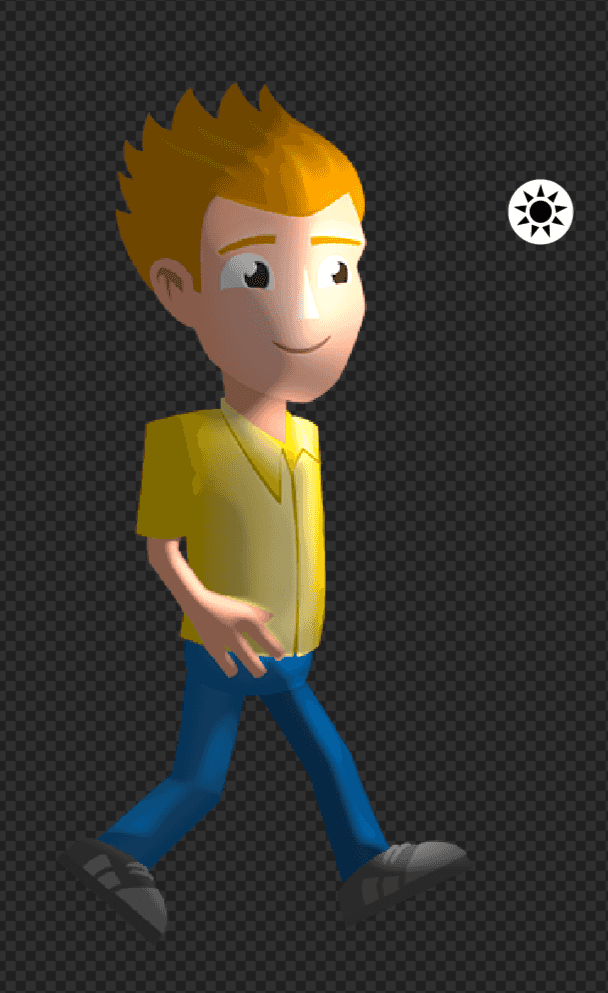
Texture with light - The normal map
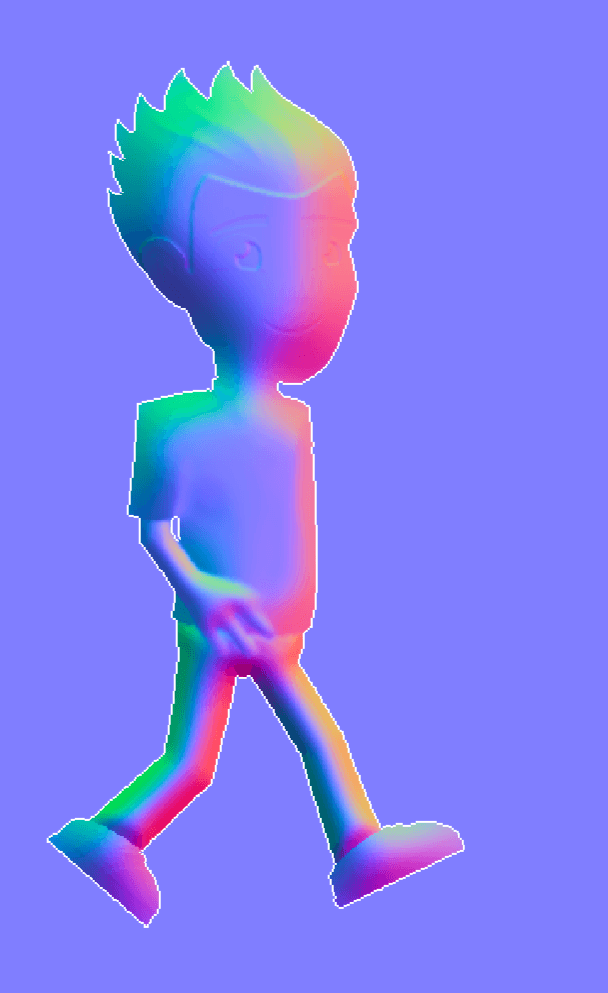
The normal map only
| Windows | macOS | Action |
|---|---|---|
| CTRL+1 | ⌥+1 | Texture |
| CTRL+2 | ⌥+2 | Lit surface |
| CTRL+3 | ⌥+3 | Lit texture |
| CTRL+4 | ⌥+4 | Normal map |
Examples for the different display modes
Toolbar
- Open project
- Open an existing .tps file.
- Save project
- Save the current project to disk. Creates a .tps file.
- Add sprites
- Add new sprites to the sheet.
- Remove sprites
- Removes selected sprite or folder from your sprite sheet.
- Add smart folder
- Add a folder containing sprites.
- Sprite settings
- Edit sprite pivot points and borders for 9-patch scaling.
- Animation preview
- Show an animation preview for the currently selected sprites.
- Publish sprite sheet
- Publish current sprite sheet. Also available from the menu as 'Force Publish'
- Split sheet
- Splits a sprite sheet into sprites.
- Tutorial
- Opens TexturePacker's tutorial page in your web browser.
Zoom and Pan
The zoom panel is located in the bottom left corner of the application.
- Use the slider to zoom in or out continuously
- Click - or + to zoom in predefined steps.
- 1:1 sets zoom factor to 100%.
- To view the complete scene window use Fit
Keyboard shortcuts:
| Windows | macOS | Action |
|---|---|---|
| CTRL+0 | ⌘+0 | Zoom 1:1 |
| CTRL+1 | ⌘+1 | Fit |
| CTRL++ | ⌘++ | Zoom In |
| CTRL+- | ⌘+- | Zoom Out |
| ALT + MouseWheel | ALT + MouseWheel | Zoom in and out |
| SPACE + Mouse drag | SPACE + Mouse drag | Pan |
Preview and paint area
The center of the tool is the preview and pain area. This is here you can see and paint your sprites.
Select a sprite in the Sprites panel to edit it.
Select multiple sprites in the Sprites panel to preview them all at once.
Use the [Zoom and pan] tools to zoom in and out of your sprites.
Tool sidebar
The tool sidebar consists of 2 types of tools:
- Effects - Algorithmic effects to create normal maps
- Draw tools - Tools to directly manipulate your sprite's normal maps
- Selection tools - Tools that restrict the area the effects and paint tools work on