Custom exporter
How to add custom output formats to PhysicsEditor:
An exporter consists of 2 files
- exporter.xml - the description of the exporter itself
- template.txt - a template file containing the file layout
The exporters shipped with PhysicsEditor are located inside the application's folder in a folder called exporters.
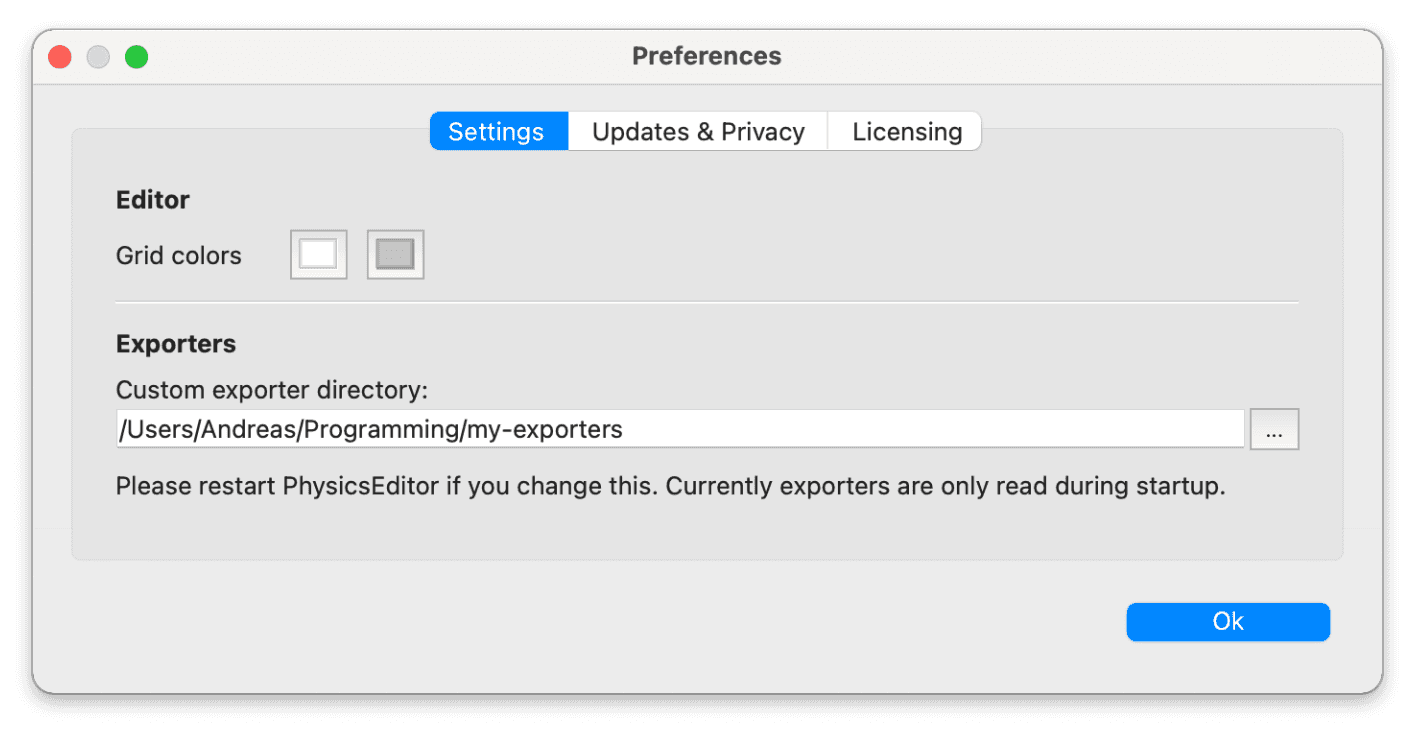
To add your own exporter you can simply point PhysicsEditor's preferences to a location where you want to keep your custom exporters.

exporter.xml
Let's first have a look at the exporter.xml. This file describes the basic information about the exporter itself.
PhysicsEditor scans the exporter directories with each start. If you change the directory location in the preferences or make some changes in the exporter.xml you need to restart PhysicsEditor. If you change the contents' template file there is no need for restarting - it is read with each export.
The exporter.xml is - as the name already says - an xml file.
It has 4 main blocks:
- Global exporter settings - settings for the exporter itself
- Global parameters - settings for all bodies - e.g. gravity
- Body parameters - settings for one body - e.g. body name, type, ...
- Fixture parameters - settings for a single fixture - e.g. bounce rate of the head
Example:
<?xml version="1.0"?>
<exporter>

    <!-- exporter settings -->
    <name>cocos2d-x</name>
    <displayName>Cocos2d-x</displayName>
    <description>Exporter for Cocos2d-x</description>
    <version>1.0</version>
    <yAxisDirection>up</yAxisDirection>
    <physicsEngine>chipmunk</physicsEngine>
    <template>cocos2d-x.plist</template>
    <fileExtension>plist</fileExtension>
    <anchorPoint>
        <enabled>yes</enabled>
        <relX>0.5</relX>
        <relY>0.5</relY>
    </anchorPoint>
    <origin>
        <type>fixed</type>
        <relX>0.5</relX>
        <relY>0.5</relY>
    </origin>

    <global>
        <!-- global parameters -->
    </global>

    <body>
        <!-- body parameters -->
        <parameter>
            <name>is_dynamic</name>
            <displayName>Dynamic body</displayName>
            <description>A non-dynamic body is immovable such as a wall or the ground.</description>
            <type>bool</type>
            <default>true</default>
        </parameter>
        ...
    </body>

    <fixture>
        <!-- fixture parameters -->
        <parameter>
            <name>density</name>
            <displayName>Density</displayName>
            <description>Density of the physics shape.</description>
            <type>float</type>
            <default>1.0</default>
        </parameter>
        ...
    </fixture>
</exporter>
Global exporter parameters
| Element | Type | Info |
|---|---|---|
<name> | string | Identifier for the exporter, must be unique. Otherwise the lastest exporter found for that name will overwrite the others. |
<displayName> | string | This is how the exporter's name is displayed in the combo box in the GUI |
<description> | string | Some information about the exporter |
<version> | string | Exporter version - should be build from digits separated with dots - e.g. 1.0 or 1.0.1 |
<yAxisDirection> | "up" | "down" | Direction of the yAxis |
<physicsEngine> | "box2d" | "chipmunk" | "generic" | Name of the physics engine used. This currently set the polygon orientation. |
<template> | string | Name of the template file - relative to the exporter.xml |
<fileExtension> | string | File extension used when exporting the data file |
Anchor Points

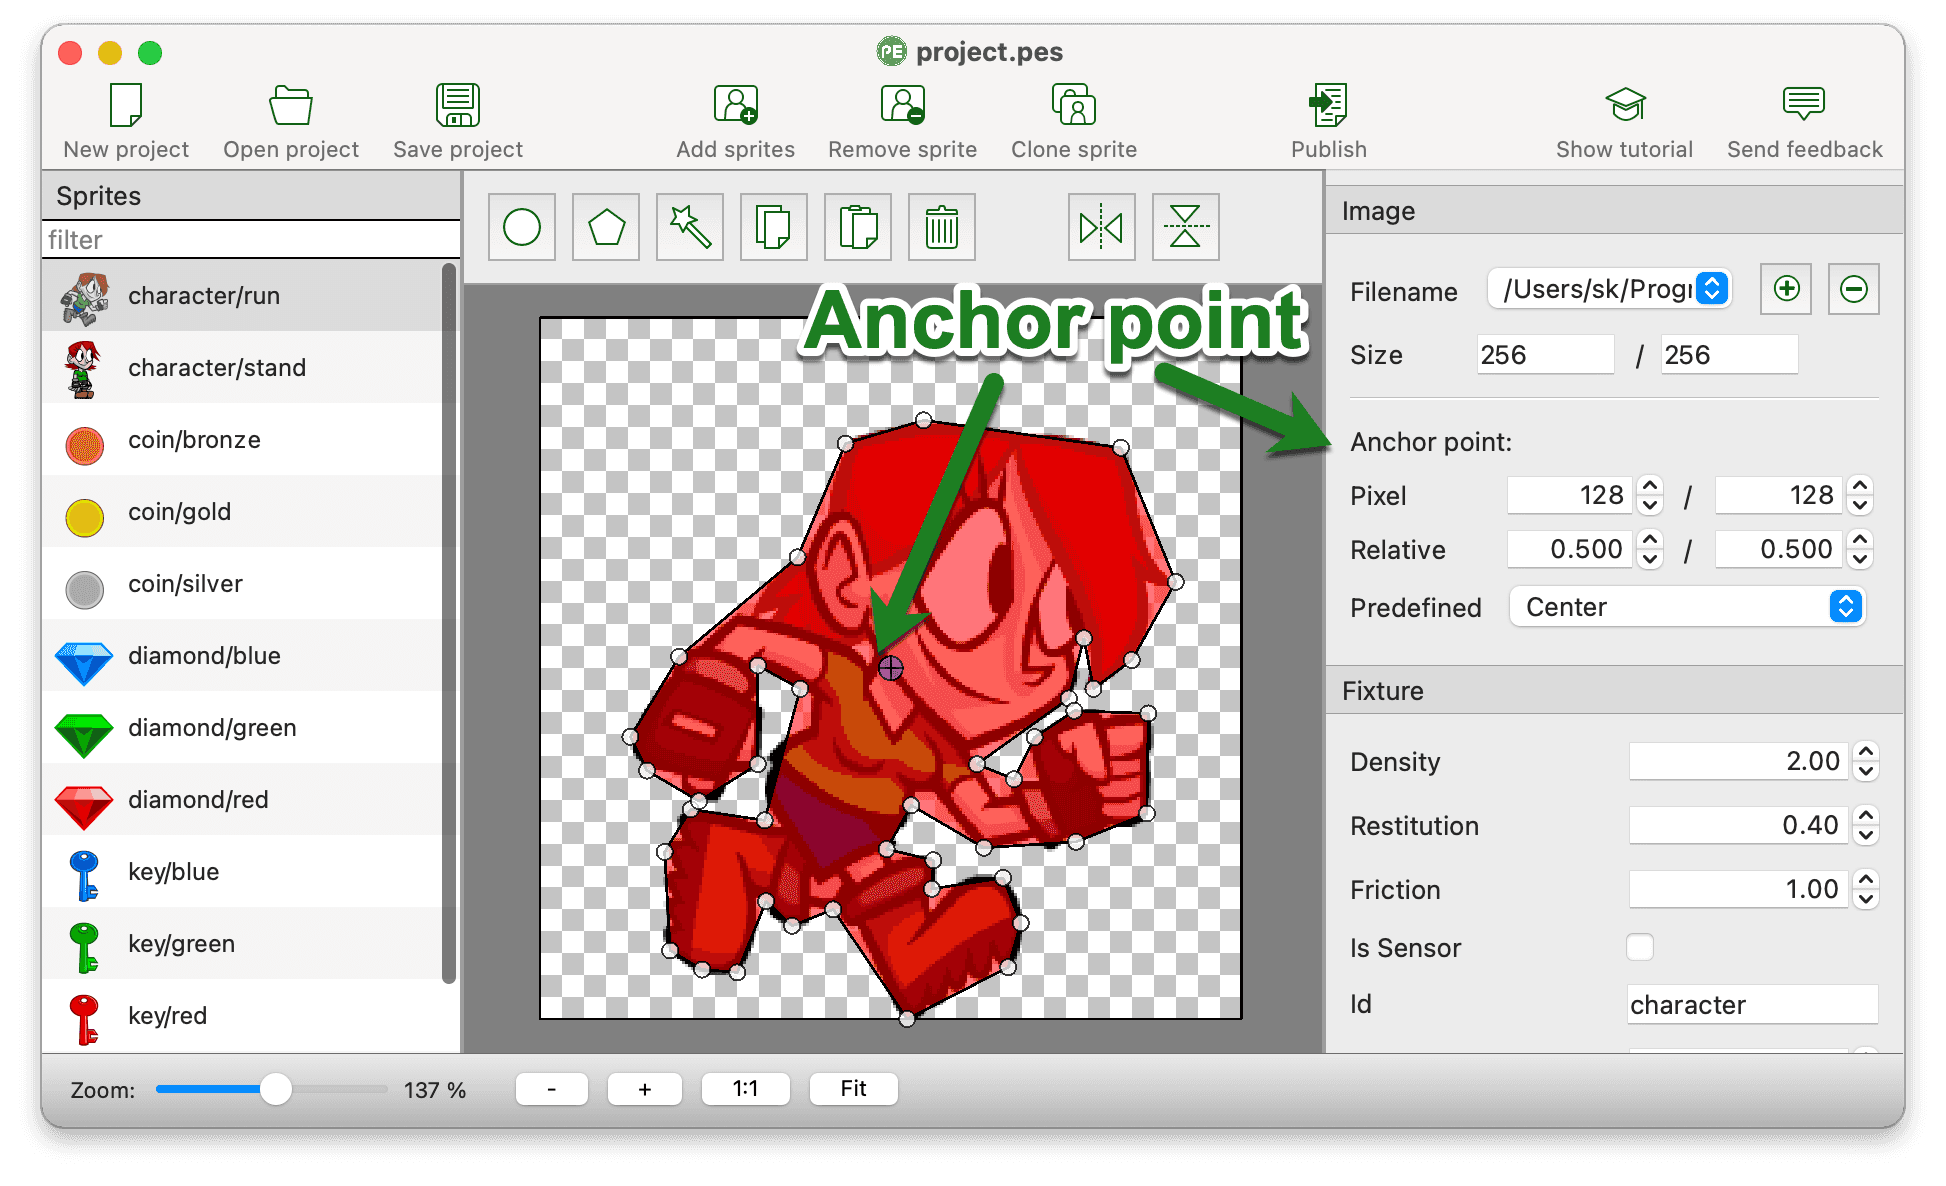
AnchorPoints can be used as the center of a sprite - e.g. for rotation or move operations.
When setting the origin to anchorPoint it is also possible to center.
Additional global parameters are anchor points:
| Element | Type | Info |
|---|---|---|
<enabled> | "yes" | "no" | Display and use anchor points for this exporter |
<relX> | float | Relative position of the anchor points x position |
<relY> | float | Relative position of the anchor points y position |
Origin
Origin - the 0/0 location of the sprite. This might be set to a fixed position or to the anchor point.
| Element | Type | Info |
|---|---|---|
<type> | "fixed" | "anchorPoint" | Fixed sets a fixed relative position to the sprite's size, anchorPoint uses the AnchorPoint as sprite's center |
<relX> | float | Relative position of the origin x position |
<relY> | float | Relative position of the origin y position |
Parameter blocks
There are 3 parameter blocks which can be used to define properties and values on file base, per body and per fixture.
| Element | Type | Info |
|---|---|---|
<global> | <parameter>[] | The global parameters used for the complete file - e.g. gravity |
<body> | <parameter>[] | Parameters used for an individual body |
<fixture> | <parameter>[] | Parameters used on an individual fixture. Might be multiple sub-fixtures in case the fixture is decomposed into convex parts. |
Parameter definitions
In each of the elements <global>, <body> and <fixture>
zero or more parameters can be defined.
Values for all parameters
These elements must be present for all parameters and define their appearance in the GUI.
| Element | Type | Info |
|---|---|---|
<name> | string | Name of the value (used in the template) |
<displayName> | string | Human readable name of the value (used in the user interface) |
<description> | string | Description of the element used in the tooltip when hovering over the element for some time |
<shortDescription> | string | Short description of the element used in the status bar when hovering over the element |
<type> | " | Type of the parameter - which adds additional fields |
<bitfield> | "yes", "no" | Connects a value to an existing bit field |
bool
| Element | Type | Info |
|---|---|---|
<type> | bool | Defines a bool input field / Checkbox |
<default> | "false" | "true" | The default value |

<parameter>
    <name>isSensor</name>
    <displayName>Is Sensor</displayName>
    <description>The object only detects collisions without colliding</description>
    <shortDescription>Turns the fixture into a sensor</shortDescription>
    <type>bool</type>
    <default>false</default>
</parameter>
string
| Element | Type | Info |
|---|---|---|
<type> | string | Defines a string input field |
<default> | string | The default value which is used if nothing else is entered |

<parameter>
    <name>fixture_id</name>
    <displayName>Identifier</displayName>
    <description>Identify a fixture during collision detection</description>
    <shortDescription>Identifier for the fixture</shortDescription>
    <type><code>string</code></type>
    <default>fixture123</default>
</parameter>
float
| Element | Type | Info |
|---|---|---|
<type> | float | Defines a float input field |
<default> | float | The default value |
<min> | float | Minimum value |
<max> | float | Maximum value |

<parameter>
    <name>density</name>
    <displayName>Density</displayName>
    <description>
        Density of the fixture, results in the mass if multiplied with the fixture's area
    </description>
    <shortDescription>Density of the fixture</shortDescription>
    <type>float</type>
    <min>-1000</min>
    <max>1000</max>
    <default>2.0</default>
</parameter>
int / uint16
| Element | Type | Info |
|---|---|---|
<type> | int | Defines a int input field |
<default> | int | The default value |

<parameter>
    <name>filter_groupIndex</name>
    <displayName>Group</displayName>
    <description>
        Collision group - objects which have collision enabled need to be in the same collision group
    </description>
    <shortDescription>The collision group</shortDescription>
    <type>int</type>
    <default>0</default>
</parameter>
BitField
The bit field is a more complicated structure and might get a better XML representation some day.
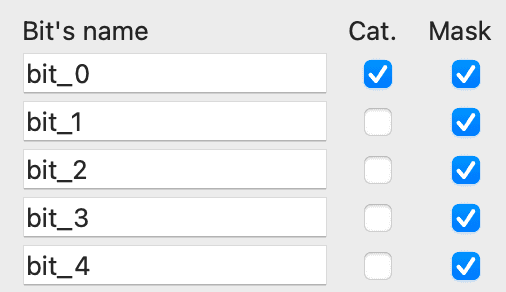
It works quite simple for now. First you need to define a bitfield parameter which holds the other values.
The values themselves get an additional field <bitfield>yes</bitfield> which connects them to the bit field.
Make sure to match the size of the values to the <size> value in the bitfield definition.
| Element | Type | Info |
|---|---|---|
<type> | "bitfield" | Defines a bitfield input |
<size> | int | The number of bits usually 16 or 32 |

This block creates the basic bit field:
<parameter>
    <name>filter_bitfield</name>
    <type>bitfield</type>
    <size>16</size>
</parameter>
This block adds a variable for the collision category and attaches it to the bit field.
<parameter>
    <name>filter_categoryBits</name>
    <displayName>Cat.</displayName>
    <description>Collision category</description>
    <shortDescription>Collision category</shortDescription>
    <type>uint16</type>
    <default>1</default>
    <bitfield>yes</bitfield>
</parameter>
This block adds another variable for the collision mask:
<parameter>
    <name>filter_maskBits</name>
    <displayName>Mask</displayName>
    <description>Collision mask</description>
    <shortDescription>Collision mask</shortDescription>
    <type>uint16</type>
    <default>65535</default>
    <bitfield>yes</bitfield>
</parameter>
The Template
I am using the GrantLee template system, which is close to Django templates. The basics are available from the TexturePacker & PhysicsEditor Template Language. A good starting point is the plain text exporter which is part of PhysicsEditor's distribution - since it contains all variables and features.
The template gets its data through the data structure described below.
Referencing values
You can access 2 types of values
- Build in values
- Values that are added through parameters in exporter.xml
Values are surrounded by {{ and }}
Sub values are separated by ..
You might use | after the value itself to use filters for changing the value itself.
Please have a look at TexturePacker & PhysicsEditor Template Language for more details about that.
| Template | Output | Remark |
|---|---|---|
g={{global.gravity}}; | g=9.800000; | This uses the |
g={{global.gravity|floatformat:3}}; | g=9.800; | Same as above with shortening the float value to 3 digits. |
Control structures
Control-Structure: if
{% if condition %} ... {% else %} ... {% endif %}Renders the first block if the condition is true, the second if it's false.
Example:
dynamic = {% if body.is_dynamic %}true{% else %}false{% endif %};Control-Structure: for
{% for object in objectList %} ... {% endfor %}Loops over a list of elements in the data structure.
The variable forloop.first is true if the loop is in the first cycle.
Example:
{% for body in bodies %}
    {{body.name}}
{% endfor %}
Mixed example
This example prints a list of coordinates, separating each block with a , but not adding a comma before the first element of the list:
{% for point in fixture.hull %}
{% if not forloop.first %}, {% endif %}({{point.x}}, {{point.y}})
{% endfor %}
Data structure
Top level objects
| Value | Type | Description |
|---|---|---|
global | | Contains all generic parameters defined in |
bodies | Body | Contains all bodies as |
Body
A body object holds all the bodies defined in PhysicsEditor.
Here's a table of the built-in values.
Values defined in the <body> section of the exporter.xml are added to the object.
| Value | Type | Description |
|---|---|---|
anchorPointRel | Point | Anchorpoint's coordinates relative to the sprite's size. |
anchorPointAbs | Point | Anchorpoint's coordinate in pixels. |
size | Size | The body's size in pixels. Same as sprite width. |
fixtures |
| List of body's |
Fixture
A fixture object holds all the fixtures defined in a body.
Values defined in the <fixture> section of the exporter.xml are added to the object.
Circle-Fixture
These additional values are available inside circle fixtures.
| Value | Type | Description |
|---|---|---|
type | " | Type of the fixture |
isCircle | true | Convenience function to check if the fixture is a circle |
radius | float | The radius of the shape in pixels |
center | Point | Circle's center coordinate |
Polygon-Fixture
These additional values are available inside polygon fixtures.
| Value | Description | |
|---|---|---|
type | " | Type of the fixture |
isCircle | false | Convenience function to check if the fixture is a circle |
hull | Polygon | All points as a single |
polygons |
| List of convex |
Polygon
A polygon is a list of Point objects.
Point
| Value | Description |
|---|---|
x | x coordinate of a vertex in pixels |
y | y coordinate of a vertex in pixels |
Size
| Value | Description |
|---|---|
width | width of the object in pixels |
height | height of the object in pixels |