What you are going to learn:
- Create your normal maps + sprite sheets using SpriteIlluminator and TexturePacker.
- Load animation frames from a sprite sheet
- Load a normal map sprite sheet and add a light effect to your animation
What you are going to learn
- Create your normal maps + sprite sheets using SpriteIlluminator and TexturePacker.
- Load animation frames from a sprite sheet
- Load a normal map sprite sheet and add a light effect to your animation
Create your normal maps
The easiest way to create normal maps for your sprites is to use SpriteIlluminator. For a quick start you simply
-
Drag + drop your sprites on the SpriteIlluminator window
-
Select all sprites
-
Apply Bevel and Emboss effects
-
Publish the normal map images to the sprite directory, using the
_nsuffix
Create the sprite sheets
With TexturePacker you can pack sprites + normal maps on two different sprite sheets, using the same layout:
-
Start TexturePacker and create a new cocos2d project
-
Drag + drop sprites and normal maps on the TexturePacker window
-
Enable the Pack with same layout option in the Normal Maps section
-
Publish the sprite sheets
Setup your Cococ2D-x project
To create a new Cocos2d-x project we can use the cocos command, with the option -l cpp we create a C++ "hello world" project.
~/Frameworks/cocos2d-x $ cocos new LightingDemo -l cppRunning command: new
> Copy template into /Users/joachim/Frameworks/cocos2d-x/LightingDemo
> Copying cocos2d-x files...
> Rename project name from 'HelloCpp' to 'LightingDemo'
> Replace the project name from 'HelloCpp' to 'LightingDemo'
> Replace the project package name from 'org.cocos2dx.hellocpp' to 'org.cocos2dx.LightingDemo'
> Replace the mac bundle id from 'org.cocos2dx.hellocpp' to 'org.cocos2dx.LightingDemo'
> Replace the ios bundle id from 'org.cocos2dx.hellocpp' to 'org.cocos2dx.LightingDemo'
~/Frameworks/cocos2d-x $Open the new project using Xcode or VisualStudio.
Load sprite sheet and add an animation
We can replace the init() method of HelloWorldScene.cpp by our own: First we have to load the sprite sheet data file (the one with the .plist extension)
into the SpriteFrameCache . The texture image file is automatically loaded, its name is composed by replacing the .plist suffix with .png:
bool HelloWorld::init()
{
    if (!Layer::init())
        return false;

    auto spritecache = SpriteFrameCache::getInstance();
    spritecache->addSpriteFramesWithFile("spritesheet.plist");
Now we can fetch the individual sprite frames of our animation from the cache:
    Vector<SpriteFrame*> animFrames;
    char str[100];
    for(int i = 1; i <= 8; i++)
    {
        sprintf(str, "character/%02d.png", i);
        animFrames.pushBack(spritecache->getSpriteFrameByName(str));
    }
Finally we create a sprite, set the Animate action on it, and add the sprite to the scene:
    auto sprite = Sprite::createWithSpriteFrame(animFrames.front());

    Animation *animation = Animation::createWithSpriteFrames(animFrames, 1.0f/8);
    sprite->runAction(RepeatForever::create(Animate::create(animation)));
    sprite->setPosition(Director::getInstance()->getWinSize() / 2);

    addChild(sprite);

    return true;
}
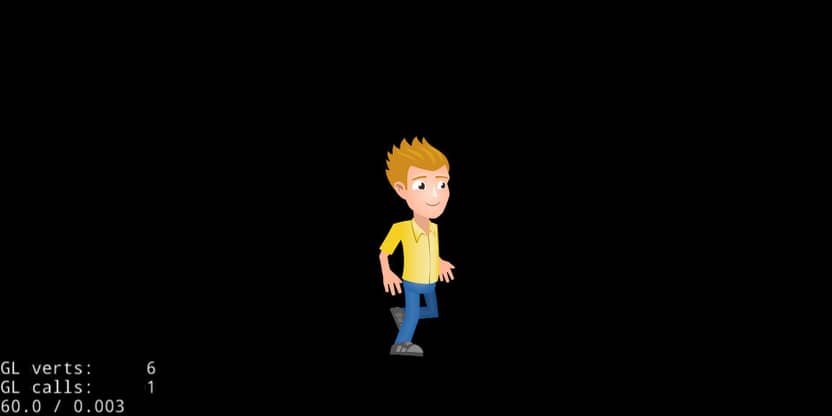
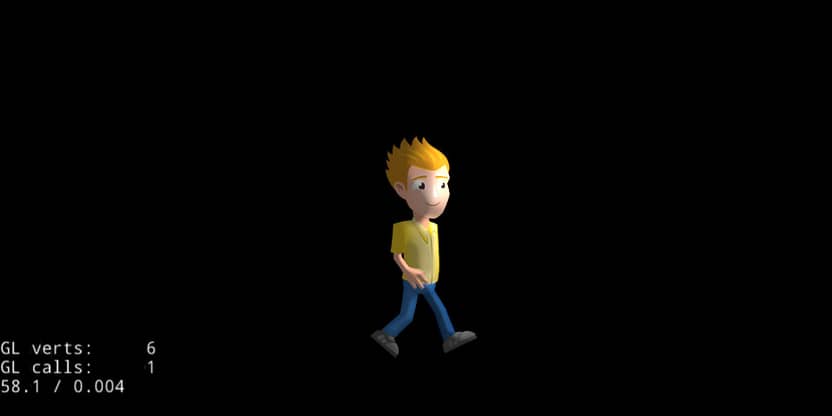
If you start the demo application, the (still unlit) animation is played in the center of the screen.
Creating a point light effect using a fragment shader
The brightness of each sprite pixel depends on the angle between the light vector and the normal vector (stored in the normal map). This calculation is done by an OpenGL fragment shader:
-
PointLight.frag contains the shader code for a point light
-
LightEffect is a class which sets some uniforms (global OpenGL variables) on the shader
-
Effect is a base class for
LightEffect -
SpriteEffect is derived from
Sprite, it provides a method to set anEffecton the sprite
You can clone all sources from GitHub.
Adding the light effect to the Sprite
First of all you have to modify the code from above, as we want to use an EffectSprite instead of a Sprite :
auto sprite = EffectSprite::createWithSpriteFrame(animFrames.front());Now we create an instance of the LightEffect and configure some properties.
    _effect = LightEffect::create();
    _effect->retain();

    Vec3 lightPos(200, 200, 100);
    _effect->setLightPos(lightPos);
    _effect->setLightCutoffRadius(1000);
    _effect->setBrightness(2.0);
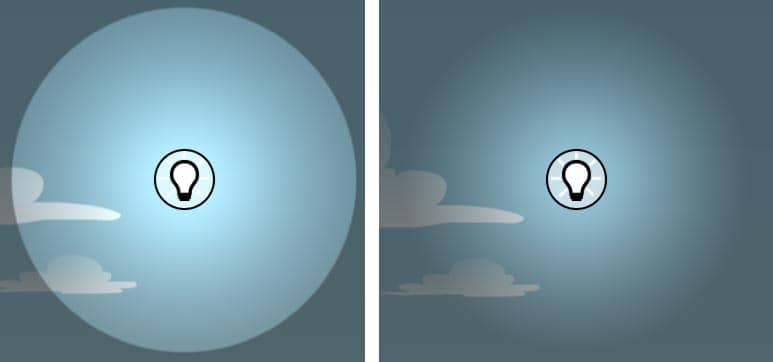
The LightEffect creates a point light. A point light is a light source that emits light from a single spot in all directions.
Think of it as a candle, torch, light bulb.
The effect class lets you set several parameters for the effect:
setLightPos
The position of the light in the scene. The light source can be placed in 3 dimensions. That means that you can place it between the player and the screen — to light the scene. The z-position can dramatically change the effect you get from the light effect.setLightColor
Sets the color of the light sourcesetBrightness
Sets the brightness of the light: with a value of 1.0 and a white light color a rendered pixel will never get brighter than its original value in the texture. With brightness values >1 the pixels can get overexposed.setLightCutoffRadius
The radius at which the light source does not have any effect on the sprite.setLightHalfRadius
The radius at which the light's intensity decreases to 50%. The value range is [0 … 1], relative to the cut-off radius. A value of 0.5 will give you a soft light, a value of 1 a light with hard edges.setAmbientLightColor
Sets the color of the background light. This is a non-directional light which lights the sprite from all sides.
The newly created LightEffect can be set on the EffectSprite . The sprite sheet with the _n suffix contains the normal maps for all sprites. It is important that this sheet is packed with the same layout as the sprites!
sprite->setEffect(_effect, "spritesheet_n.png");After adding these few lines our application displays a lit animation, but we are not yet able to move the light position. We are going to change this in the next section.
Adding a light bulb
Let's add a sprite symbolizing the light source:
    _lightSprite = Sprite::create("lightbulb.png");
    _lightSprite->setPosition(lightPos.x, lightPos.y);
    this->addChild(_lightSprite);
To allow the user to move around the light bulb we register some touch callbacks:
    auto listerner = EventListenerTouchAllAtOnce::create();
    listerner->onTouchesBegan = CC_CALLBACK_2(HelloWorld::handleTouches, this);
    listerner->onTouchesMoved = CC_CALLBACK_2(HelloWorld::handleTouches, this);
    listerner->onTouchesEnded = CC_CALLBACK_2(HelloWorld::handleTouches, this);
    _eventDispatcher->addEventListenerWithSceneGraphPriority(listerner, this);
The implementation of handleTouches() is quite simple, we update the position of the light bulb sprite, and tell the effect where our light is positioned now:
void HelloWorld::handleTouches(const std::vector<Touch *> &touches, cocos2d::Event *)
{
    for (auto &touch: touches)
    {
        Point pos = touch->getLocation();
        _lightSprite->setPosition(pos);
        _lightPos.set(pos.x, pos.y, _lightPos.z);

        _effect->setLightPos(_lightPos);
    }
}
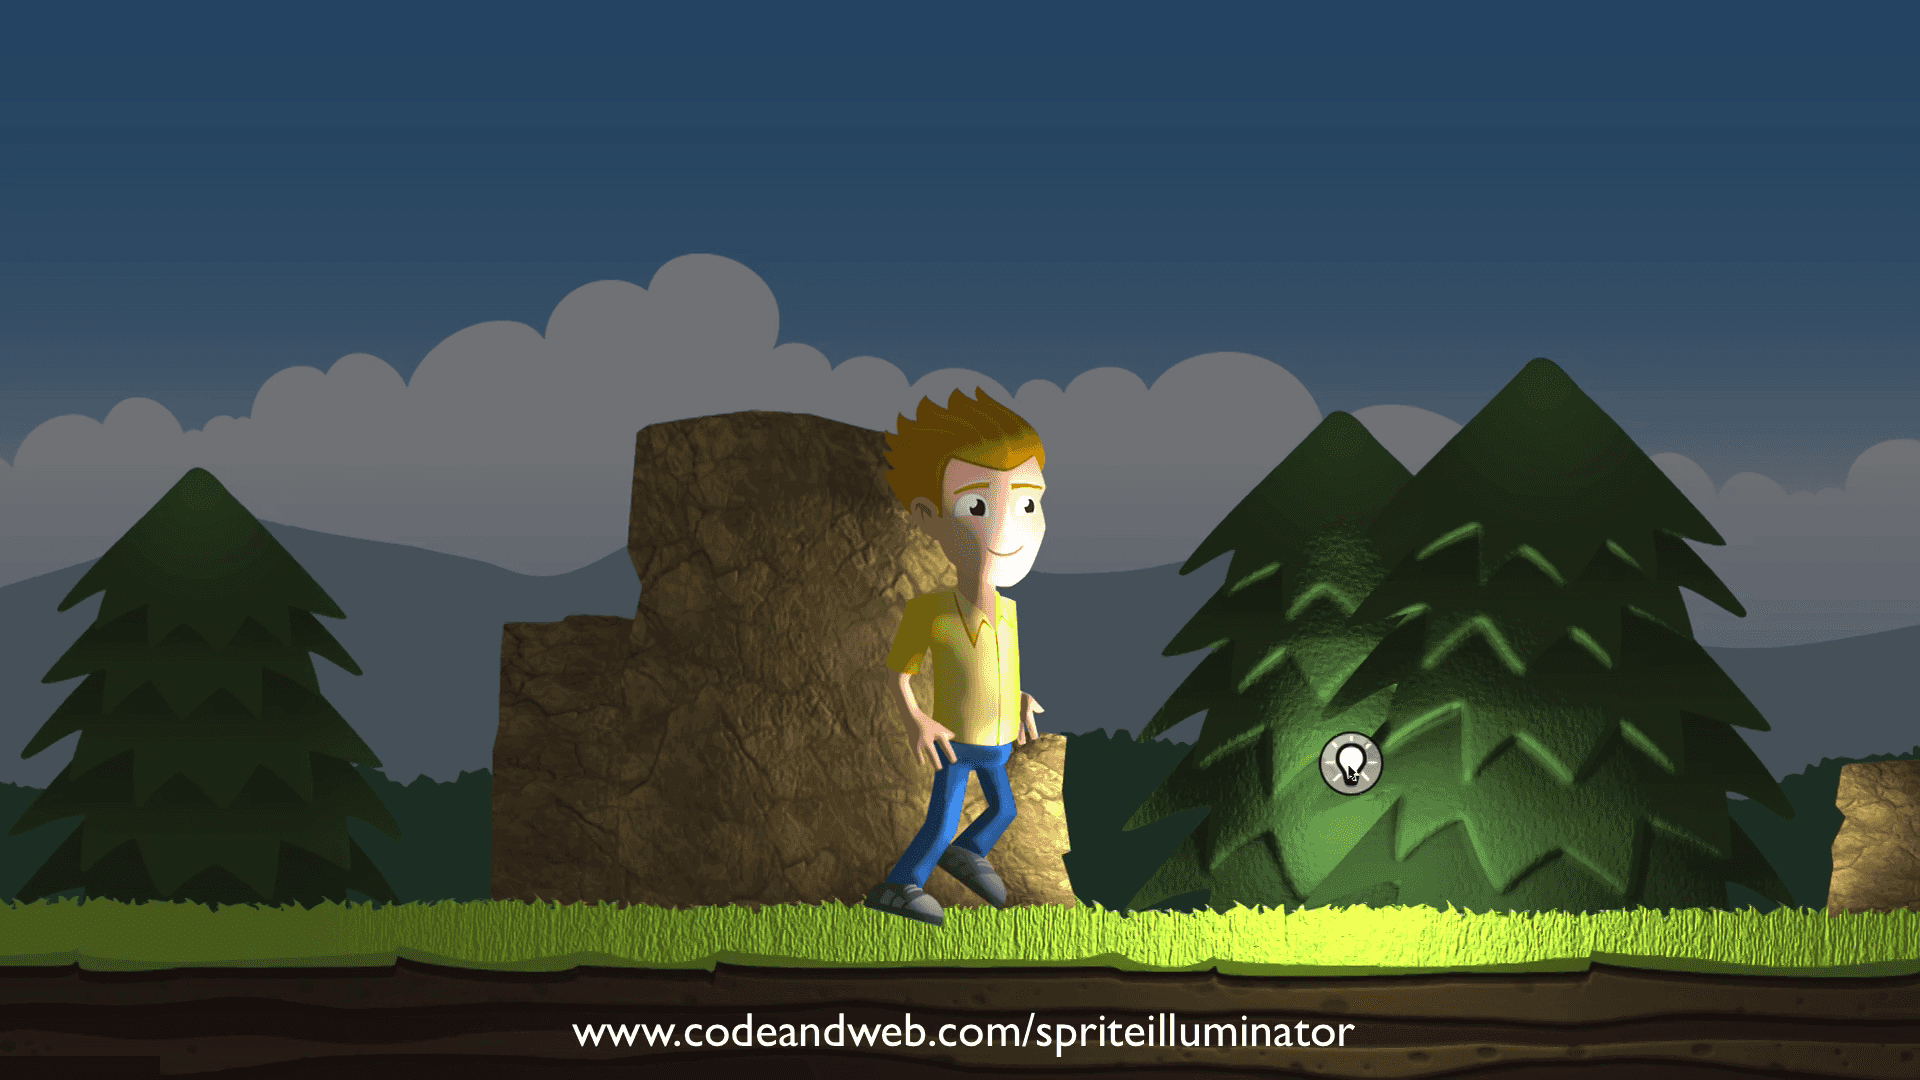
In the demo project on GitHub we've also added some background images:
