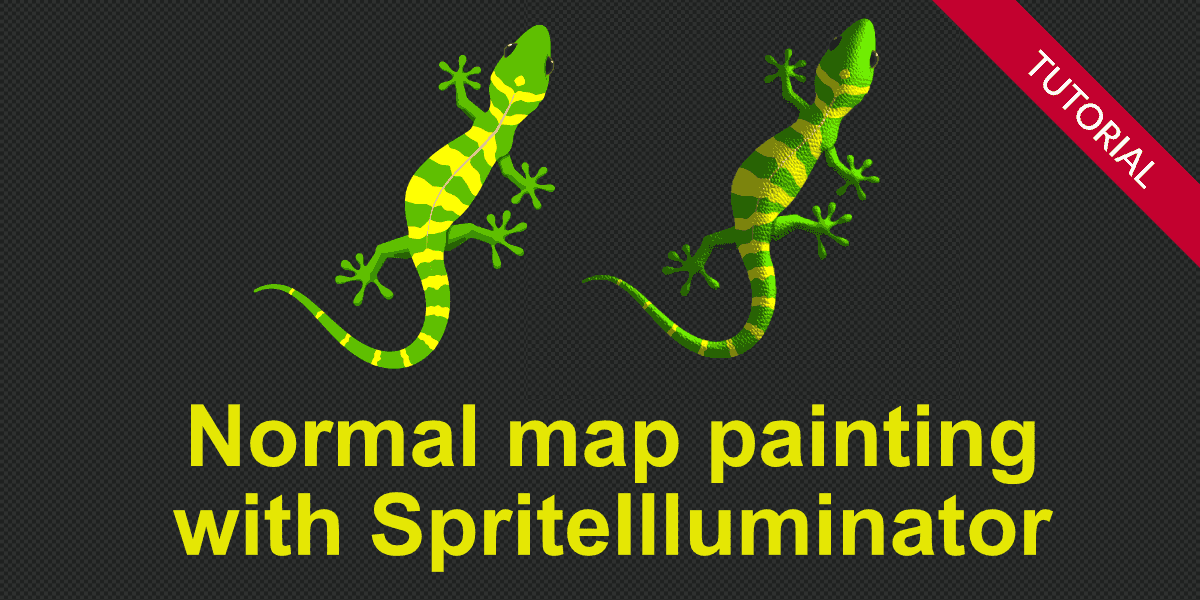
What you are going to learn:
- A quick way to generate normal maps
- Enhancing the generated normal map by applying structure
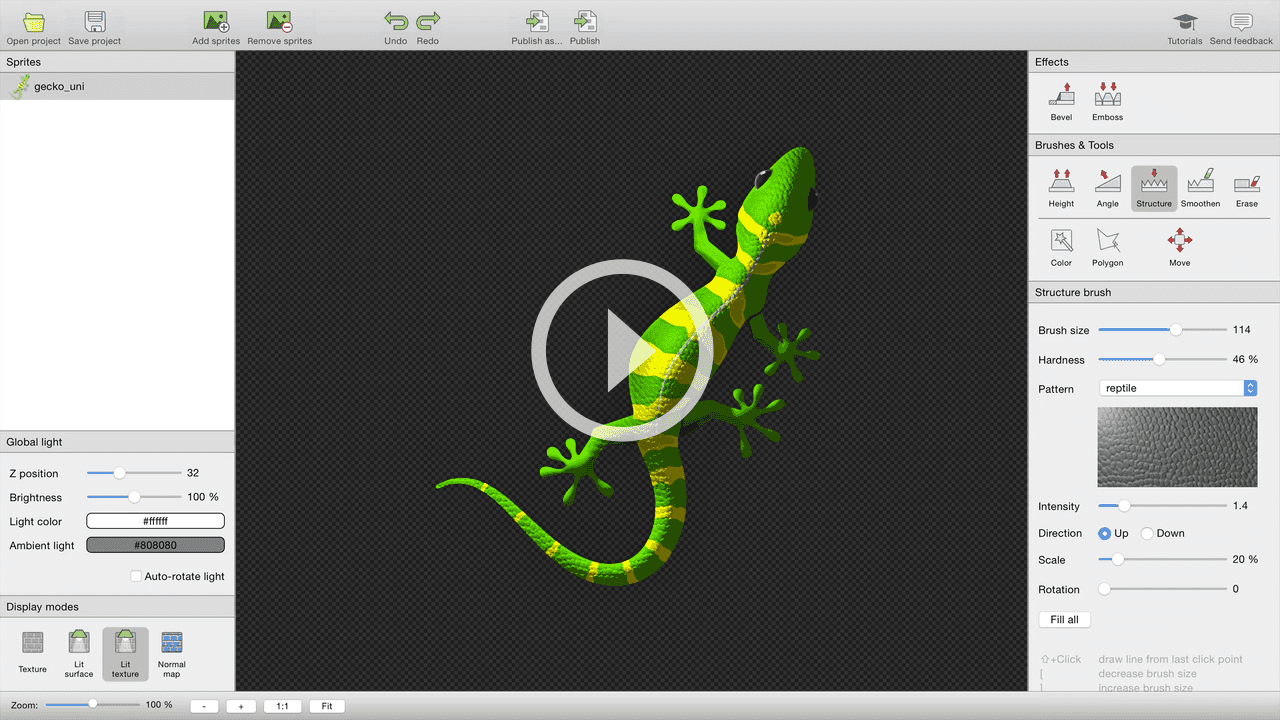
Take a look at this video first. We'll explain the details below:
Generating the normal map
We are using SpriteIlluminator to generate and paint the normal map for this gecko. The first step is to add the image - simply by dragging it onto the left Sprites panel.
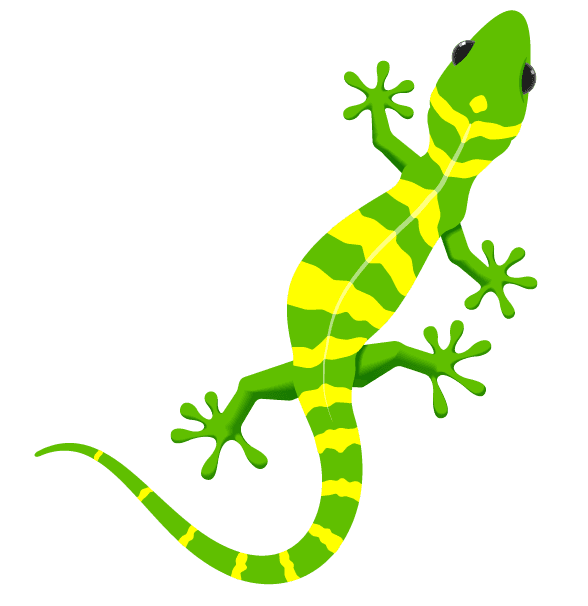
The image we used is from ShutterStock: Gecko Image © Alhovic / ShutterStock. We've reduced shadows & highlights of the original - because this would create some strange effect when used with dynamic light effects.
This image has a transparent background — which allows you to easily extrude the gecko's body using the SpriteIlluminator's Bevel effect.
Using the effect twice with different settings lets you put detail on different parts of the image.
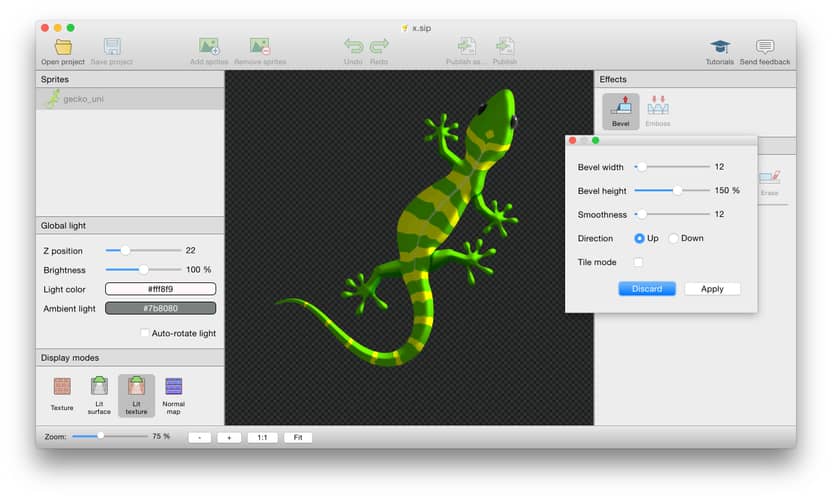
Bevel: Adding volume to the file grained parts of the sprite
Use SpriteIlluminator's bevel tool to add volume to the finer parts of the sprite.
-
Bevel size : 12
-
Bevel height : 150%
-
Smoothness : 12
Bevel again: Adding volume to the sprite's body
Use SpriteIlluminator's bevel tool again to add volume to the body.
-
Bevel size : 50
-
Bevel height : 200%
-
Smoothness : 50
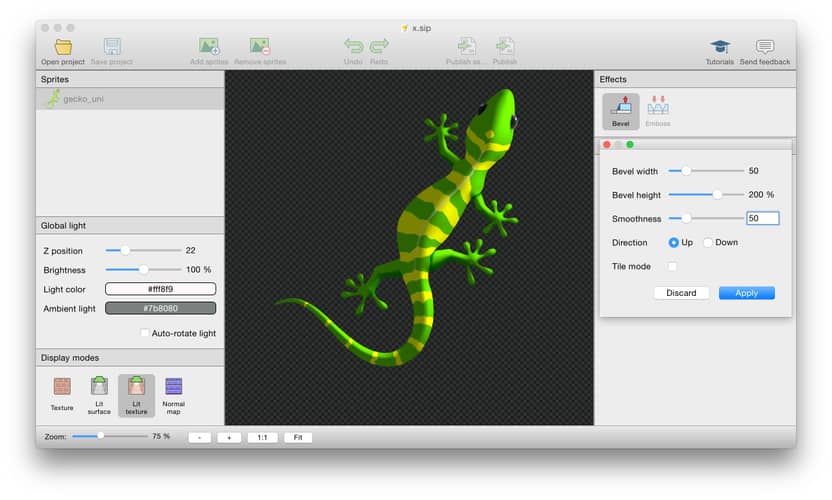
This already looks quite impressive — but the gecko's sprite is still too smooth.
Adding structure to the normal map
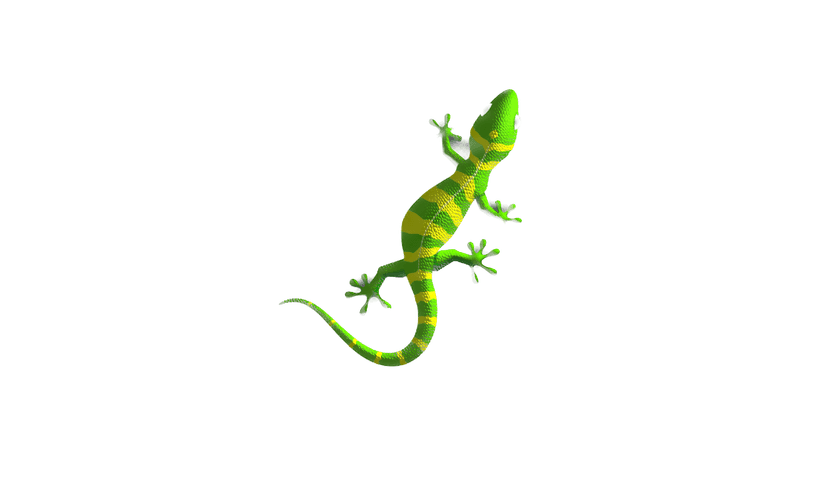
SpriteIlluminator comes with a whole bunch of different structural patterns. One of them is called Reptile — which is a perfect match for the gecko image.
Structure is added using the Structure brush . The most important thing to change is the scale of the texture. The default settings are way too big for this small animal. Also increase the brush's size to speed up painting. Use Intensity to control how strong the effect is applied.
Use the brush to apply the structure to the back and tail of the gecko.
Using your own structure patterns
You can easily add your own patterns in case you need something special.
Your custom patterns can be placed in any directory - just point Custom pattern directory in SpriteIlluminator's Structure brush to that location. Don't forget to restart SI after changing the directory or adding images — otherwise they won't show up in the UI.
TexturePacker interprets the luminosity of the pattern's color as height. The brighter a color the closer to the screen, the darker the farther away.
You can either use big pattern — which cover the whole extend of your sprites — or small patterns. The smaller patterns must be tilable.
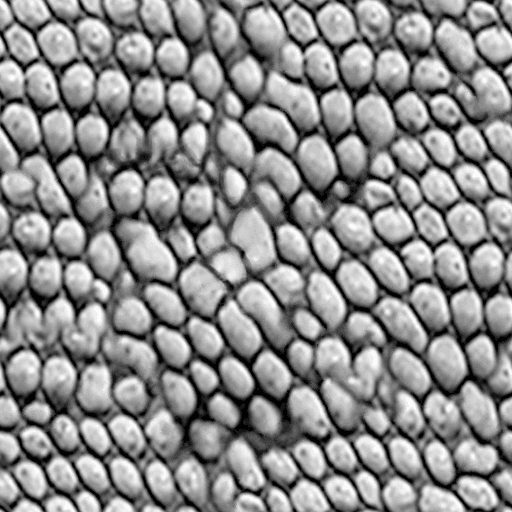
Reptile's pattern image is shown on the right.
