How to translate your Flutter app (using intl 0.13.1)
This is the older version of the Flutter tutorial. It covers the intl package up to version 0.13.1. The newer versions if the intl package use a completely different way of handling the translation files.
Read this tutorial if you want to support the newest version of Flutter and intl:
How to translate your Flutter app and edit your .arb file
In this tutorial we explain how to quickly set up translations for your Flutter app. The first two sections explain how to set up a simple demo application — feel free to skip it ;-)
We've created this tutorial on a Mac with XCode already installed. The Flutter app runs in the iOS simulator. We assume that it should be easy enough for you to adapt the steps to run on Windows or Linux and/or run the app on an Android device.
Prepare a simple demo project
Install Flutter
git clone https://github.com/flutter/flutter.git
export PATH=$PATH:$(pwd)/flutter/bin
flutter precache
Alternatively Flutter can be downloaded as zip archive from flutter.dev
Create and launch the demo app in the simulator
Start iPhone simulator:
open -a SimulatorCreate and run demo app:
flutter create myapp
cd myapp
flutter run
Setup internationalization
Add the required dependencies to your project
Add these lines to dependencies: in pubspec.yaml
dependencies:
  flutter:
    sdk: flutter
  cupertino_icons: ^0.1.2
  flutter_localizations:
      sdk: flutter
  flutter_cupertino_localizations: ^1.0.1
  intl:
  intl_translation:
Import Flutter localizations and add pass them to MaterialApp constructor in lib/main.dart. Some lines are commented
out for now — you need them later but starting the app would fail with them.
import 'package:flutter_localizations/flutter_localizations.dart';
// import 'MyLocalizations.dart';

...


class MyApp extends StatelessWidget {

  @override
  Widget build(BuildContext context) {
    return MaterialApp(

      ...

      localizationsDelegates: [
          // const MyLocalizationsDelegate(),
          GlobalMaterialLocalizations.delegate,
          GlobalWidgetsLocalizations.delegate,
          GlobalCupertinoLocalizations.delegate
      ],
      supportedLocales: [
          const Locale('en', ''), // English
          const Locale('de', ''), // German
      ],

      ...
Open ios/Runner.xcodeproj with Xcode and add "German" to the Localizations of the Runner project:
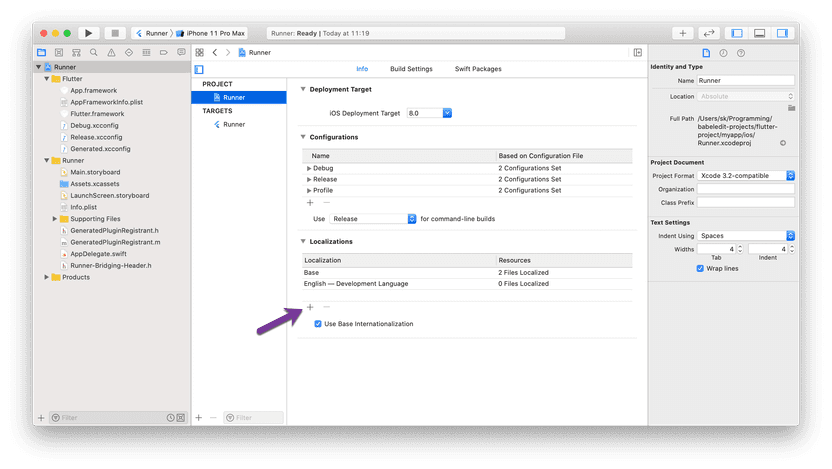
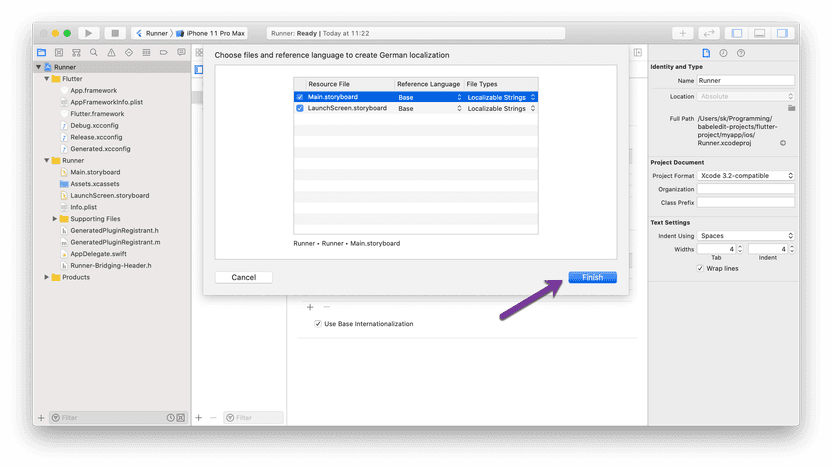
flutter run should still compile and run the app successfully. Flutter texts are now localized, but localization of
our own texts is still missing.
Add localization class
Create a new file lib/MyLocalizations.dart with your own Localization and the delegate class:
import 'package:flutter/material.dart';
import 'package:intl/intl.dart';
import 'l10n/messages_all.dart';

class MyLocalizations {
  MyLocalizations(this.localeName);

  static Future<MyLocalizations> load(Locale locale) {
    final String name = locale.countryCode.isEmpty ? locale.languageCode : locale.toString();
    final String localeName = Intl.canonicalizedLocale(name);
    return initializeMessages(localeName).then((_) {
      return MyLocalizations(localeName);
    });
  }

  static MyLocalizations of(BuildContext context) {
    return Localizations.of<MyLocalizations>(context, MyLocalizations);
  }

  final String localeName;

  String get pushCounterText {
    return Intl.message(
      'You have pushed the button this many times:',
      name: 'pushCounterText',
      desc: 'A description for the push counter',
      locale: localeName,
    );
  }
}

class MyLocalizationsDelegate extends LocalizationsDelegate<MyLocalizations> {
  const MyLocalizationsDelegate();

  @override
  bool isSupported(Locale locale) => ['en', 'de'].contains(locale.languageCode);

  @override
  Future<MyLocalizations> load(Locale locale) => MyLocalizations.load(locale);

  @override
  bool shouldReload(MyLocalizationsDelegate old) => false;
}
This file does not compile as long as messages_all.dart has not yet been generated (see below).
Replace your strings to localize with calls to the localization class
Import MyLocalizations.dart in main.dart, pass MyLocalizationsDelegate() to the MaterialApp constructor. You can
do this by removing the comments from the lines in the previous section.
You now have to replace all your string literals you want to translate with method calls that retrieve the translated texts.
Replace string literals 'You have pushed the button this many times:'
with MyLocalizations.of(context).pushCounterText:
  children: <Widget>[
    Text(
      MyLocalizations.of(context).pushCounterText,
    ),
Manage your translations
Extract the message IDs and primary language string literals from MyLocalizations.dart:
mkdir lib/l10n
flutter pub pub run intl_translation:extract_to_arb --output-dir=lib/l10n lib/MyLocalizations.dart
This command line extracts the strings from your application and creates an .arb file.
These files are so-called Application Resource Bundle files, a file format invented by Google.
See Application Resource Bundle Specification
for more details.
The file format is based on JSON and uses keys starting with @ to add metadata to
the values in the JSON file.
Copy the intl_messages.arb to intl_de.arb and intl_en.arb and translate the German arb file.
intl_en.arb:
{
  "@@last_modified": "2020-01-08T11:39:22.562134",
  "pushCounterText": "You have pushed the button this many times:",
  "@pushCounterText": {
    "description": "A description for the push counter",
    "type": "text",
    "placeholders": {}
  }
}intl_de.arb:
{
    "@@last_modified": "2020-01-08T11:39:22.562134",
    "pushCounterText": "Du hast den Button so oft gedrückt:",
    "@pushCounterText": {
        "description": "A description for the push counter",
        "type": "text",
        "placeholders": {}
    }
}
Finally, you have to create the .dart files from the .arb files:
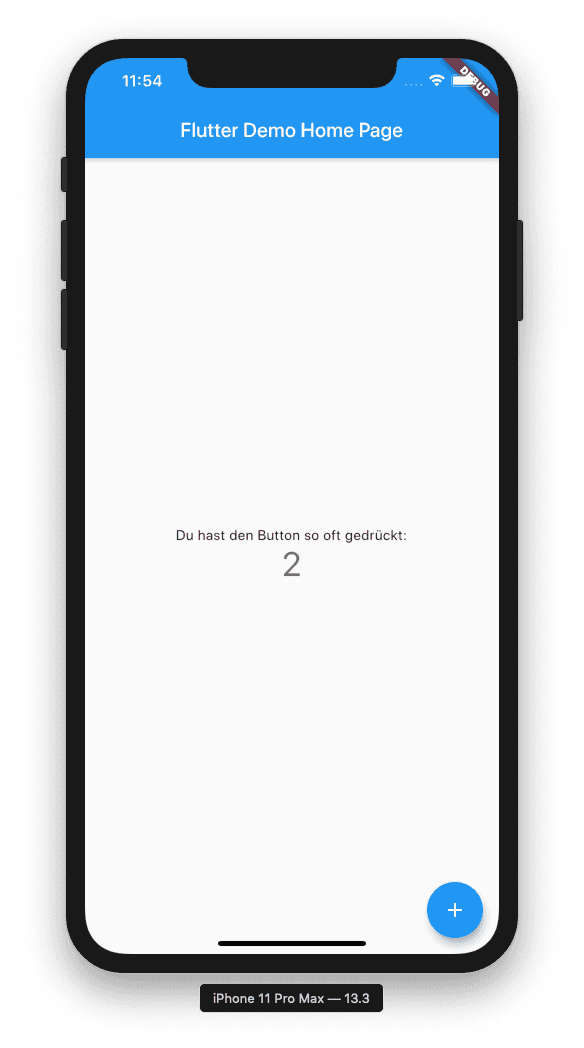
flutter pub pub run intl_translation:generate_from_arb --output-dir=lib/l10n --no-use-deferred-loading lib/MyLocalizations.dart lib/l10n/intl_*.arbRun localized app
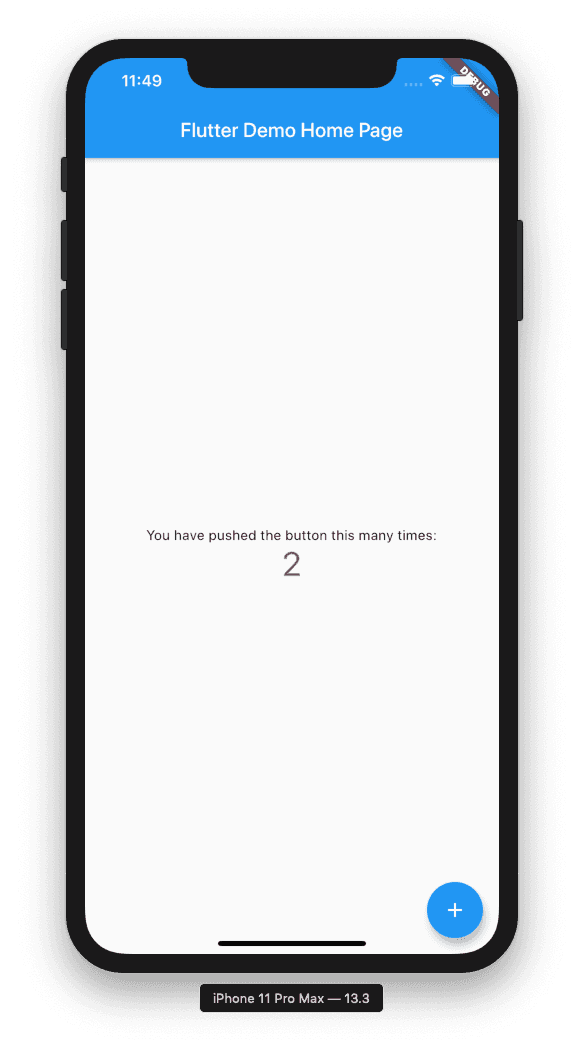
flutter runImportant on iOS:
You have to change the Language and Region in the settings
to see the translations in the other languages.
How to add more translations
To add more translations add new methods to lib/MyLocalizations.dart similar to the existing one:
 String get helloWorldText {
    return Intl.message(
      'Hello World!',
      name: 'helloWorldText',
      desc: 'The famous words',
      locale: localeName,
    );
  }
And use the strings in your application:
MyLocalizations.of(context).helloWorldTextSimplify your translation workflow
Editing the .arb translation files might get a bit cumbersome over the time:
- You have to escape the strings to write proper .json files
- You have to update all language files from the newly extracted
intl_messages.arb - The .arb files are bad to read because of all the metadata
A much simpler workflow is possible if you use BabelEdit:
- After extracting the
intl_messages.arbyou simply have to copy it to your main language — e.g.intl_en.arb - BabelEdit automatically inserts the new translations in all other files and keeps them in sync
- The nice user interface only displays relevant information
- Use features like pre-translate to automatically create translations for other languages
- Export and import into other formats (e.g. Excel) to send to translators
- Spellchecker
You can download BabelEdit for Windows, macOS and Linux from here:
Start BabelEdit after the installation and simply drag & drop your project directory into the main window. Click on the Flutter ARB project:
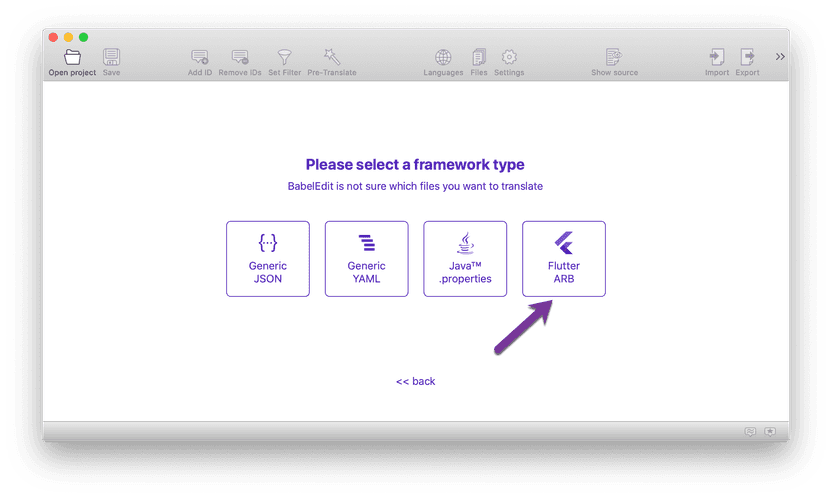
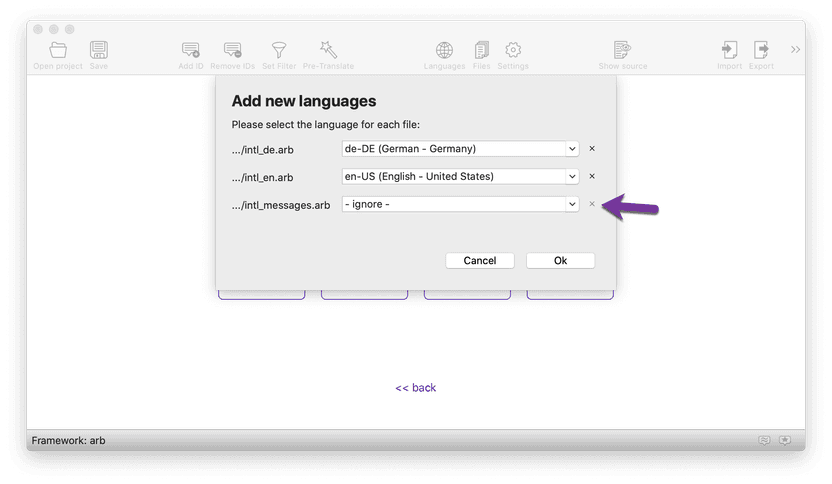
BabelEdit now searches the project folder for .arb files and presents them with a guess for the languages contained in the files. Confirm de and en, ignore the intl_messages.arb:
Select your primary language — that is the language that you use in your main translations. It's used as the source language for features like pre-translate. Select en-US by clicking on the configure button:
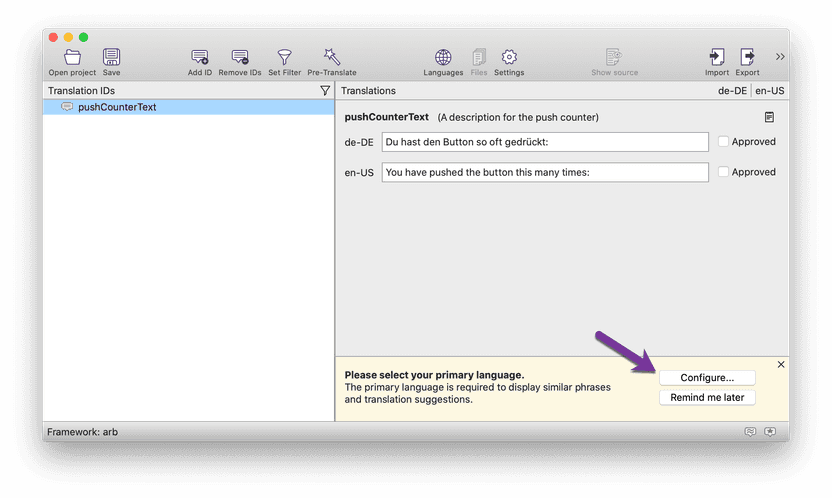
BabelEdit now automatically displays suggestions for your translations:
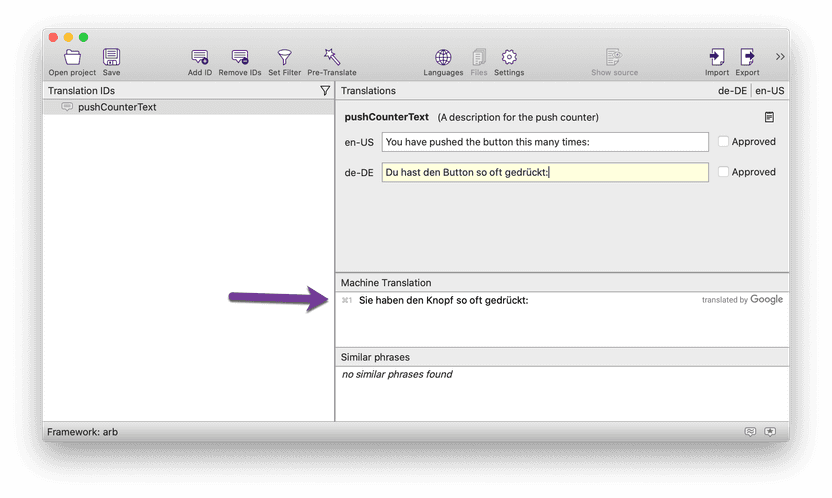
Finally, save the files using the save button from the toolbar. BabelEdit asks you for the name and location of a .babel file — BabelEdit's project file that contains all project relevant settings.
It also updates your .arb files with the translations.