How to translate your Vue.js 3 application with vue i18n
Overview
This tutorial covers Vue.js version 3. If you are using an older version of the framework, you can also check out our tutorial How to translate your Vue.js (v2) app with vue-i18n
This tutorial guides you through adding translations to your Vue.js application using vue-i18n. The tutorial starts with a blank demo project which you'll create in the next step. You can of course apply the steps to your own project...
The second part of the tutorial explains how you can use BabelEdit to easily manage your translations. This includes fast pre-translation using machine translation, import and export of translations to work with translators and more.
How to translate your Vue.js applications
A comprehensive guide on implementing internationalization in your application, including detailed steps and best practices.
- Create a simple demo project (Optional)
- Import the vue-i18n package
- Prepare your templates
- Create translation files
- Allow importing of JSON files from .ts files (required for TypeScript)
- Configure and initialize vue-i18n
- Simplify your workflow with BabelEdit
- Add a component to switch languages at runtime
- Translate your templates
- Best practices
Create a simple demo project (optional)
To begin, we will create a new project. If you already have an existing project that you wish to add translations to, you may skip this step.
yarn create vue@3Choose the default:
- ✔ Project name: … vue-i18n-demo
- ✔ Add TypeScript? … No / Yes
- ✔ Add JSX Support? … No / Yes
- ✔ Add Vue Router for Single Page Application development? … No / Yes
- ✔ Add Pinia for state management? … No / Yes
- ✔ Add Vitest for Unit Testing? … No / Yes
- ✔ Add an End-to-End Testing Solution? › No
- ✔ Add ESLint for code quality? … No / Yes
- ✔ Add Prettier for code formatting? … No / Yes
I personally prefer using TypeScript over JavaScript as it allows for many errors to be caught and resolved during the development process instead of runtime.
However, using JavaScript is - of course - also a valid option.
Start the demo project:
cd vue-i18n-demo
yarn install
yarn run dev
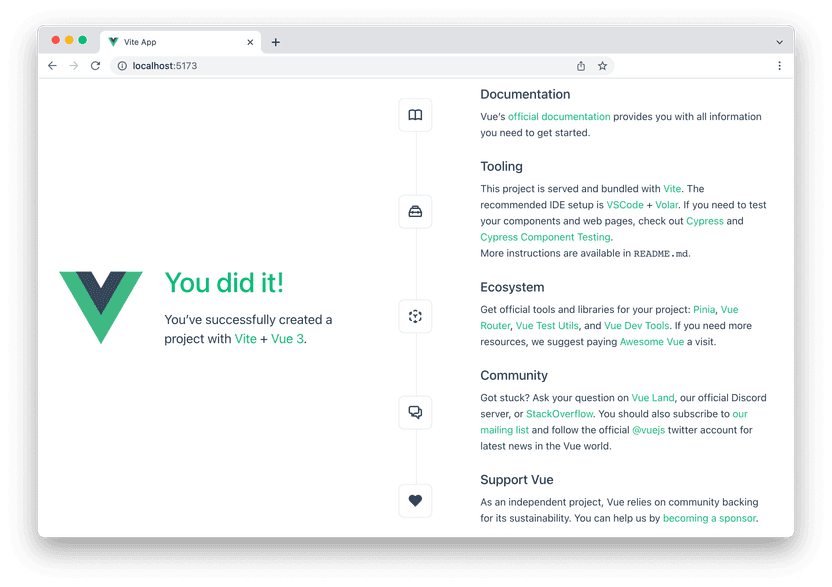
Open your browser and navigate to http://localhost:5173/ - you should see a vuejs welcome screen.
Import the vue-i18n package
Use yarn to add the package to your project:
yarn add vue-i18n@9Prepare your templates
Every text block that you want translated in your application has to be replaced with a function that returns the translated text.
There are functions that can not only return static text, but also use formatted parameters and return different text depending on item counts. E.g. one apple or 5 apples. More on that later.
For now, remove all text inside the <template> in App.vue and replace it with this:
<template>
  <p>{{ $t("main.hello") }}</p>
</template>
The $t("main.hello") is a function call returns the text for a message
with the id main.hello.
Create translation files
The translations used in the templates of course have to be defined somewhere.
There are 2 options for this in veu-i18n:
<i18n>sections inside single file components (not recommended)- JSON files
I really recommend using the JSON files instead of the <i18n> sections
in the SFCs. If you want to learn more about this topic please read
Why using i18n sections in vue.js single file components is bad.
locales/en.json
{
  "main": {
    "hello": "Hello World!"
  }
}
and
locales/de.json
{}Leave the de.json almost empty - that's ok for now. We'll use BabelEdit in the next step, and it'll automatically add the missing entries for you.
Allow importing of JSON files from .ts files
This step is only required if you are using TypeScript. Skip it if you are using JavaScript.
We now import the JSON files with the translations directly into the project. This has the advantage that everything can be bundled into a single js file for release later. It allows instant switching of the languages at runtime.
For projects with many languages and a lot of text, you can easily switch to lazy loading of the language files in case you see that the delivered bundle files are too big.
To import JSON files from TypeScript files you have to add the following line to your tsconfig.json:
{
  "extends": "@vue/tsconfig/tsconfig.web.json",
  "include": ["env.d.ts", "src/**/*", "src/**/*.vue"],
  "compilerOptions": {
    "resolveJsonModule": true,
    "baseUrl": ".",
  ...
Configure and initialize vue-i18n
Next you have to make some changes to your main.ts file to configure and initialize vue-i18n.
import { createApp } from "vue";
import { createI18n } from "vue-i18n";
import App from "./App.vue";

import "./assets/main.css";

// import translations
import de from "./locales/de.json";
import en from "./locales/en.json";

// configure i18n
const i18n = createI18n({
  locale: "en",
  fallbackLocale: "en",
  messages: { de, en },
});

// create and start the app
const app = createApp(App);
app.use(i18n);
app.mount("#app");
The translation files for English (en.json) and German (de.json) are directly imported into the app bundle.
After that, vue-i18n is initialized with the default locale (English), the fallback locale (also English) and the messages.
Finally, the app is created and the i18n module is added to it.
Start the application with
yarn run devyou should now see a page with "Hello World!" on it.
Simplify your workflow with BabelEdit
Working with JSON files is not hard, right? After all, you are a developer who knows how to edit files. Wrong! Let me explain what's so tricky about these files. Hint: It's not writing JSON files.
You start with your project in one language - that's easy. You simply update the json file as you add more and more translations to your project. After some time you decide to add another language to test switching between the locales. You now have to update 2 files — and now the mess begins.
You are deeply focused on your work and forget about the 2nd language. You can do that later when you have more time... You add some more IDs, you rename some... and delete some unused... and add some more...
At some point you now want to test the other language again. Surprise! There are translations missing. Which ones? Let's do a file compare! There are changes in every single line of the files. Of course: The one file is English, the other is German. But all these changes prevent you from seeing the important changes.
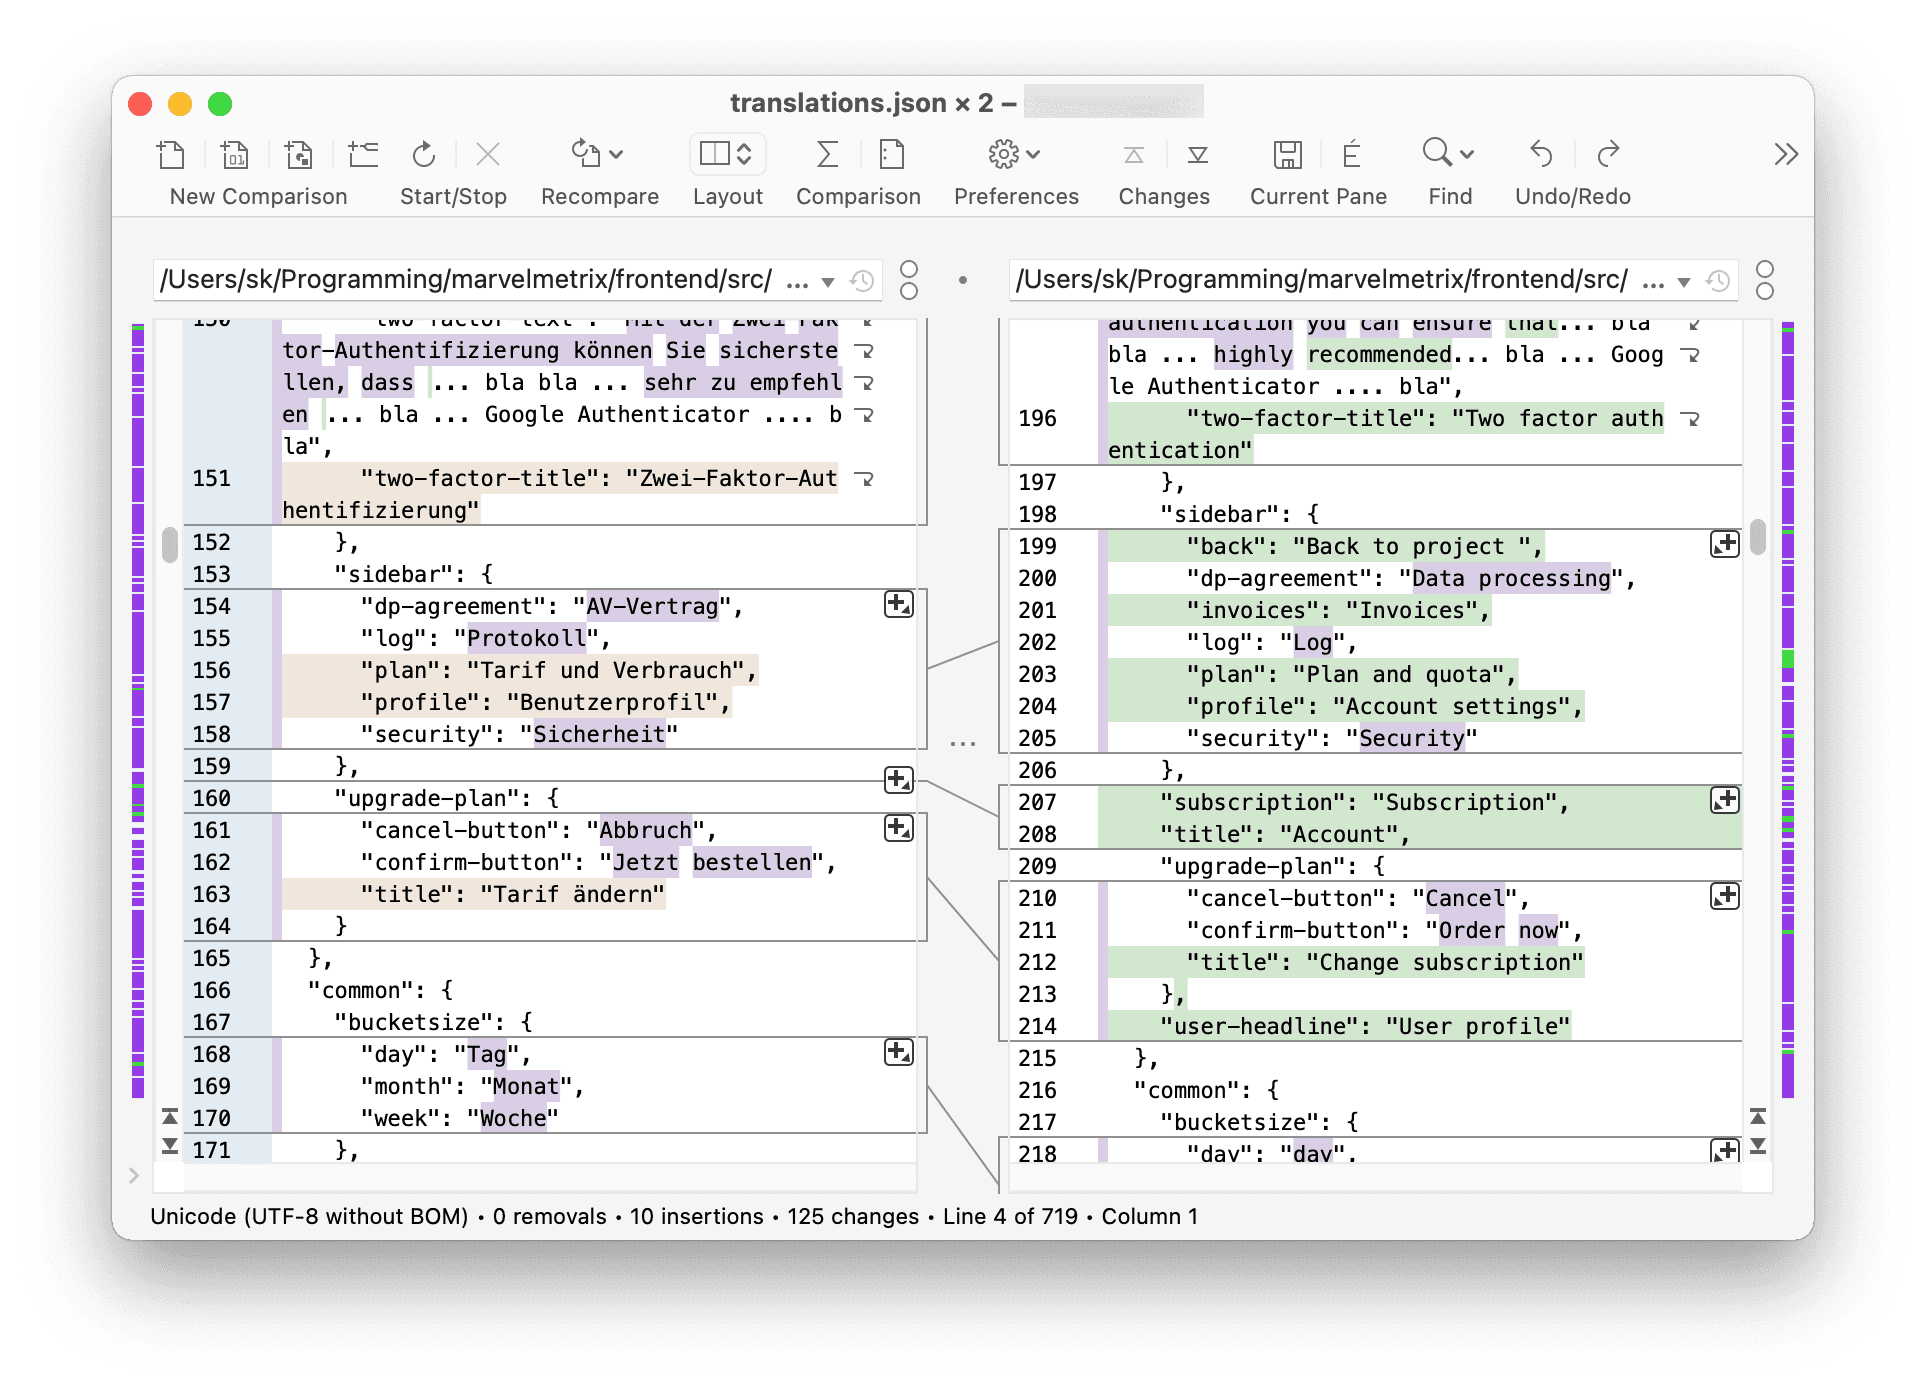
There are not only some IDs missing, but your de.json contains additional IDs that are not present in the en.json - these are the IDs you renamed...
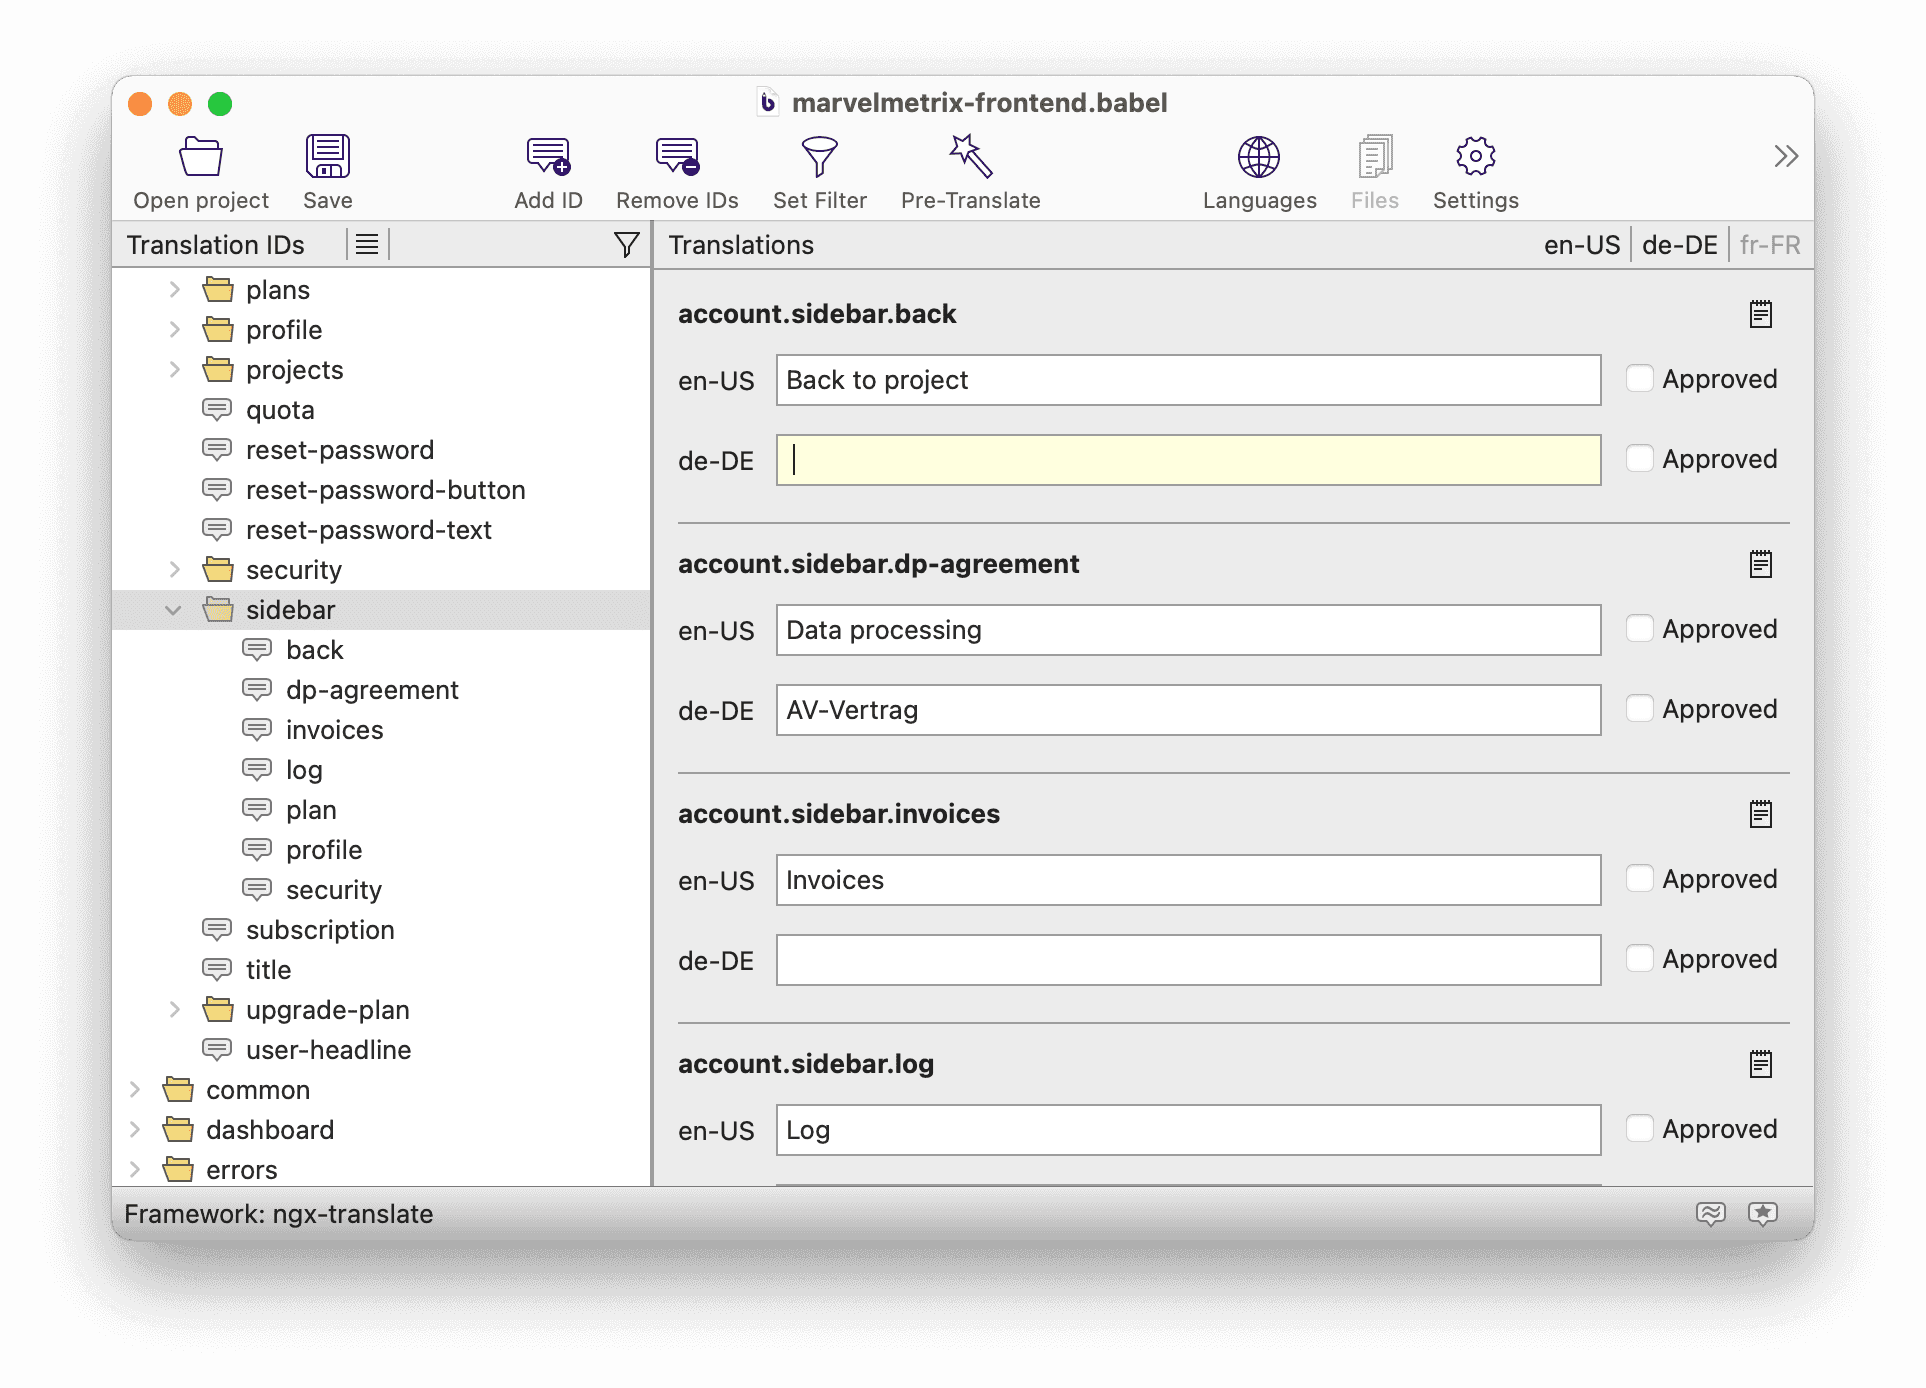
What you need is a solution that lets you edit all translation files at the same time to keep them in sync. That's where BabelEdit comes in.
Don't get me wrong: I am not against compare tools. These are important tools for software developers. I am just saying that diff is not the right tool for translation management!
BabelEdit
BabelEdit is a translation management software for developers. It's a desktop application that runs on Windows, macOS and Linux and you can download it from here:
Install and start it. You have to click through some screen to accept the license terms. After that, you should reach a screen that looks simliar to this one:
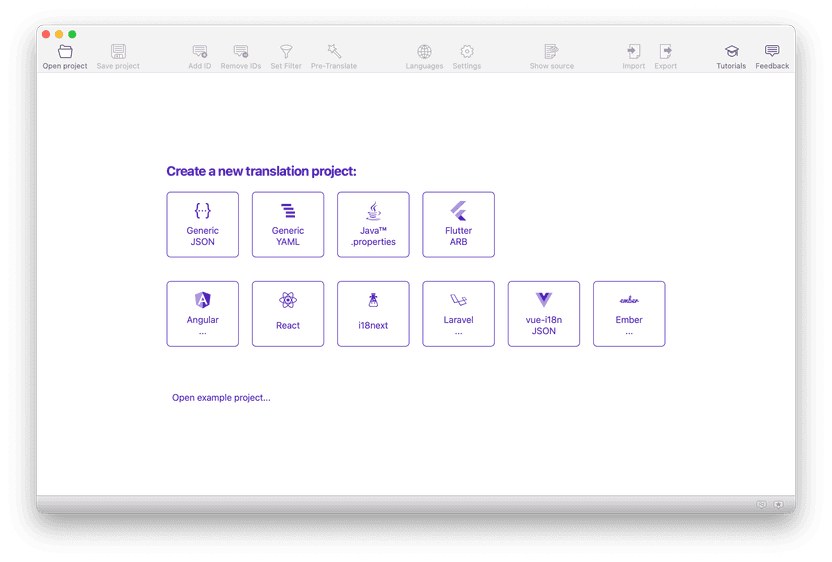
You can manually configure the project by clicking on the vue-i18n button or simply drag & drop your project folder (vue-i18n-demo) onto BabelEdit.
BabelEdit now asks you to confirm the language files. Click Ok.
At the bottom, should see a yellow box that asks you to set the primary language. That is the default language you create your application in. It's used for BabelEdit's machine translation feature. Click on Configure and select en-US in the dialog.
Machine translation
BabelEdit now asks you if you want to display machine translation suggestions. Click on Enable.
Select main in the left tree view and click inside the de-DE field in the center. BabelEdit shows you a machine translation suggestion from Google Translate at the bottom of the center view:
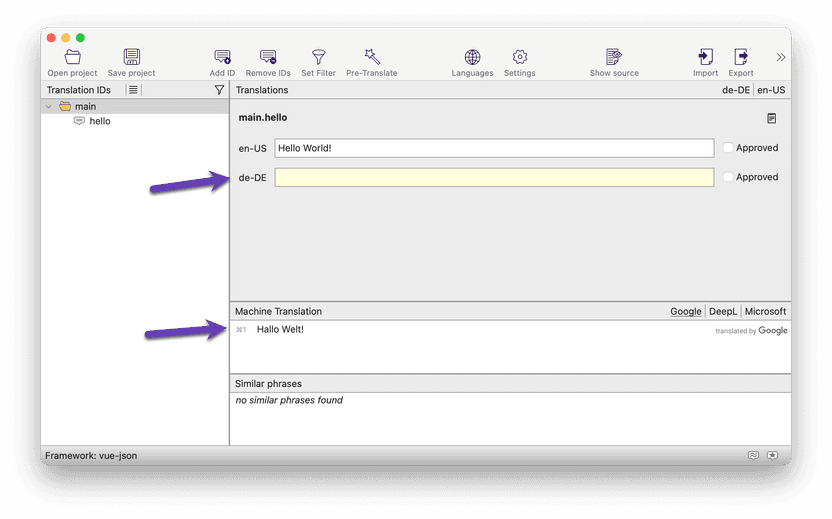
Click on Hallo Welt! in the Machine Translation section in the center to accept it as translation.
Finally, click Save project in the toolbar to save the project file (save it as vue-i18n-demo.babel) and the translations. The .babel file contains metadata - e.g. the translation files, approved flags and other stuff.
… and more
BabelEdit has several other nice features. E.g.
- You can filter your files for missing translations.
- You can use machine translation on whole files.
- You can use the source code referenes view to find the locations where a specific translation ID is used.
- You can export the translations for easy exchange with a translation agency.
Back to the project...
You should now see the Hello World! text after starting the project with
yarn run decAdd a component to switch languages at runtime
Switching the locale is quite simple: Just assign the new locale to the
locale property.
This is a simple component you can use for the job. Save it as components/LocaleChanger.vue:
<script setup lang="ts"/>

<template>
  <div class="locale-changer">
    <select v-model="$i18n.locale">
      <option v-for="(lang, i) in langs" :key="`Lang${i}`" :value="lang.code">
        {{ lang.text }}
      </option>
    </select>
  </div>
</template>

<script>
export default {
  name: "locale-changer",
  data() {
    return {
      langs: [
        { code: "en", text: "English" },
        { code: "de", text: "Deutsch" },
      ],
    };
  },
};
</script>
In the App.vue add the following changes:
<script setup lang="ts">
import HelloWorld from './components/HelloWorld.vue'
import LocaleChanger from "@/components/LocaleChanger.vue";
</script>

<template>
  <LocaleChanger/>
  <p>{{ $t("main.hello") }}</p>
</template>
Translate your templates
As mentioned above, you have to update all text blocks you want to translate in your application. This chapter gives you some more details about the functions you can use to do that.
Simple text
To use a translation use the $t() function with a translation id as parameter as already
seen above.
<template>
  <p>{{ $t("main.hello") }}</p>
</template>
Text with parameters
You can of course add parameters to your translation texts.
Use the Add ID button in the toolbar or CTRL+D (Windows) or ⌘+D (macOS) to create a new entry in both translation files.
Use main.hello-with-name as ID.
In the en-US field enter Hello {name}!. The Machine Translation should now suggest Hallo {name}!
as German translation. Save and switch back to your project editor.
Update your App.vue:
<template>
  <LocaleChanger/>
  <p>{{ $t('main.hello-with-name', { name: 'BabelEdit'}) }}</p>
</template>
You can of course pass variable values instead of the static text in this example.
Translating attribute values
You can pass translated attribute values to sub-components this way:
<template>
  <header-component :title="$t('main.hello')"></header-component>
</template>
Don't add this to your project since you don't have any <header-componten>...
Pluralization
Pluralization is about changing the text depending on the values. E.g. in English, you want to say 1 flower but 2 flowers.
Use the $tc(id,count,parameters) function to set your translation with the following parameters:
idid of the translationcountthe number of items for pluralizationparametersparameters to add to the text (optional)
Singular and plural
In BabelEdit, create a new entry main.pluralization and use the following values:
Add a | to separate singular and plural:
- en-US: One flower | {n} flowers
- de-DE: Eine Blume | {n} Blumen
The {n} or {count} is automatically replaced with the count set in the $tc() function.
<template>
  <LocaleChanger/>
  <p>{{ $tc('main.pluralization', 1) }}</p>
  <p>{{ $tc('main.pluralization', 2) }}</p>
</template>
Zero, one or many
You can also use | to separate zero, one or many.
In BabelEdit, create a new entry main.pluralization-with-zero and use the following values:
- en-US: no wolf | one wolf | a pack of {n} wolves
- de-DE: kein Wolf | ein Wolf | ein Rudel von {n} Wölfen
<template>
  <LocaleChanger/>
  <p>{{ $tc('main.pluralization-with-zero', 0) }}</p>
  <p>{{ $tc('main.pluralization-with-zero', 1) }}</p>
  <p>{{ $tc('main.pluralization-with-zero', 5) }}</p>
</template>
You can also pass a parameter object with named items as 3rd parameter. Create
main.friends
- en-US: I have no friend named {name}. | I have one friend named {name}. | I have {n} friends whose name {name}.
- de-DE: Ich habe keinen Freund namens {name}. | Ich habe einen Freund namens {name}. | Ich habe {n} Freunde, deren Name {name} ist.
<template>
  <LocaleChanger/>
  <p>{{ $tc('main.friends', 5, {name: 'Peter'}) }}</p>
</template>
Best practices
Create a good structure for your translation IDs
You can use . to create a hierarchy in your JSON files. BabelEdit represents these as a tree
in the left panel. With this you can easily group your translation messages by their context.
{
    "main": {
        "title": "Main screen",
        "description": "This is the main screen..."
    },
    "about": {
        "title": "About screen",
        "description": "That's what this is all about...."
    }
}
Use a . to access the sub-elements:
<template>
  <LocaleChanger/>
  <p>{{ $t('about.title') }}</p>
</template>
Create references to other translations
You can use links to include other translations in your texts. This is helpful if you want to re-use translations in different contexts.
{
    "common": {
        "appname": "Vue-Demo",
        "yes": "Yes",
        "no": "No"
    },
    "exit-dialog": {
        "title": "Exit screen",
        "text": "Do you really want to exit @:common.appname ?",
        "button-1": "@:common.yes",
        "button-2": "@:common.no"
    }
}
This gives you the option to customize the dialog for some languages. Other languages can use the common translation which makes it easier to exchange the texts later.