How to create Sprite Sheets and Animations with Solar2D
Solar2D was formerly known as CoronaSDK
What you are going to learn:
- Creating image sheets with TexturePacker
- Using image sheets in Solar2D
- Creating animations
- Handle multiple screen resolutions
The complete tutorial project is available on GitHub.
Create image sheets
With TexturePacker you can easily create sprite sheets for Solar2D. In Solar2D they are called Image Sheets.
Download TexturePacker, it is available for macOS, Windows and Linux. You can test it within a 7-day trial period before purchasing a license:
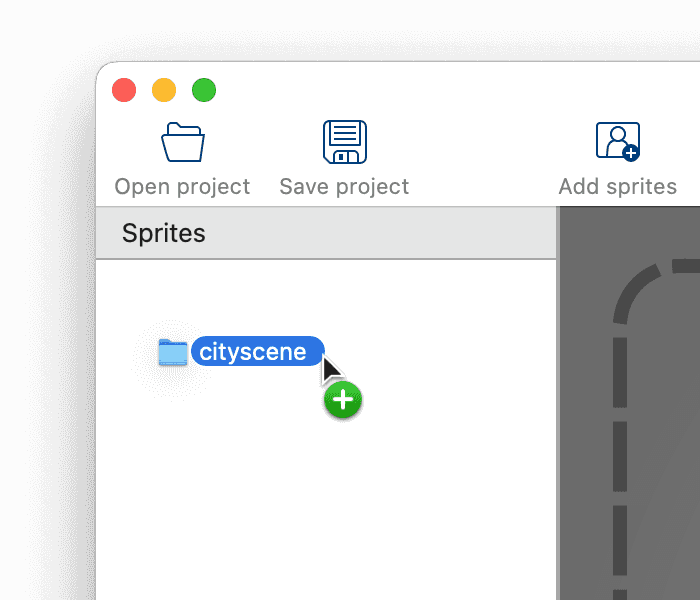
Start TexturePacker and drop the sprites that should be packed in a sprite sheet on TexturePacker's main window. You can also drop folders, TexturePacker will automatically scan them for image files and add them to the sheet.
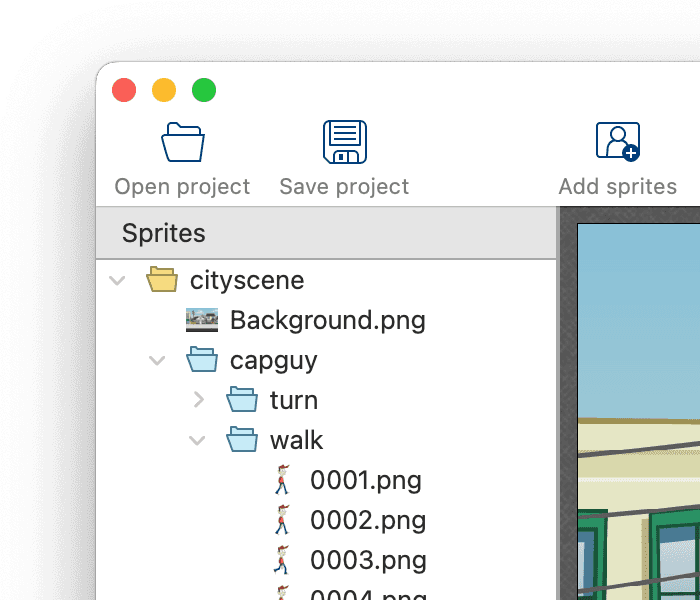
Click on the Framework button located at the top of the right sidebar, then choose Solar2D (Corona SDK) as the data format. With this configuration, TexturePacker will generate a Lua file that contains coordinates and size information for each sprite on the sheet.
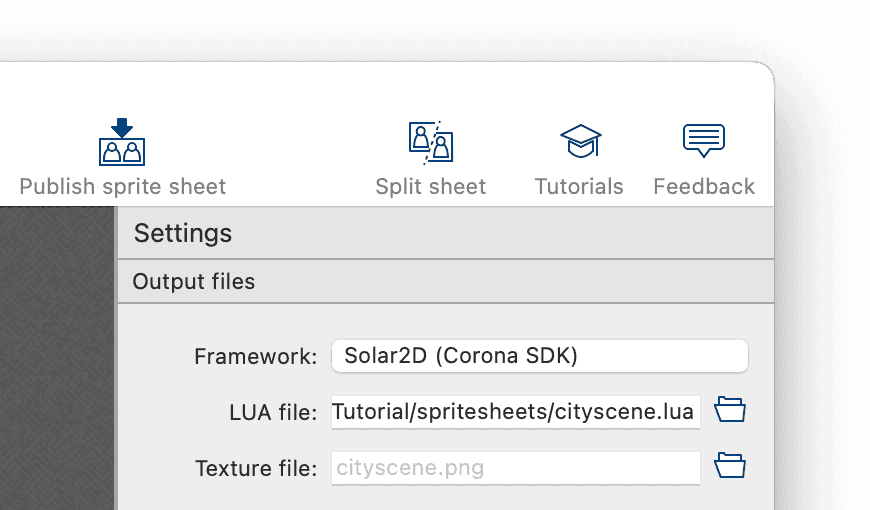
Use the LUA file field (below the framework button) to specify the location and file name of the Lua data file. You can leave the Texture file name field empty; TexturePacker will automatically save the PNG containing the sprite sheet next to the data file.
Now, click the Publish sprite sheet button in the toolbar. This will save both the sprite sheet image and the .lua file containing the sprite coordinates.
Use image sheets with Solar2D
Getting started
To set up the demo project, start the Corona simulator and click on New project.
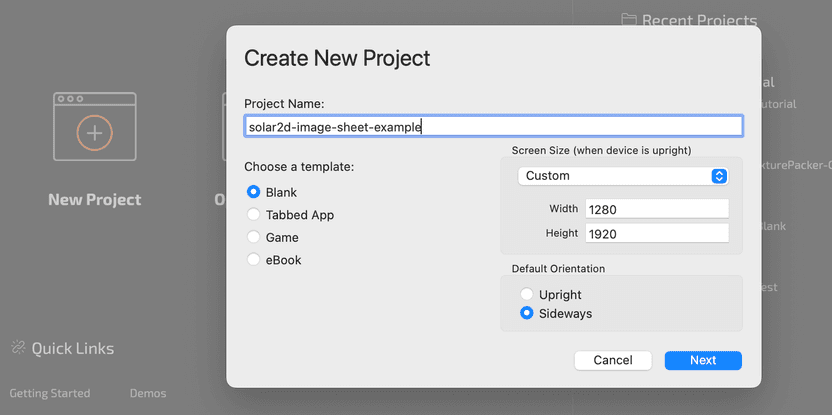
Create a Blank project, as screen size we use the size of our background image. This virtual content size we're going to use in the code. Solar2D will automatically scale the content to fit the actual screen size of the device.
Display images from sheet
First we have to load the Lua file generated by TexturePacker. If it's located in a subdirectory, use "." as separator instead of "/":
local sheetInfo = require("spritesheets.cityscene")From the sheetInfo object we can now get all the options that newImageSheet
requires in its second parameter:
local myImageSheet = graphics.newImageSheet( "spritesheets/cityscene.png", sheetInfo:getSheet())In Solar2D, images from image sheets can only be selected by their frame number. The Lua code generated by TexturePacker also contains a function to look up this frame number by name:
local background = display.newImage(myImageSheet, sheetInfo:getFrameIndex("background"))
background.x = display.contentCenterX
background.y = display.contentCenterY

local capguy = display.newImage(myImageSheet, sheetInfo:getFrameIndex("capguy/walk/0001"))
capguy.x = display.contentHeight * .2
capguy.y = display.contentHeight * .8
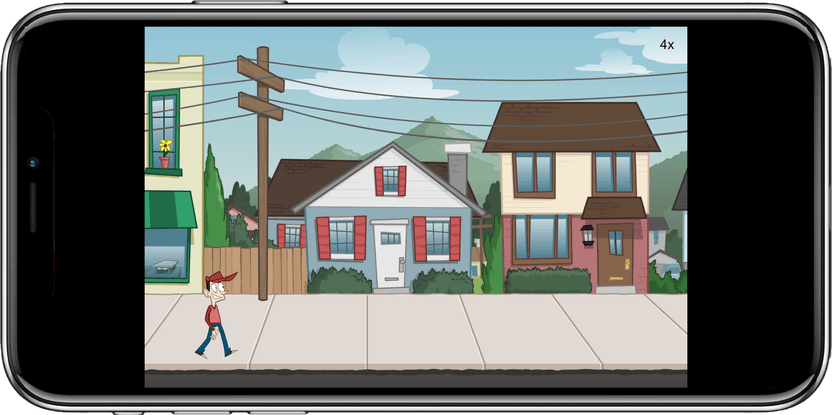
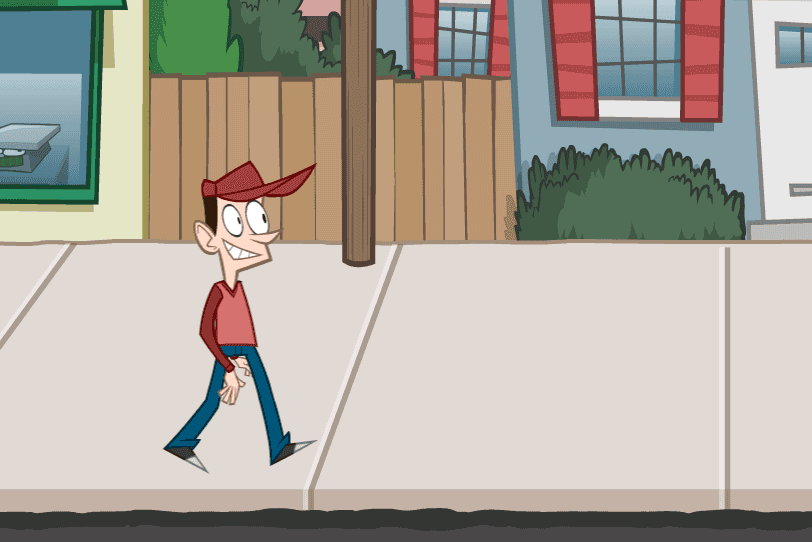
That's it, reload your code in the simulator to see capguy in front of the cityscene:
Animated sprites
To create an animated sprite we need an array that contains the frame numbers of all animation frames.
TexturePacker 7.1 (and newer) automatically detects sprites which differ only in a sequence number and
exports them as animations. You can use the getAnimation() function to get the frame number array:
local framesNumbers = sheetInfo:getAnimation("capguy/walk");Next, we define one or more sequences. Each sequence has a name that can be used later to activate it. Using this sequence data, we can create a new sprite:
local sequenceData = {
    {
        name="walk",          -- name of the animation (used with setSequence)
        sheet=myImageSheet,   -- the image sheet
        frames=framesNumbers,
        time=1000,            -- speed (milliseconds for the complete sequence)
    },
}
capguy = display.newSprite(myImageSheet, sequenceData)
Once the sprite is created, we can set its position, select the desired sequence, and start the animation:
capguy.x = display.contentHeight * .2
capguy.y = display.contentHeight * .8
capguy:setSequence("walk")
capguy:play()
Take a look on the example code on GitHub, it includes additional code that moves the sprite both from left to right and back again.
Dynamic Image Selection
If you are developing your app for devices with different screen resolutions, it makes sense to offer image sheets in different resolutions as well:
- On a high-resolution display, you want to use a high resolution image sheet for sharp, crisp sprites.
- For low-resolution devices, a smaller image sheet is sufficient, preventing unnecessary memory usage and CPU time for downscaling.
TexturePacker and Solar2D make this easy to achieve:
- TexturePacker's Scaling Variants feature automates the generation of scaled image sheets.
- Solar2D's Dynamic Image Selection feature automatically chooses the best matching image at runtime.
Generate scaling variants
To generate scaled variants of the sprite sheet, click on the cog icon in TexturePacker's right sidebar. It opens the Scaling variants dialog, where you can apply the Solar2D @4x/@2x preset.
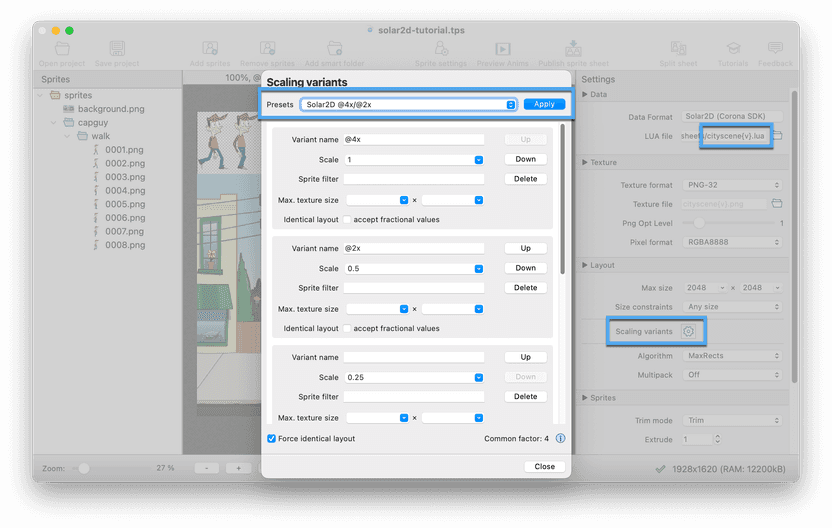
This preset defines two scaled variants in addition to the unscaled image sheet:
| Scale factor | Texture file | Data file |
|---|---|---|
| 1.0 | sheet@4x.png | sheet@4x.lua |
| 0.5 | sheet@2x.png | sheet@2x.lua |
| 0.25 | sheet.png | sheet.lua |
Insert the {v} placeholder in the LUA file name to indicate where TexturePacker should insert the variant name,
as shown in the screenshot above. Then press Publish to generate and save the new set of output files on disk.
Configure image selection
Solar2D's dynamic image selection is configured in config.lua. The content size is now set to the smallest resolution:
application =
	content =
	{
		width = 320,
		height = 480,
		scale = "letterbox",
		fps = 60,

		imageSuffix =
		{
			    ["@2x"] = 2,
			    ["@4x"] = 4
		}
	}
}
The imageSuffix table configures the image selection. The number assigned to a suffix represents a scale factor.
It specifies the scale threshold above which Solar2D will use images with that suffix.
In the provided example, the @2x image sheet is used when the display resolution is at least twice as large as
the specified content size. If the display resolution is four times larger, the @4x variant is selected.
This means that for resolutions between these thresholds, the smaller image sheet is upscaled - which results
in blurry images. To use downscaling instead, adjust the scale thresholds like this:
		imageSuffix =
		{
			    ["@2x"] = 1.01,  -- avoid upscaling of 1x texture
			    ["@4x"] = 2.01   -- avoid upscaling of 2x texture
		}
The example code on GitHub prints the current content scale factor to the console. In the upper right corner of the background image, you can see which scaling variant is displayed. You can test with various screen resolutions using the devices in the Simulator's Window -> View As menu.
