Godot: How to create sprite sheets the easy way
You'd rather watch a video than read this blog post? Here's our Video Tutorial!
Create sprite sheets
With TexturePacker you can easily create sprite sheets for Godot.
Download TexturePacker, it is available for macOS, Windows and Linux. You can test it within a 7-day trial period before purchasing a license:
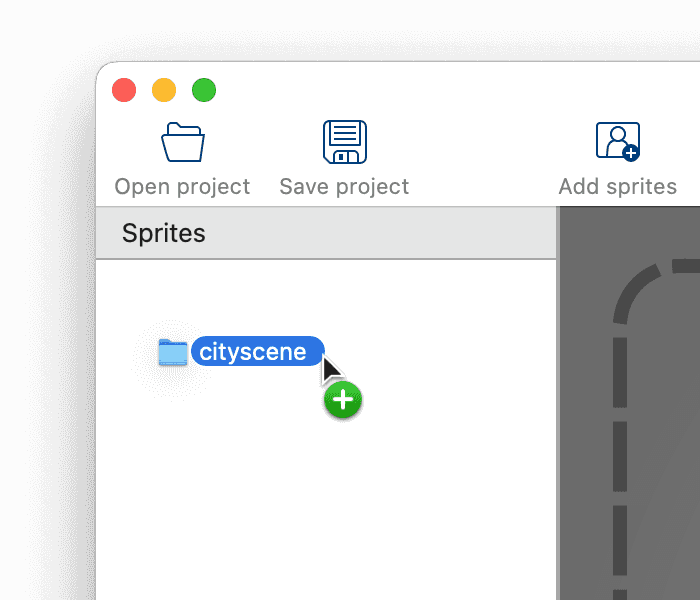
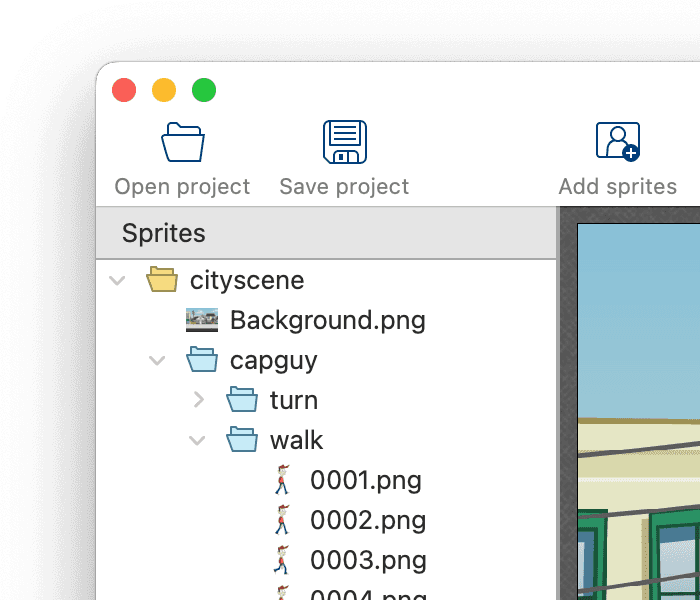
Start TexturePacker and drop the sprites that should be packed in a sprite sheet on TexturePacker's main window. You can also drop folders, TexturePacker will automatically scan them for image files and add them to the sheet.
Click on the Framework button at the top of the right sidebar, select Godot SpriteSheet as data format. The sprite sheet data contains for each sprite its coordinates on the sheet and its size. It is used later to extract the sprites from the sheet automatically.
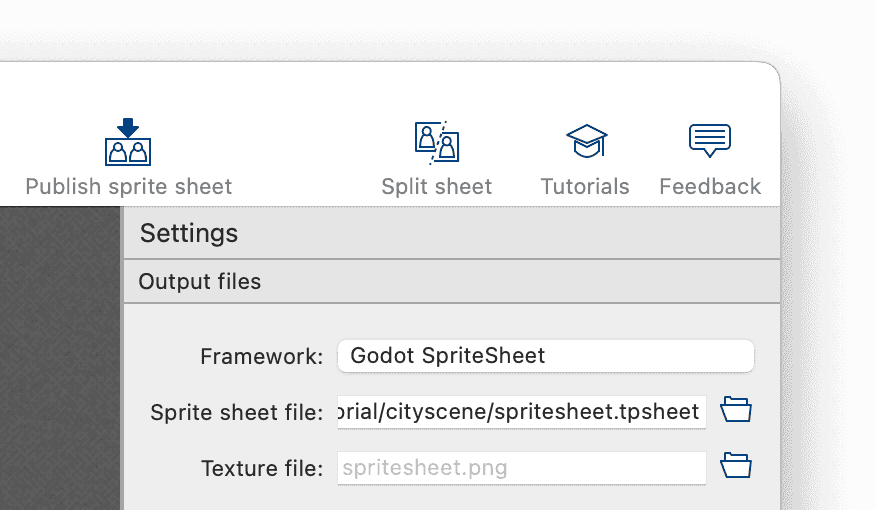
Use the Sprite sheet file field (below the framework button) to select the location and file name of the data file. The file name extension .tpsheet is added automatically. The Texture file name can be left empty, TexturePacker will save the PNG containing the sprite sheet next to the data file.
When you save the data and texture file in your Godot project directory, Godot will reimport the sprite sheet automatically if you've updated it with TexturePacker. No manual copying is necessary.
Press the Publish sprite sheet button in the toolbar. This will save the sprite sheet image, and a .tpsheet file containing the sprite coordinates.
Install TexturePacker importer
Now switch to your Godot project. To import a sprite sheet not just as one large atlas image, but to create also a set of AtlasTextures for all individual sprites, you have to import the TexturePacker Importer plugin:
- Open the AssetLib view
- Search for "texturepacker"
The TexturePacker Importer plugin is available for Godot 3.5 LTS as well as for Godot 4.1 and newer. In this tutorial we use Godot 4.1.
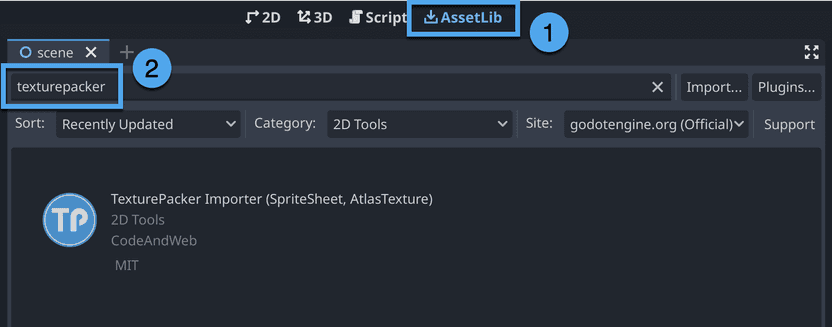
- Click on the plugin
- Download it
- and install it
After doing that, the plugin is still inactive. Press the Plugins... button in the AssetLib to open the project settings. There you can enable the TexturePacker Importer:
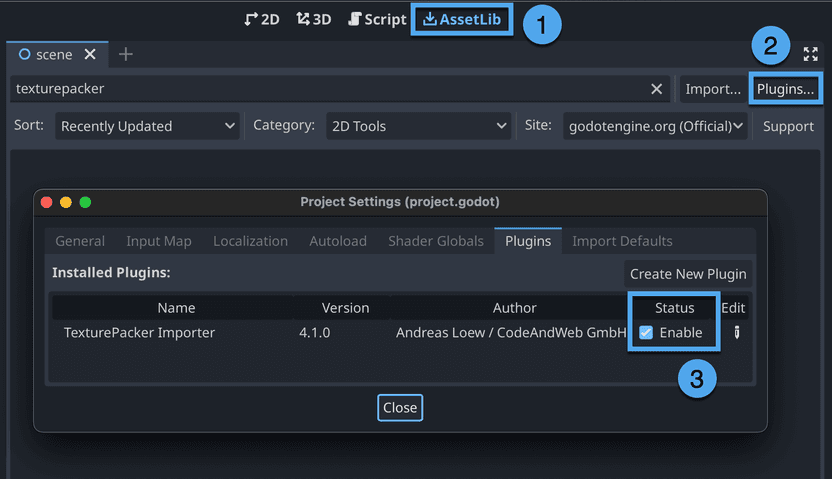
Import sprite sheets in Godot
As soon as you enable the TexturePacker Importer plugin, *.tpsheet files are automatically imported and the corresponding sprite sheet images are split. For each sprite an AtlasTexture resource is generated, they can be found in a new folder with .sprites suffix:
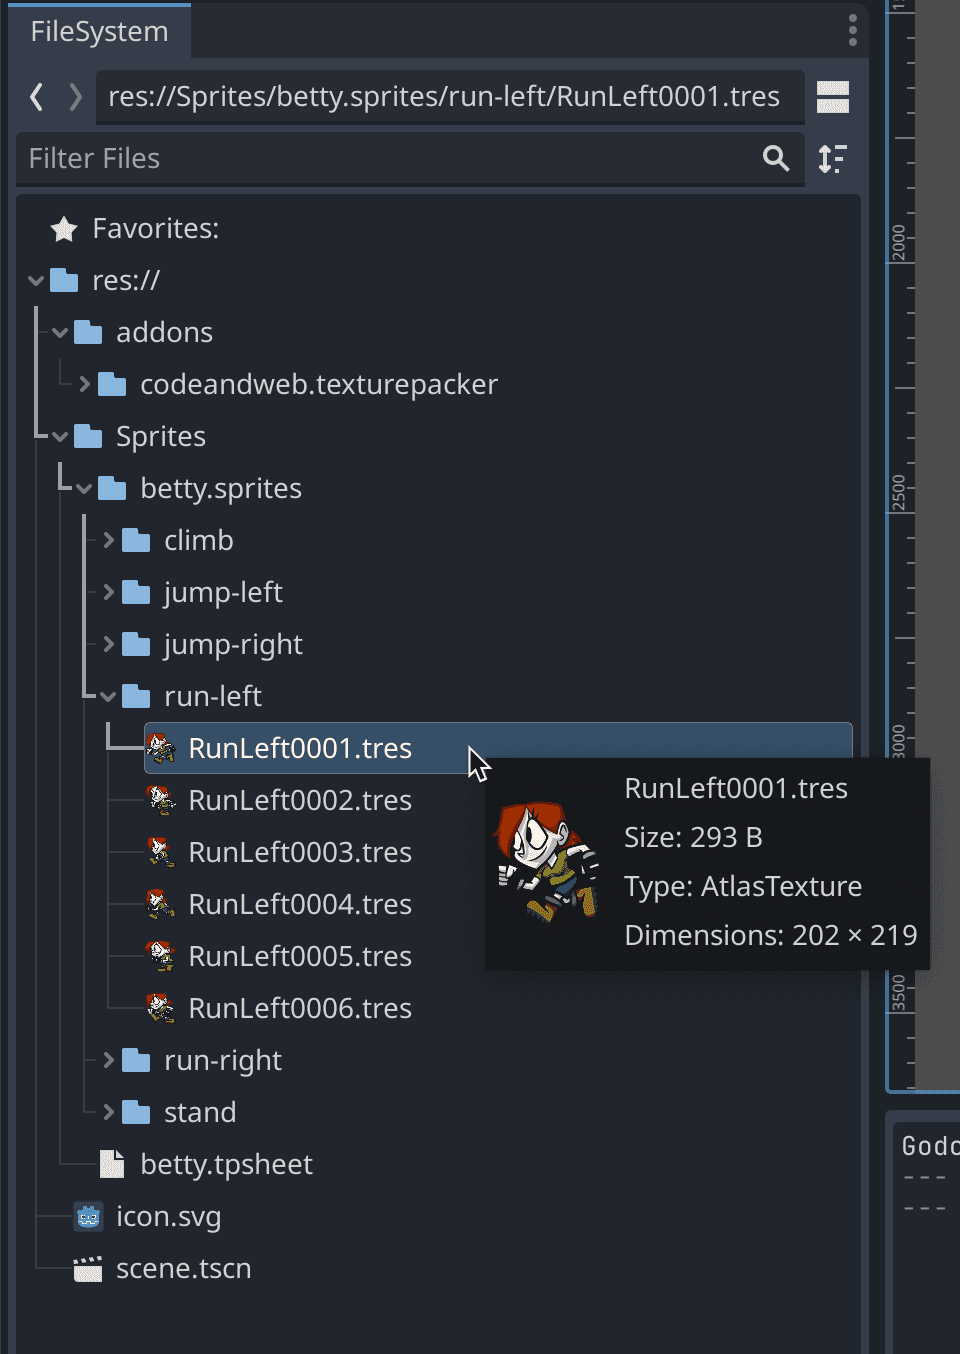
Drag and Drop an AtlasTexture from the FileSystem view into your scene to create a Sprite2D node.
(If you've started with an empty project: Create a Node2D as root node for the scene first)
Create an animation
To add an animated sprite to the scene, use the + button on top of the Scene tree view
to add an AnimatedSprite2D node.
- Select the
AnimatedSprite2Dnode - In the Inspector, click on the Sprite Frames property
- Choose New SpriteFrames
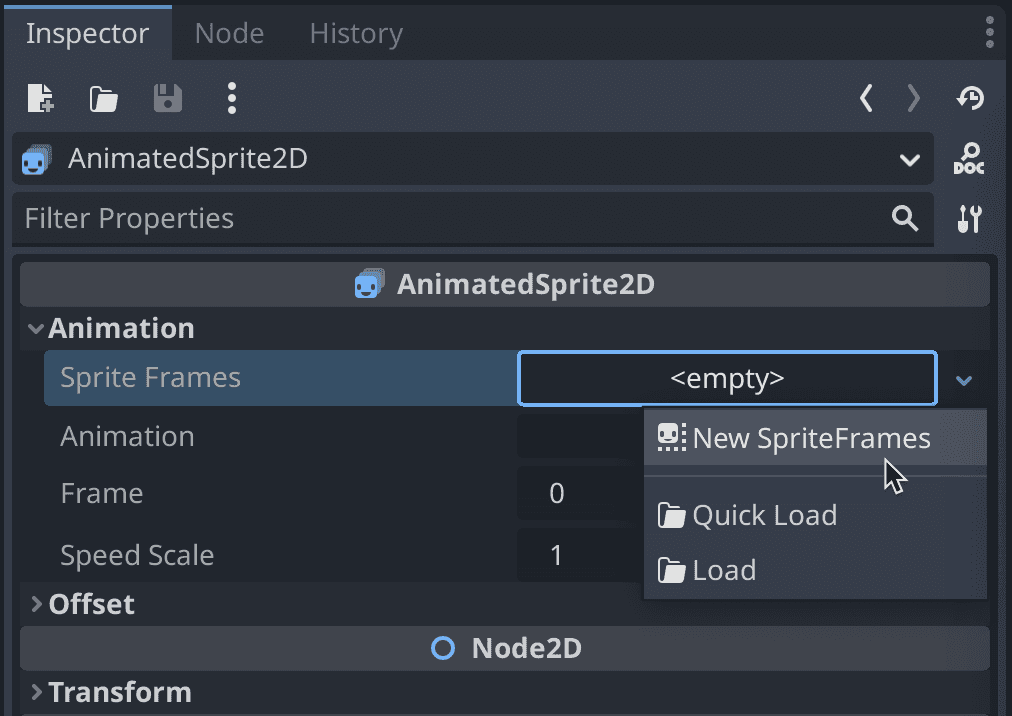
Now click again on the Sprite Frames property. At the bottom of the editor a new panel "Animation Frames" is opened. With drag and drop you can add sprites from the FileSystem tab to the frame list:
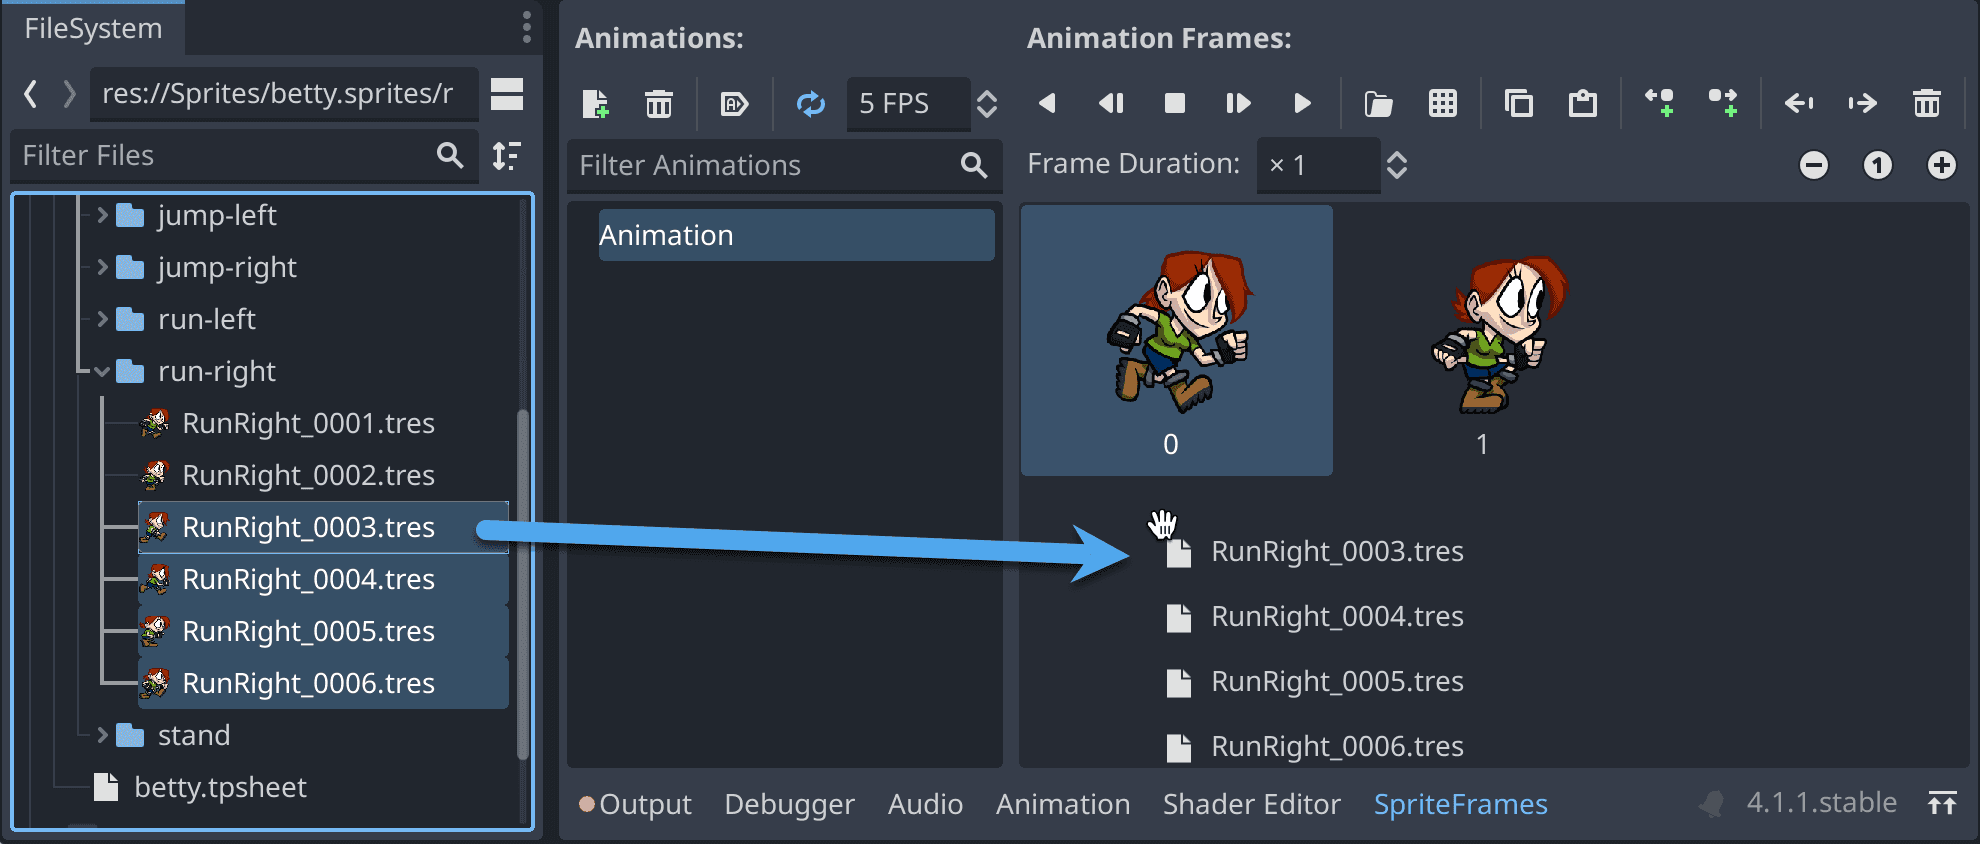
With the Autoplay on Load button checked, the animation starts playing when your game is launched. Use the FPS field to configure the animation speed. For a preview of the animation in the scene viewport press the Play button:

If the animation should only be played if a key is pressed, you can attach a script to the AnimatedSprite2D node:
extends AnimatedSprite2D

func _process(delta):
	# play animation while right cursor key is pressed
	if Input.is_action_pressed("ui_right"):
		play()
	else:
		stop()