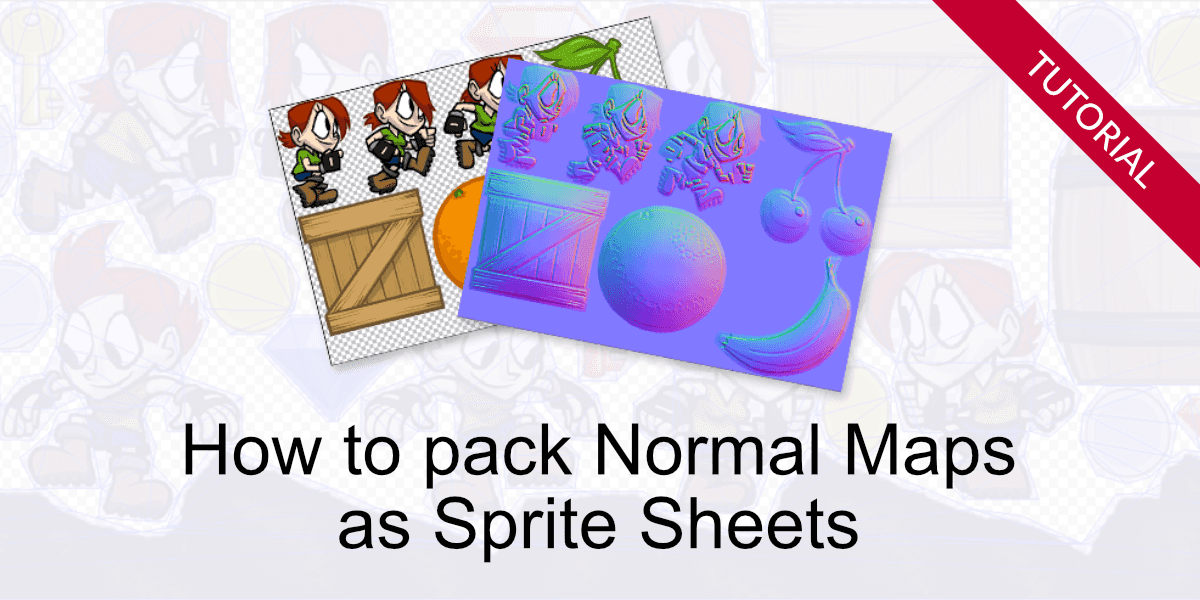
Packing normal maps into sprite sheets

What you are going to learn:
- Pack normal maps into sprite sheets
- Create sprite and normal map textures with identical layout
Required skills:
- Basic knowledge of sprite sheets
- Basic knowledge of normal maps

Why to use identical layouts?
Most game engines that support dynamic lighting and sprite sheets — e.g. Unity — require the normal maps to be packed in the same way as the sprites.
The reason is simple: The OpenGL shaders are fed with one set of coordinates and 2 textures. Using a different layout would require handling additional coordinates.
Two ways to an identical layout
There are two obvious ways to accomplish the goal:
Pack sheets, generate normal maps
Packing the sheets first, then generate the normal maps on the whole sprite sheet sounds like a good idea — but it is not:
- You have to re-generate the whole normal maps each time a single sprite changes.
- You can't re-distribute the sprites across your sprite sheets.
- Selecting different normal map generator parameters for each sprite is hard.
- Sprites rotated during the packing process need to be treated separately.
Generate normal maps, then pack sheets
This way has several advantages:
- Re-distribute sprites across your sheets is no problem.
- Changes to a sprite's normal map are a local change.
- It's easy to create optimized sheets for different resolutions & target devices.
TexturePacker's normal map packing
TexturePacker implements a normal map packing mode. You can download TexturePacker here:
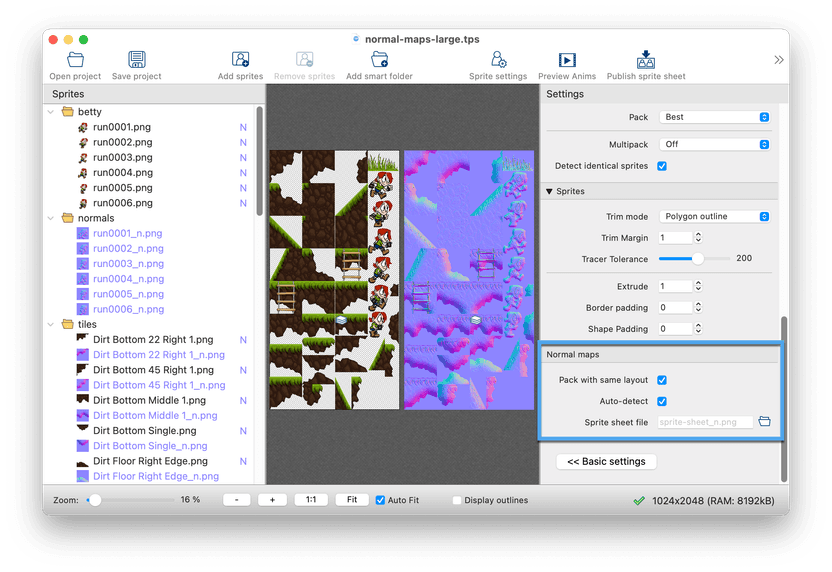
Depending on the file organization in your project, it's just adding the normal maps and setting the check mark Normal maps/Pack with same layout:

In the sprite list on the left, the file names of normal maps are displayed in blue text color. Sprites with corresponding normal maps are marked with a blue "N". Hover your mouse cursor over it to view a tooltip with the file name of the attached normal map.
Pressing Publish creates a normal map sheet in the same directory as your sprite sheet, using the same data format and the file name suffix _n.
TexturePacker's Normal maps/Auto-detect mode should in most cases do the work. You can override the auto-detection in cases where it does not work as expected - see Overriding auto-detection.
Project folder structure
There are two common layouts for the folder structure, TexturePacker can handle both of them:
- Sprites and normal maps in different folders
Sprites and normal maps both use the same name, but are separated by a folder. If you are working with sub-folders, you can either replicate the whole folder structure for the normal maps or keep them in the same tree using local normal map folders. - Sprites and normal maps in the same folder using a suffix
The exact suffix does not matter - it's just important that you choose the same suffix for all normal maps.
Adding normal maps
Adding the normal maps is easy: Just drag & drop them into TexturePacker.
TexturePacker matches the normal maps and sprites based on the longest common file name part.
The simplest approach is to keep everything within the same main folder and add it as a smart folder. TexturePacker will automatically regenerate the sprite and normal map sheets whenever any of the images change.
Overriding auto-detection
Detecting normal maps is heuristic based. You can disable it in case it does not work with your normal maps.
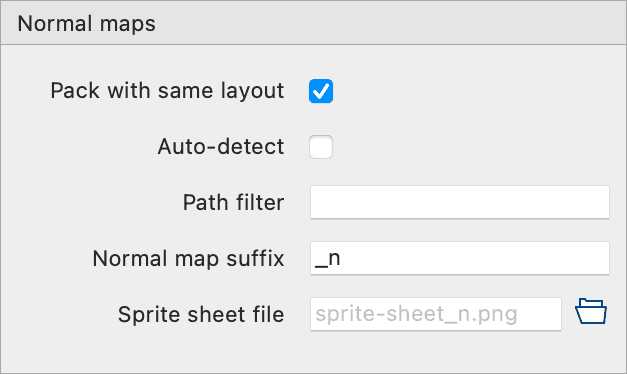
Override settings are available after disabling Normal maps/Auto-detect:

Use the Path filter if you are keeping your normals in separated folders. All sprites under a folder path containing the filter expression are treated as normal maps.
Use the Normal map suffix if you are using a suffix for your normal maps.
Trim, extrude and padding
TexturePacker's settings for Trim mode, Extrude and Padding all work with the normal maps.