How to create a 2d game scene in Unity
What you will learn
- Use TexturePacker to create sprite sheets
- Import sprite sheet to Unity with TexturePacker Importer.
- Implement a simple animation in Unity
- Simple Player movement script in Unity
Ready? Let's get started.
The complete tutorial project is available on GitHub.
Using TexturePacker to create sprite sheets
Download TexturePacker and install it on your computer:
Follow the steps below to configure your sprite sheets:
- Open TexturePacker.
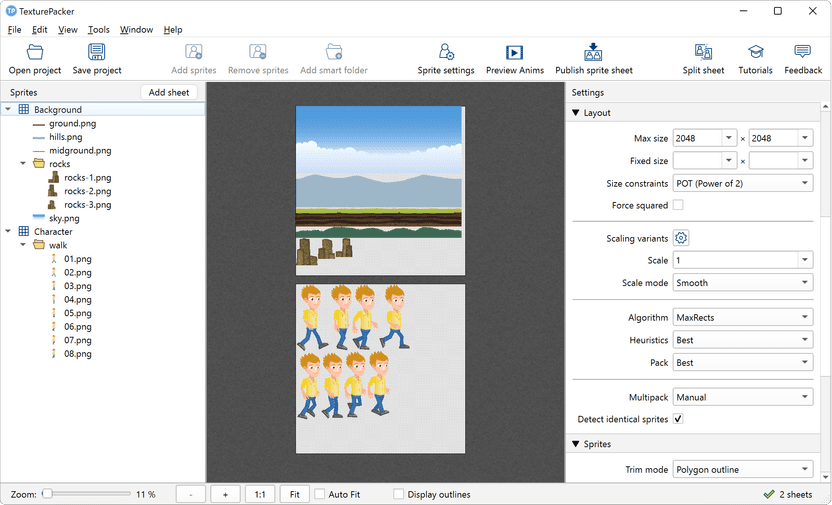
- Set the Data format in the right panel to Unity - Texture2D sprite sheet
- We are going to use a background sprite sheet and a character sprite sheet for our game. Set the Multipack parameter (in Advanced Settings) to Manual to support multiple sheets.
- Use the Add sheet button on the left side to add sheets "Background" and "Character".
- Drag and drop the folder containing your sprites onto the TexturePacker window. Drop the character sprites to the character sheet and the background sprites to the background sheet. You should see a preview of your sprite sheet in the center view.
- Set the Data file name to {n}-sprites.tpsheet, later the placeholder {n} will be replaced by the sheet name.
To create smaller sprite sheets, set Size constraint to AnySize - but this will give you warnings in Unity about mipmap creation. We recommend that you use POT (Power of 2) whenever possible.
Experiment with the packing by setting the Algorithm to Polygon. This algorithm is slower than MaxRects but allows you to pack more sprites on a single texture in many cases.
Click Publish sprite sheet to generate and save your sprite sheets as “Background-sprites” and “Character-sprites”. You will get two files for each sprite sheet. One will be an image file (.png) and the other will be the data file with .tpsheet extension.
Importing the sprite sheets into Unity
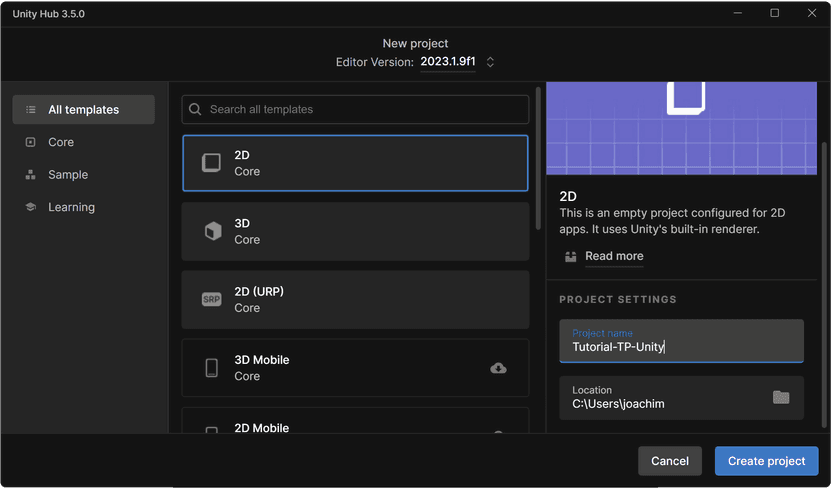
Create a new 2D project in Unity. We are using Unity 2023.1.9f1 for this tutorial.
You would have to split the sprites manually if you just copy and paste the sprite sheet into Unity. That’s why we’ve created a free Unity asset called TexturePacker Importer that automates the process for you.
Import this asset to your project. You can exclude the example part from it if you want.
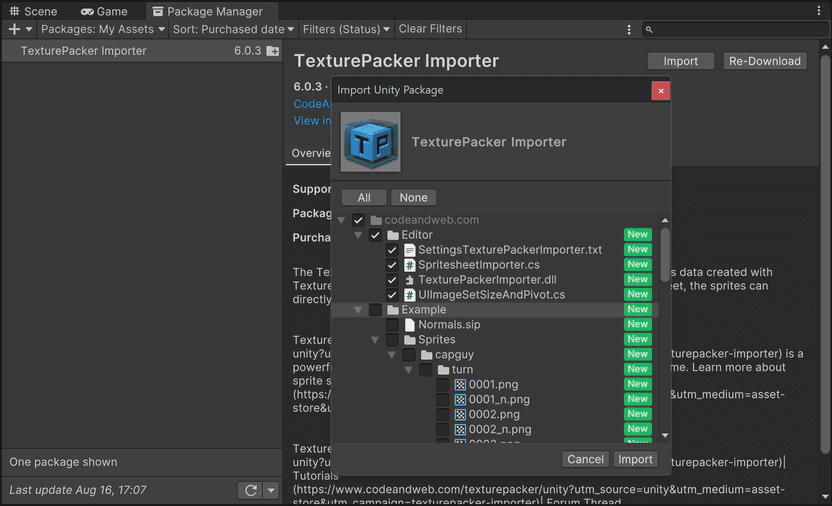
Once the import is complete, you can copy the sprite sheets into the Assets folder of Unity. Remember, you need to copy the .tpsheet file along with the .png file. Alternatively, you have the option to configure the sprite sheet paths within TexturePacker, pointing directly to a location within Unity's Assets folder. This eliminates the need for manual copying.
Click on the arrow of the sprite sheet icon to expand the individual sprites:
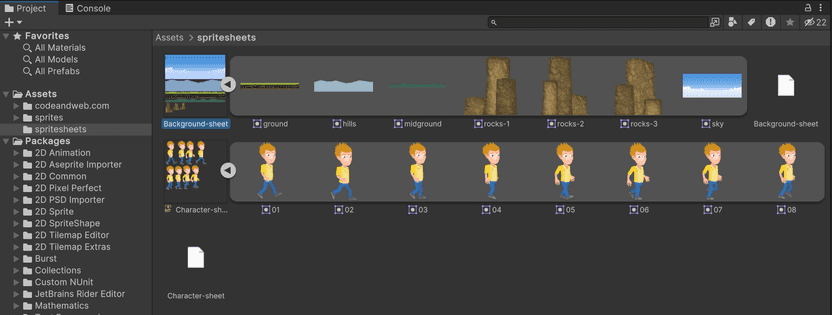
Creating a Sample Game scene in Unity
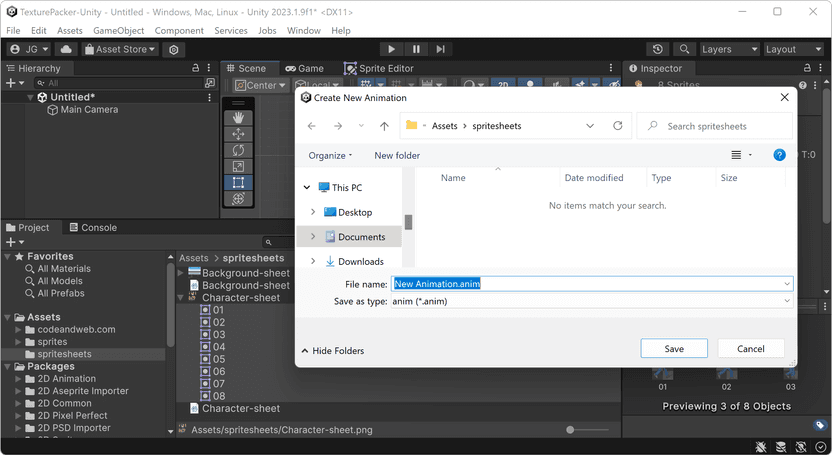
Select all sprites of the Character-sprites sprite sheet. Drag and drop the sprites to the hierarchy window or scene window in Unity’s editor. Unity will prompt you to create a new animation with these sprites. Give it a name and click save.
That’s it, you have created your character animation.
Expand the sprites of the Background-sprites sheet, then drag and drop the background sprites into the scene to create a simple environment. You can see an example in the image below:
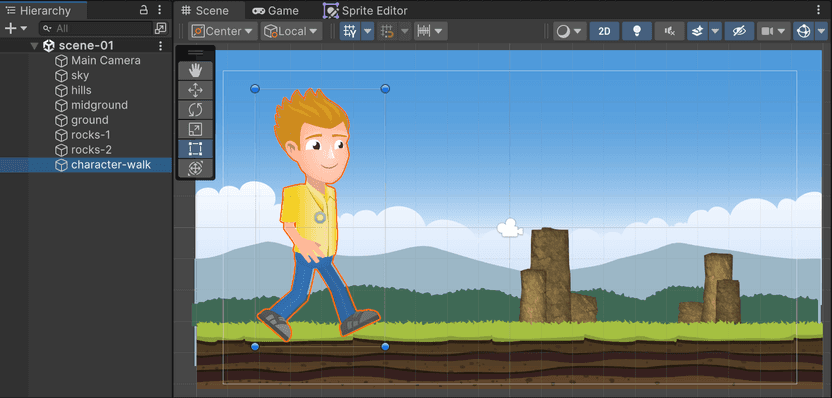
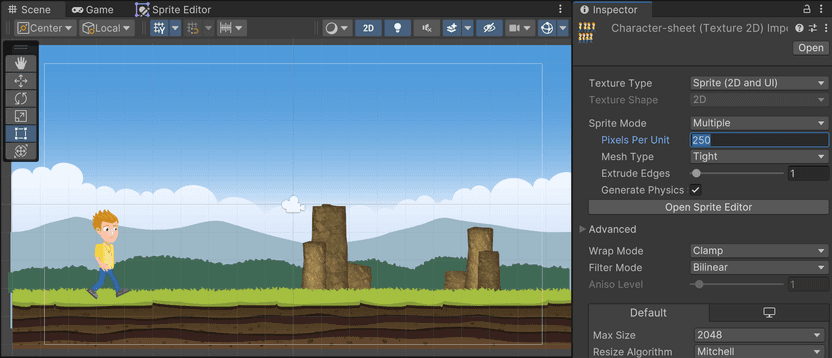
The character is much larger than the background. Select it in the scene (or hierarchy tree) and use the scale option in the inspector to reduce the size of the character. You can also select the character sprite sheet and increase the Pixel Per Unit value to make your character fit into the scene.
Let's attach a script to move the player character using the left and right cursor keys:
- Select the character in the hierarchy window.
- Go to the inspector window and click Add Component.
- Search for “New script”.
- Enter "PlayerMove" as name and save it.
- Open the script and paste the below code.
In the code, you take the input from the keyboard and add it to the player position.
using System.Collections;
using System.Collections.Generic;
using UnityEngine;

public class PlayerMove : MonoBehaviour
{
	Animator anim;
	SpriteRenderer sprite;

	// Start is called before the first frame update
	void Start()
    {
		anim = GetComponent<Animator>();
		sprite = GetComponent<SpriteRenderer>();
	}

	// Update is called once per frame
	void Update()
    {
		// Input.GetAxis takes input from the keyboard
		// Time.deltaTime gives the time interval in seconds from the last frame to
        // the current one. This makes the player movement device independent.
		float posupdate = Input.GetAxis("Horizontal") * Time.deltaTime * 6f;
		transform.position += new Vector3(posupdate, 0, 0);

		// disable Animator when no key is pressed
		if (posupdate == 0)
		{
			anim.enabled = false;
		}
		// Flip player when moving in the opposite direction
		else if (posupdate < 0)
		{
			anim.enabled = true;
			sprite.flipX = true;
		}
		else
		{
			anim.enabled = true;
			sprite.flipX = false;
		}
	}
}
This is what your game should look like. Click on it to set keyboard focus, use the left/right cursor keys to move the player:
That's it for this tutorial.
You want to learn how to implement 2D dynamic lighting in Unity? Have a look in our Dynamic lighting tutorial!